Looking for some mouthwatering dessert recipes? You’re in the right place! From quick treats to elaborate sweets, this collection has something for everyone.
Whether you’re a novice baker or a seasoned pro, these recipes will satisfy your sweet tooth and bring a smile to your face.
Spiced Pumpkin Cheesecake
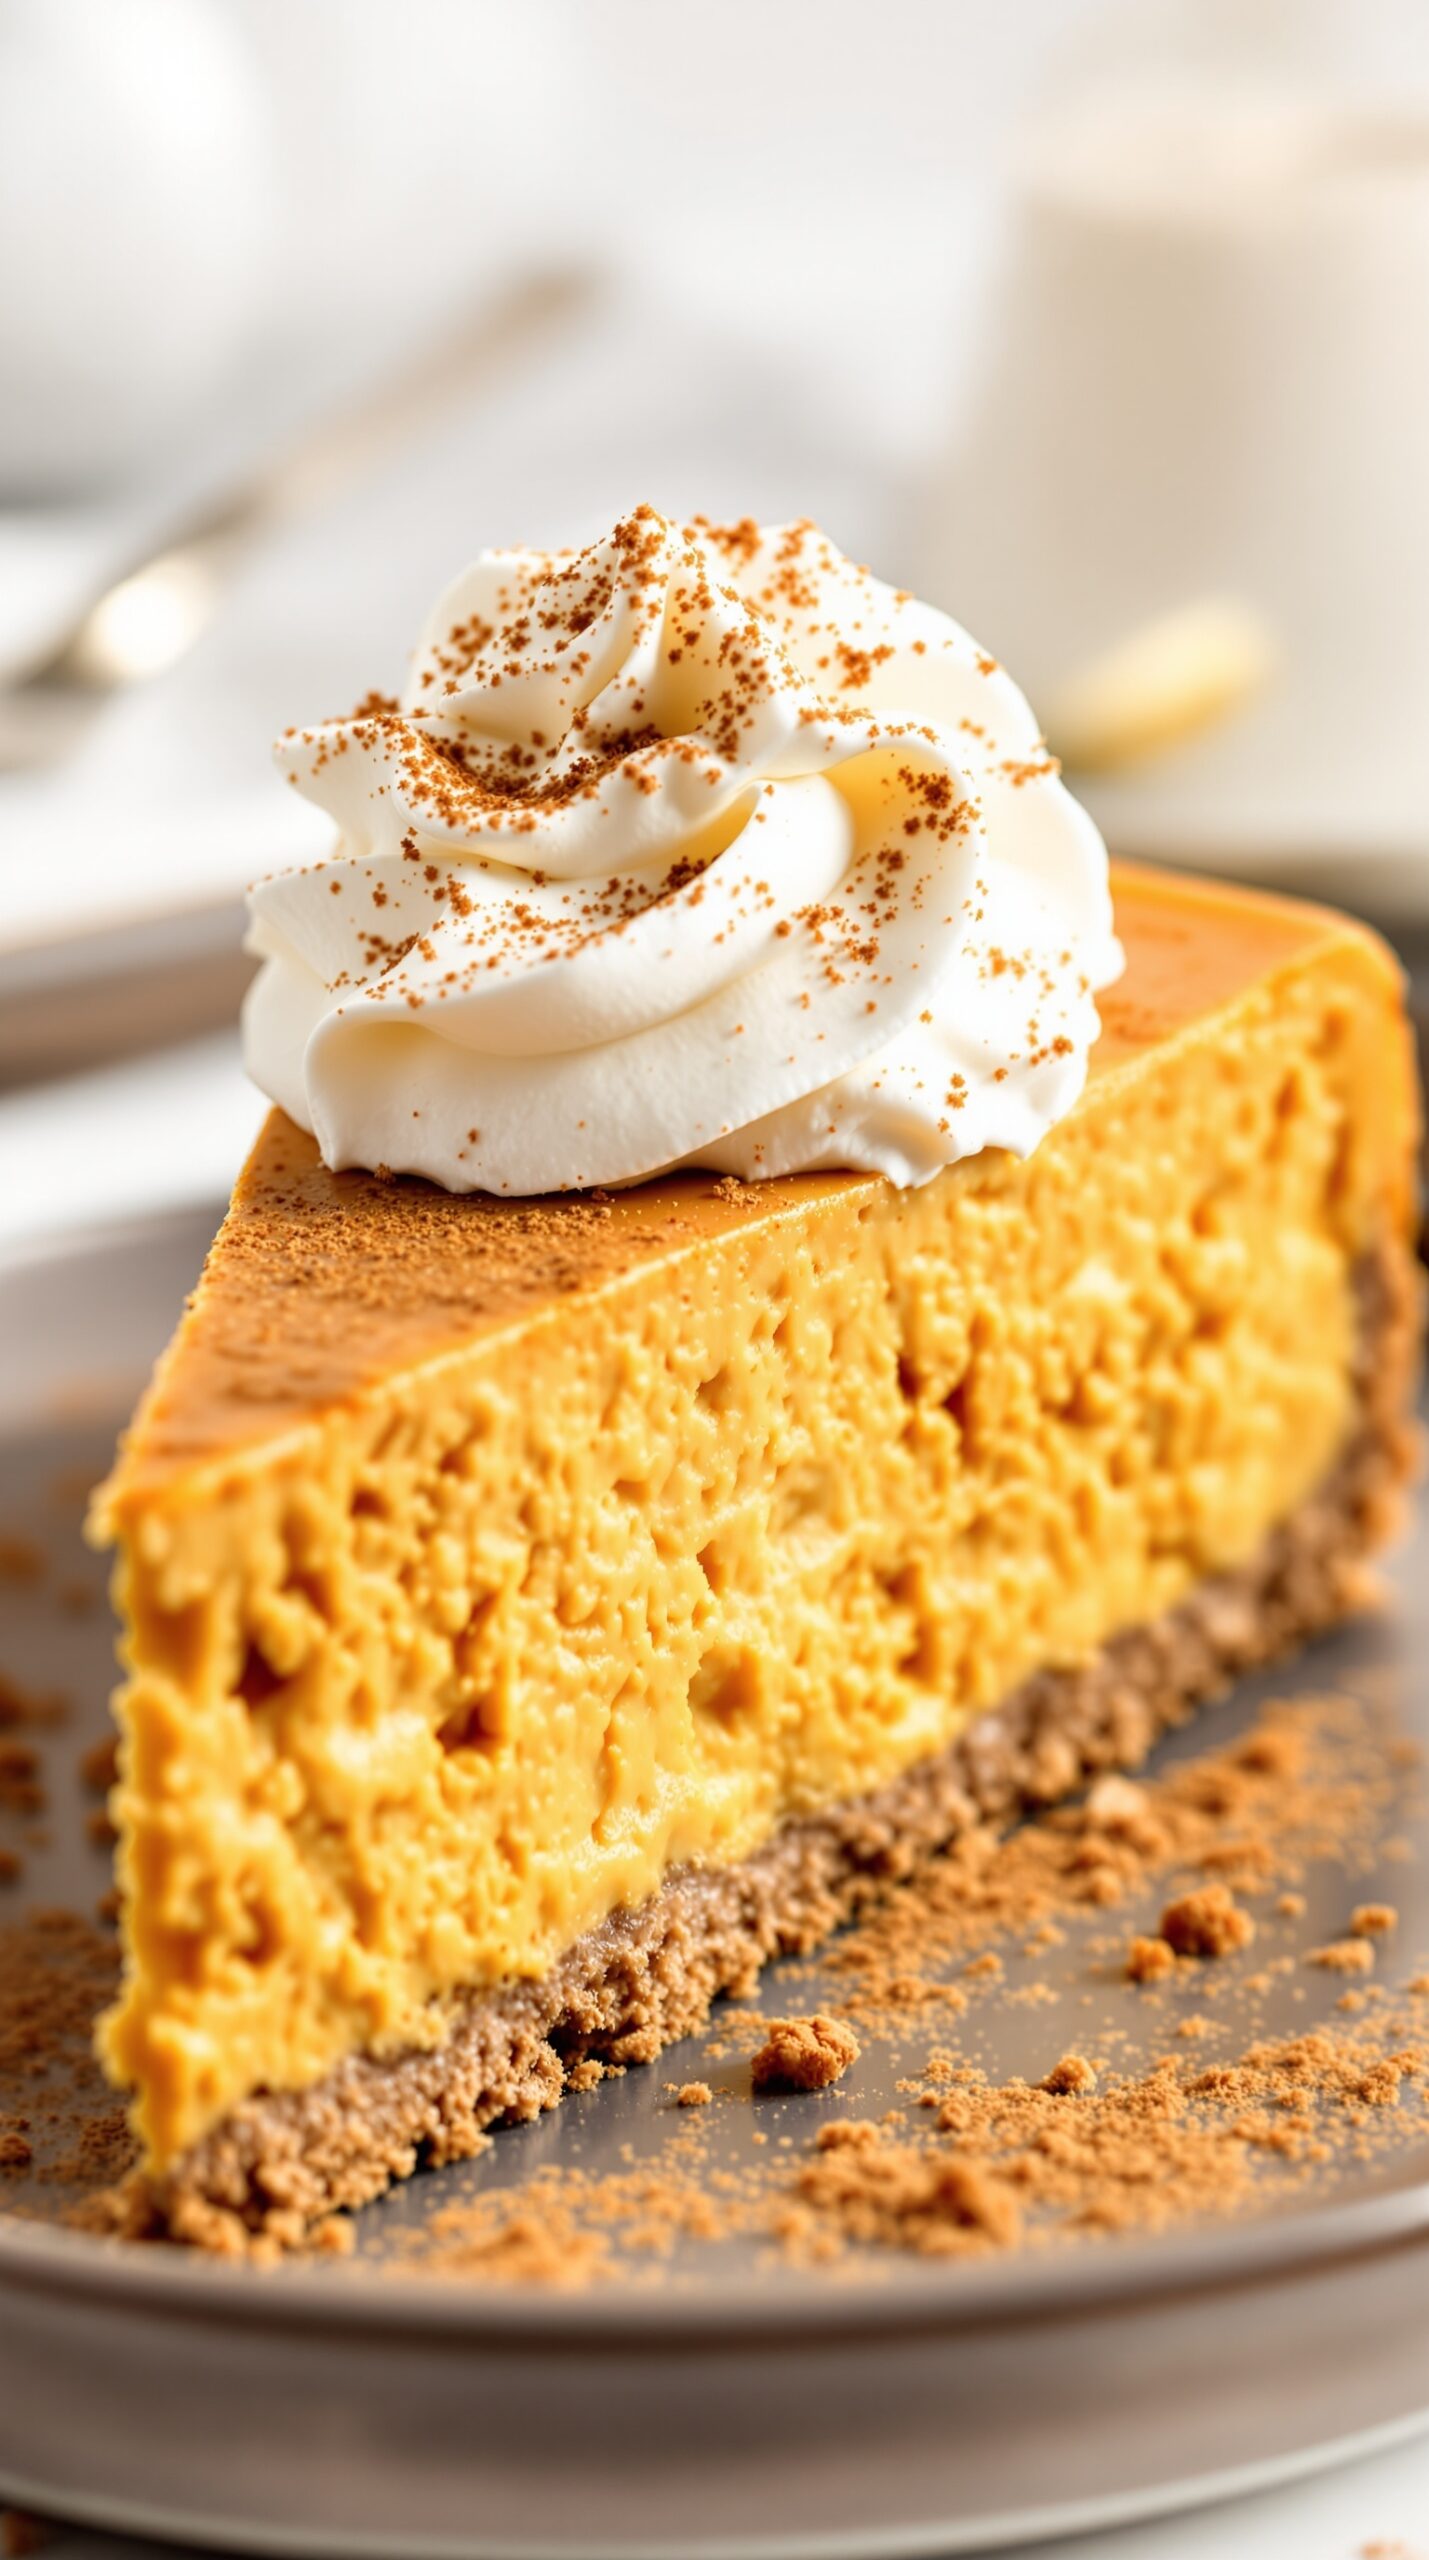
Spiced pumpkin cheesecake is a delightful twist on the classic dessert. Imagine a creamy, rich filling made with pumpkin puree and warm spices like cinnamon and nutmeg. The golden-orange hue of the cheesecake is inviting, and the smooth texture promises a melt-in-your-mouth experience. Topped with a swirl of whipped cream and a sprinkle of cinnamon, it’s as pleasing to the eye as it is to the palate.
The crust is made from crushed graham crackers, adding a crunchy contrast to the creamy filling. This dessert is perfect for fall gatherings or any occasion where you want to impress your guests. Each slice is a celebration of flavors that brings warmth and comfort.
Here’s how you can make this delicious spiced pumpkin cheesecake at home!
Ingredients
- 1 1/2 cups graham cracker crumbs
- 1/2 cup unsalted butter, melted
- 1 cup granulated sugar
- 1 teaspoon ground cinnamon
- 1/2 teaspoon ground nutmeg
- 1/4 teaspoon ground ginger
- 4 (8-ounce) packages cream cheese, softened
- 1 cup pumpkin puree
- 4 large eggs
- 1 teaspoon vanilla extract
- 1/4 cup sour cream
- Whipped cream for topping
Instructions
- Preheat your oven to 325°F (160°C). In a bowl, combine graham cracker crumbs, melted butter, and 1/4 cup of sugar. Press this mixture into the bottom of a 9-inch springform pan to form the crust.
- In a large mixing bowl, beat the cream cheese until smooth. Gradually add the remaining sugar, cinnamon, nutmeg, and ginger, mixing until well combined.
- Add the pumpkin puree, eggs, and vanilla extract to the cream cheese mixture. Beat until everything is smooth and creamy. Finally, stir in the sour cream until just combined.
- Pour the pumpkin filling over the prepared crust. Bake for about 60-70 minutes or until the center is set but still slightly jiggly.
- Turn off the oven and let the cheesecake cool inside for about an hour. Then, refrigerate for at least 4 hours or overnight.
- Before serving, top with whipped cream and a sprinkle of cinnamon. Enjoy your homemade spiced pumpkin cheesecake!
Rich Tiramisu with Coffee Layers
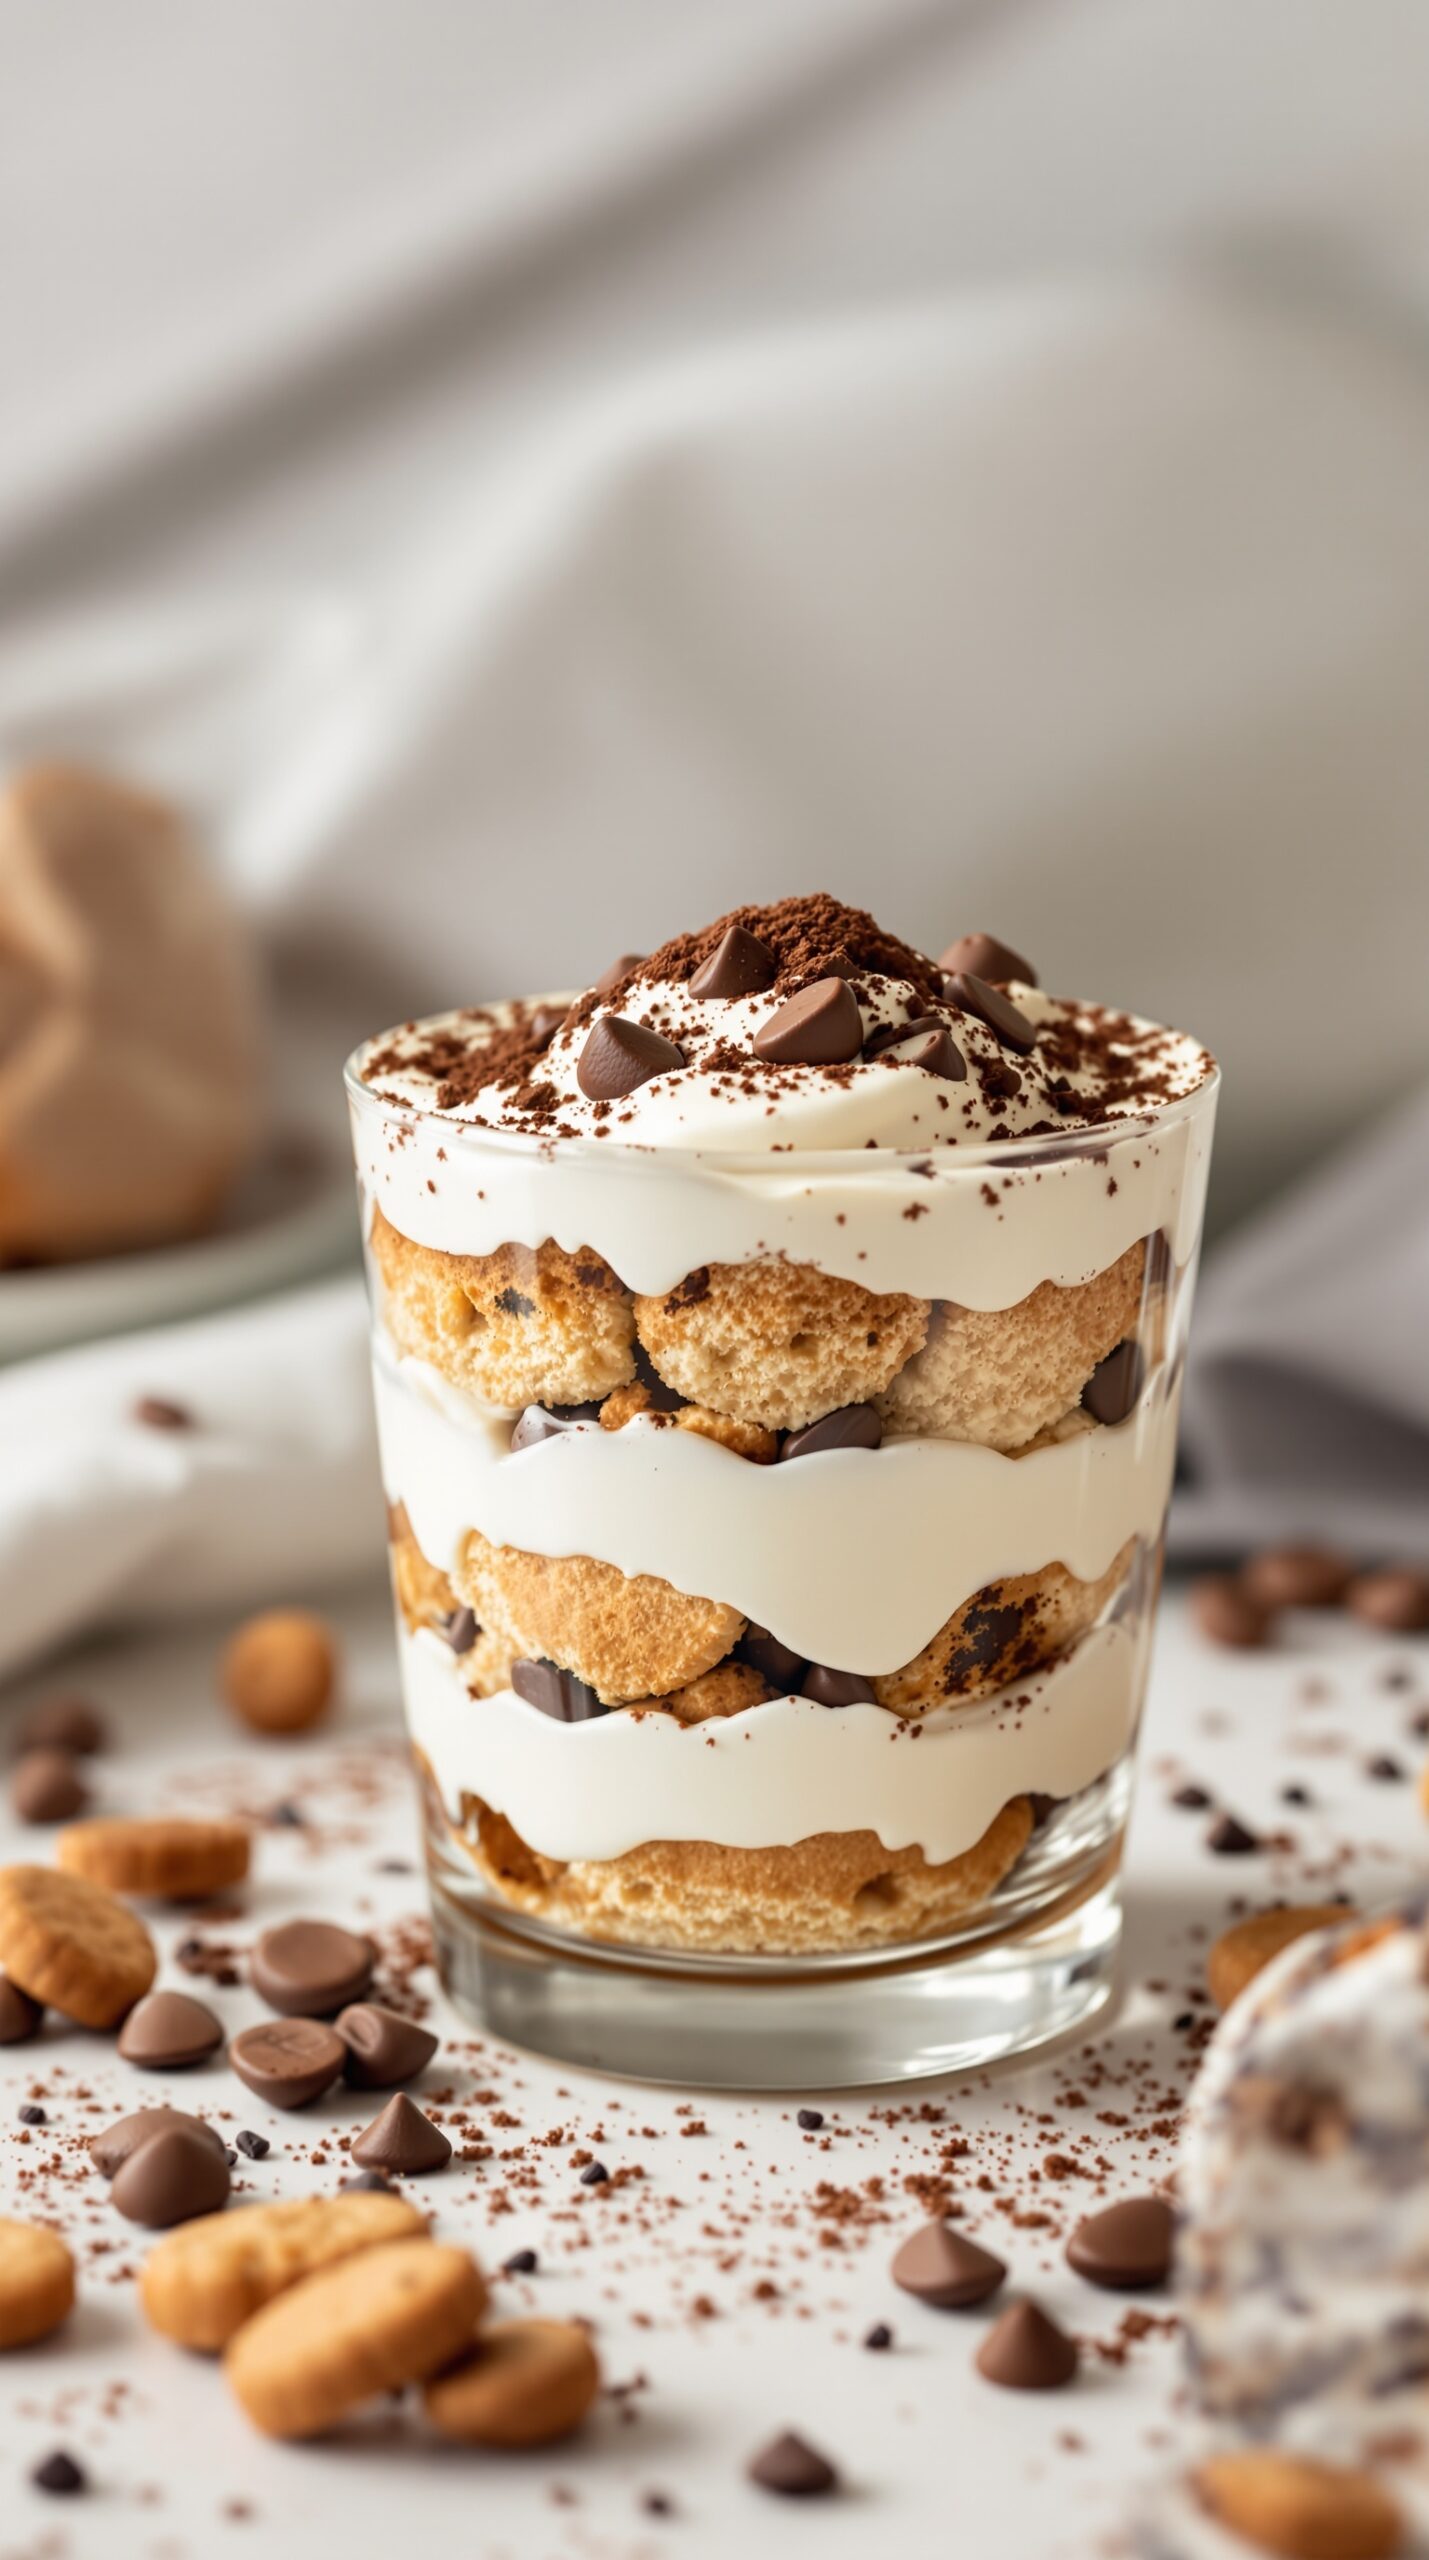
Tiramisu is a classic Italian dessert that brings together layers of coffee-soaked ladyfingers and creamy mascarpone cheese. The image showcases a beautifully layered tiramisu, with its rich colors and textures inviting you to take a bite. The combination of chocolate chips and cocoa powder on top adds a delightful finish to this indulgent treat.
This dessert is perfect for any occasion, whether it’s a casual dinner or a special celebration. The coffee layers provide a bold flavor, while the creamy filling balances it out perfectly. Making tiramisu at home is easier than you might think, and it’s sure to impress your friends and family.
Ingredients
- 1 cup strong brewed coffee, cooled
- 3 large eggs, separated
- 1/2 cup granulated sugar
- 1 cup mascarpone cheese
- 1 cup heavy cream
- 1 teaspoon vanilla extract
- 24 ladyfingers
- Cocoa powder for dusting
- Chocolate chips for garnish
Instructions
- Prepare the Coffee: Brew a strong cup of coffee and let it cool.
- Make the Cream Mixture: In a bowl, whisk the egg yolks and sugar until pale. Add the mascarpone cheese and mix until smooth. In another bowl, whip the heavy cream and vanilla until stiff peaks form. Gently fold the whipped cream into the mascarpone mixture.
- Assemble the Layers: Dip each ladyfinger briefly in the cooled coffee and layer them in a glass dish. Spread half of the mascarpone mixture over the ladyfingers. Repeat with another layer of coffee-dipped ladyfingers and the remaining mascarpone mixture.
- Chill: Cover and refrigerate for at least 4 hours, or overnight for best results.
- Serve: Before serving, dust the top with cocoa powder and sprinkle chocolate chips for garnish.
Decadent Chocolate Lava Cake
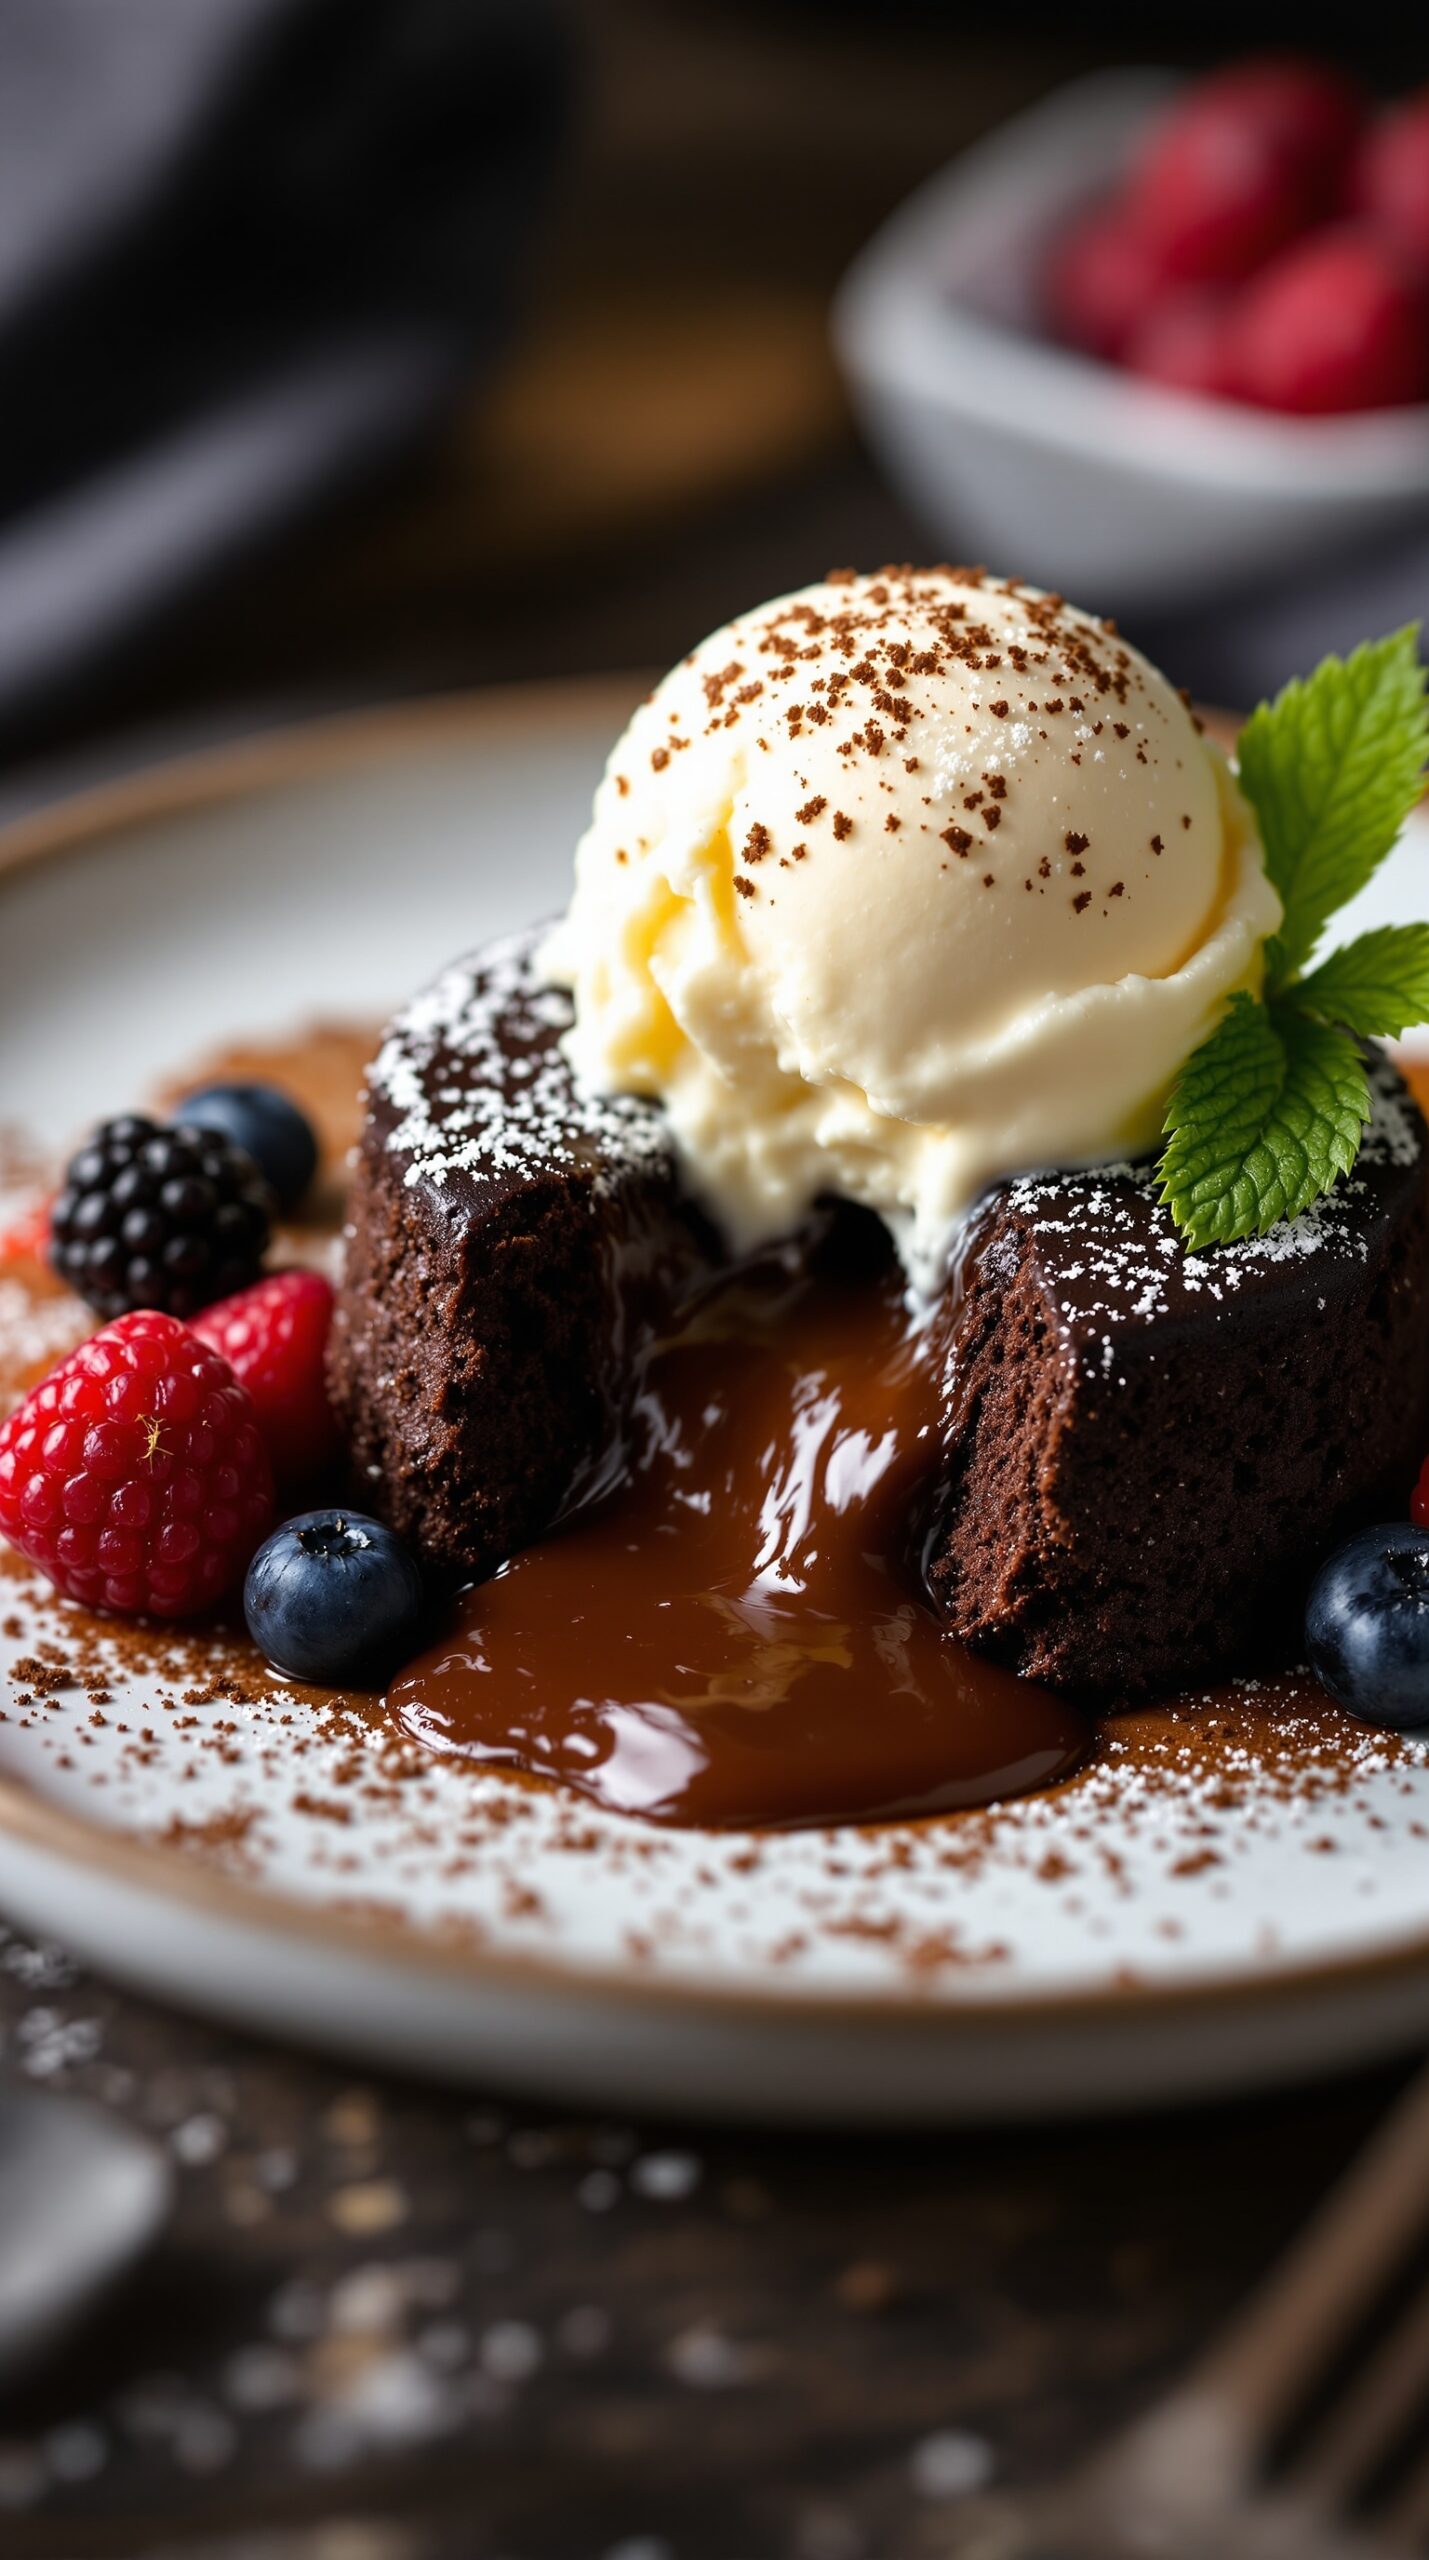
Chocolate lava cake is a dessert that brings joy to any occasion. The image shows a rich, gooey chocolate cake with a molten center, topped with a scoop of vanilla ice cream. Fresh berries surround the cake, adding a pop of color and a hint of tartness. The combination of warm chocolate and cold ice cream is simply irresistible.
This dessert is perfect for impressing guests or treating yourself after a long day. The best part? It’s easier to make than you might think! With just a few ingredients, you can create a restaurant-quality dessert right in your kitchen.
Ingredients
- 1/2 cup unsalted butter
- 1 cup semi-sweet chocolate chips
- 2 large eggs
- 2 large egg yolks
- 1/4 cup granulated sugar
- 2 tablespoons all-purpose flour
- 1/4 teaspoon salt
- Powdered sugar for dusting
- Vanilla ice cream for serving
- Fresh berries for garnish
Instructions
- Preheat your oven to 425°F (220°C). Grease four ramekins with butter and dust with flour.
- In a microwave-safe bowl, melt the butter and chocolate chips together. Stir until smooth.
- In another bowl, whisk together the eggs, egg yolks, and sugar until well combined.
- Pour the melted chocolate mixture into the egg mixture and stir until fully incorporated.
- Gently fold in the flour and salt until just combined.
- Divide the batter evenly among the prepared ramekins.
- Bake for 12-14 minutes until the edges are firm but the center is soft.
- Let them cool for 1 minute, then carefully invert onto plates.
- Dust with powdered sugar, add a scoop of vanilla ice cream, and garnish with fresh berries.
Enjoy your homemade chocolate lava cake!
Fruity Pavlova Nest with Whipped Cream
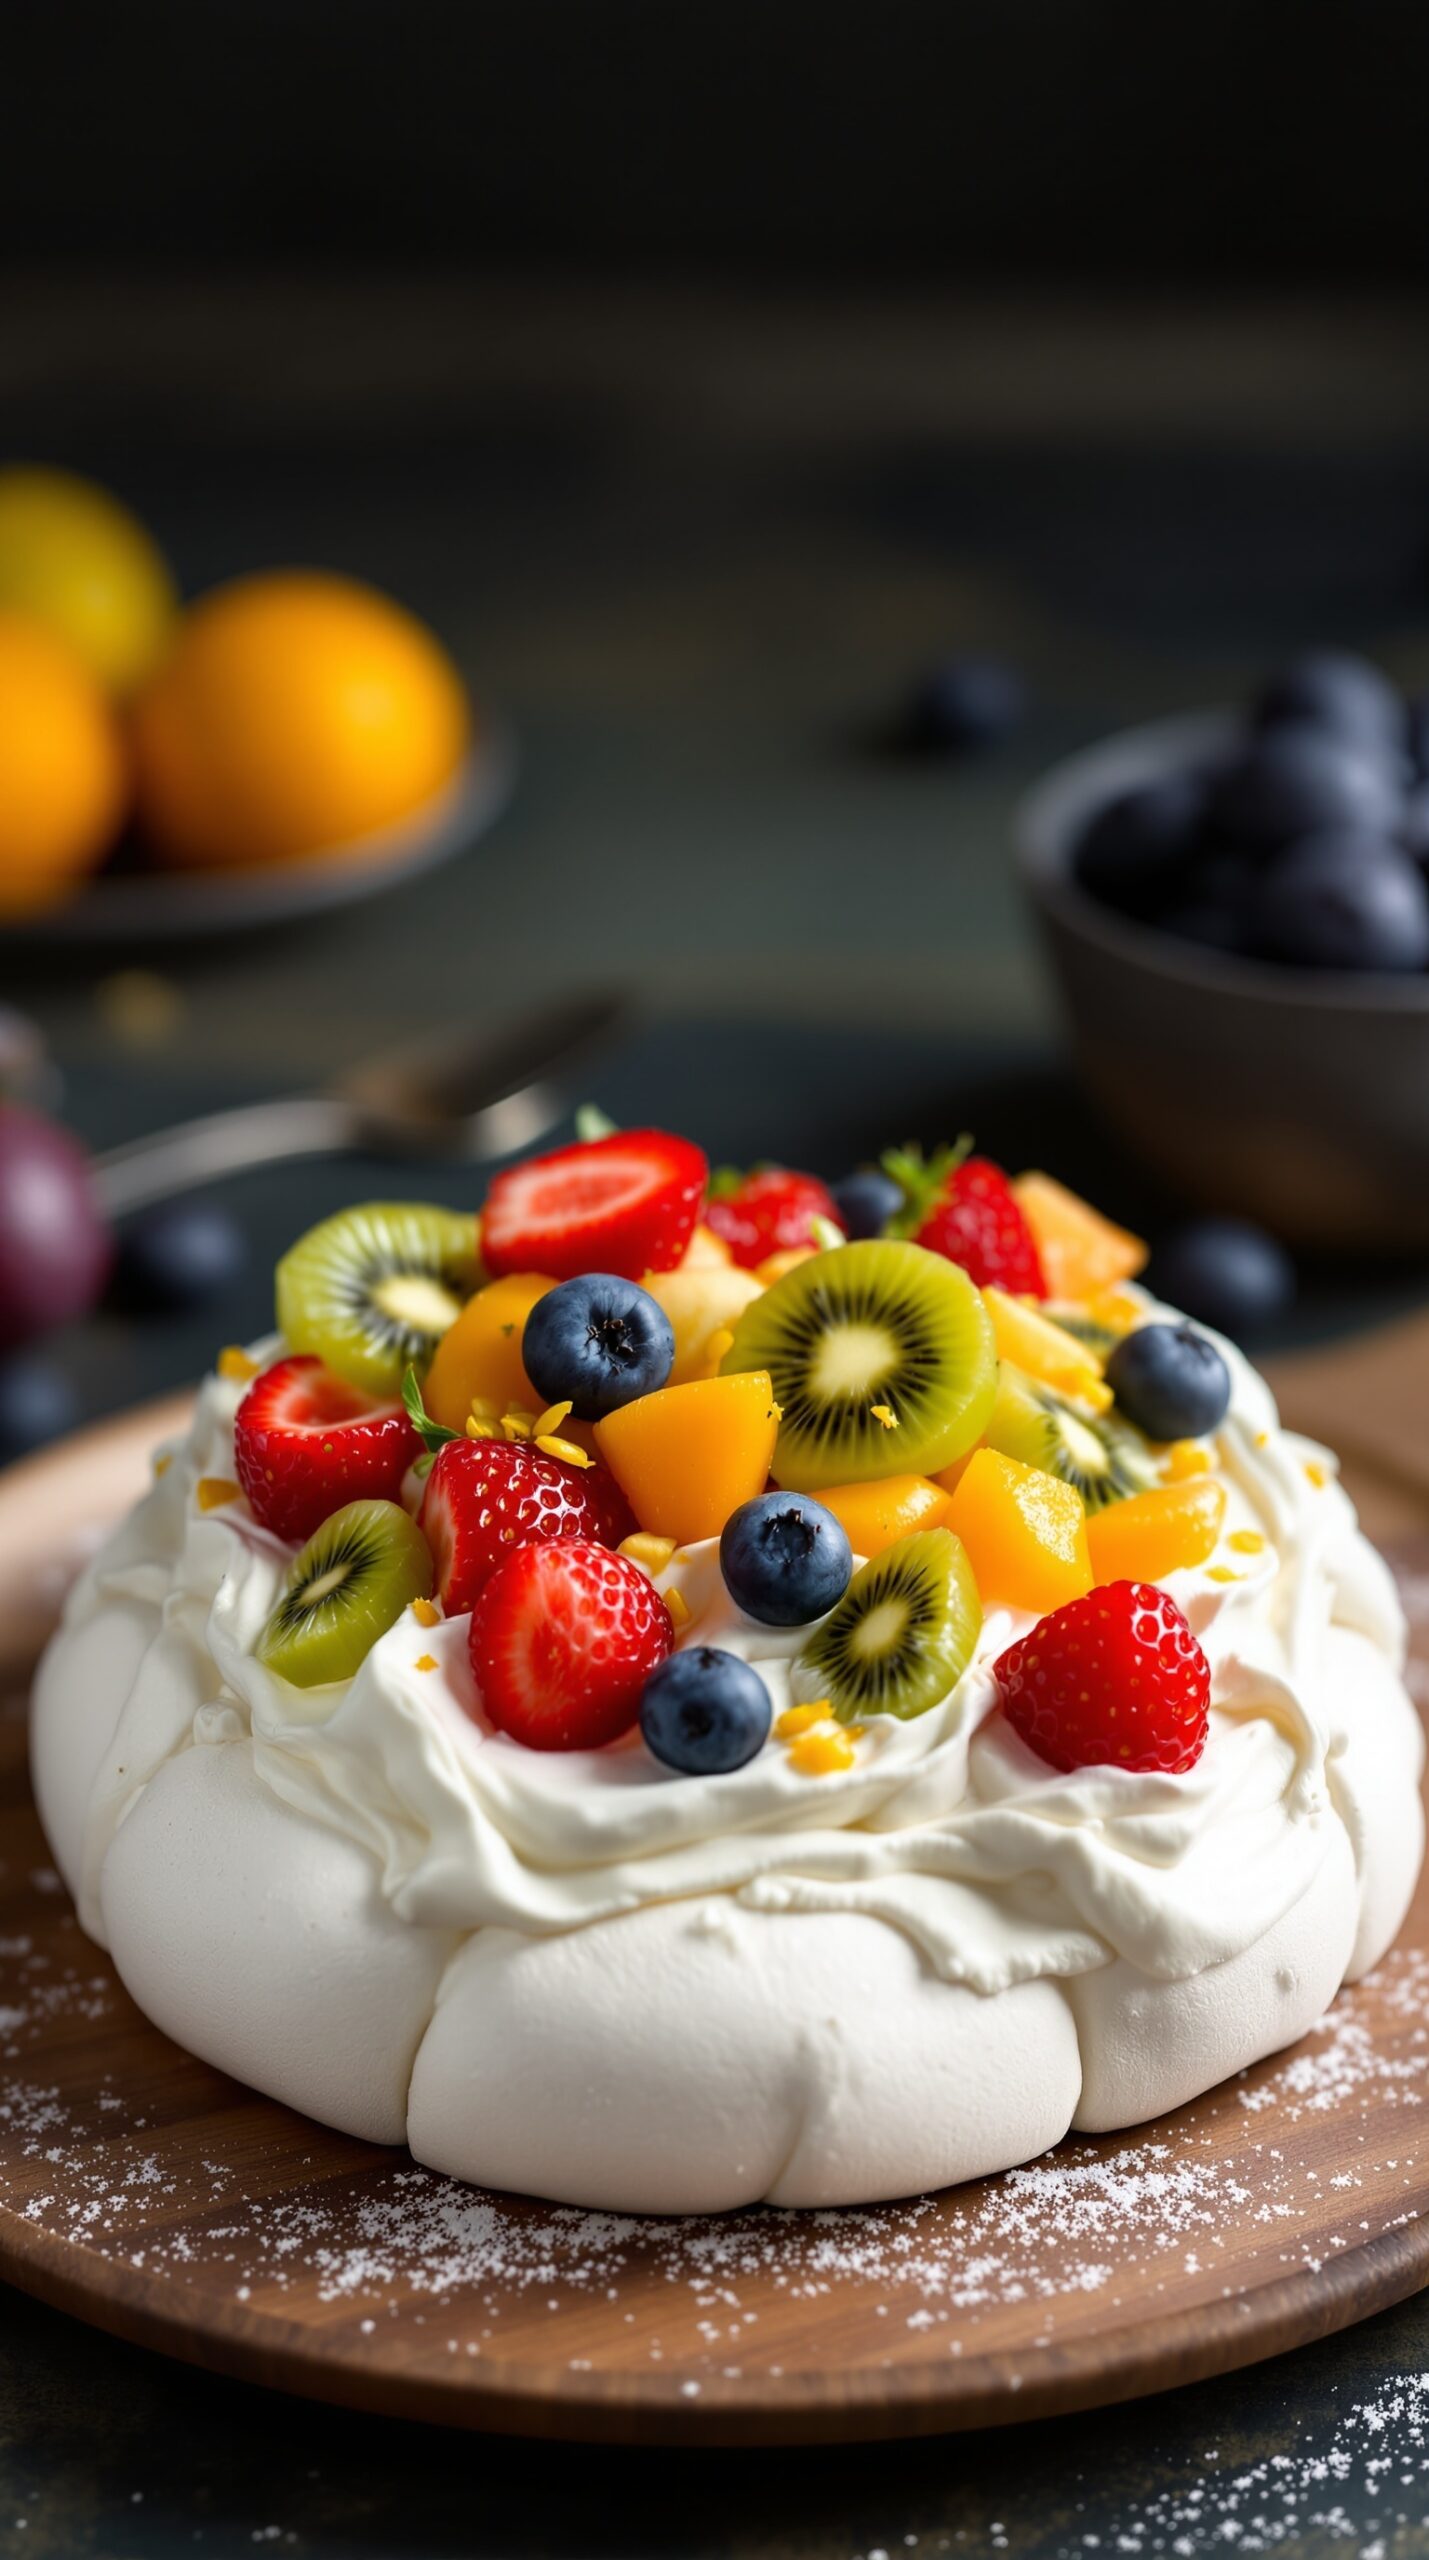
Pavlova is a delightful dessert that brings together a crispy meringue shell and a soft, marshmallow-like center. Topped with fresh fruit and whipped cream, it’s a treat that’s hard to resist. The image showcases a beautiful pavlova nest adorned with vibrant strawberries, blueberries, kiwi, and mango, making it not just tasty but visually stunning too.
This dessert is perfect for any occasion, whether it’s a summer gathering or a cozy family dinner. The combination of flavors and textures creates a refreshing experience. The sweetness of the meringue pairs perfectly with the tartness of the fruits, while the whipped cream adds a creamy finish.
Making a pavlova is simpler than it seems. With just a few ingredients, you can impress your guests with this elegant dessert. Let’s get into the recipe!
Ingredients
- 4 large egg whites
- 1 cup granulated sugar
- 1 teaspoon vanilla extract
- 1 teaspoon white vinegar
- 1 cup heavy whipping cream
- 2 tablespoons powdered sugar
- 1 cup strawberries, sliced
- 1 cup blueberries
- 1 cup kiwi, sliced
- 1 cup mango, diced
- Mint leaves for garnish (optional)
Instructions
- Preheat your oven to 250°F (120°C) and line a baking sheet with parchment paper.
- In a clean bowl, beat the egg whites until soft peaks form. Gradually add the granulated sugar, continuing to beat until stiff peaks form and the mixture is glossy.
- Mix in the vanilla extract and vinegar gently. Spoon the meringue onto the prepared baking sheet, shaping it into a nest with a slight dip in the center.
- Bake for about 1 hour, then turn off the oven and let the pavlova cool completely inside.
- Once cooled, whip the heavy cream with powdered sugar until soft peaks form. Spoon the whipped cream into the center of the pavlova.
- Top with the sliced strawberries, blueberries, kiwi, and mango. Garnish with mint leaves if desired.
- Serve immediately and enjoy your fruity pavlova!
Classic Vanilla Bean Panna Cotta
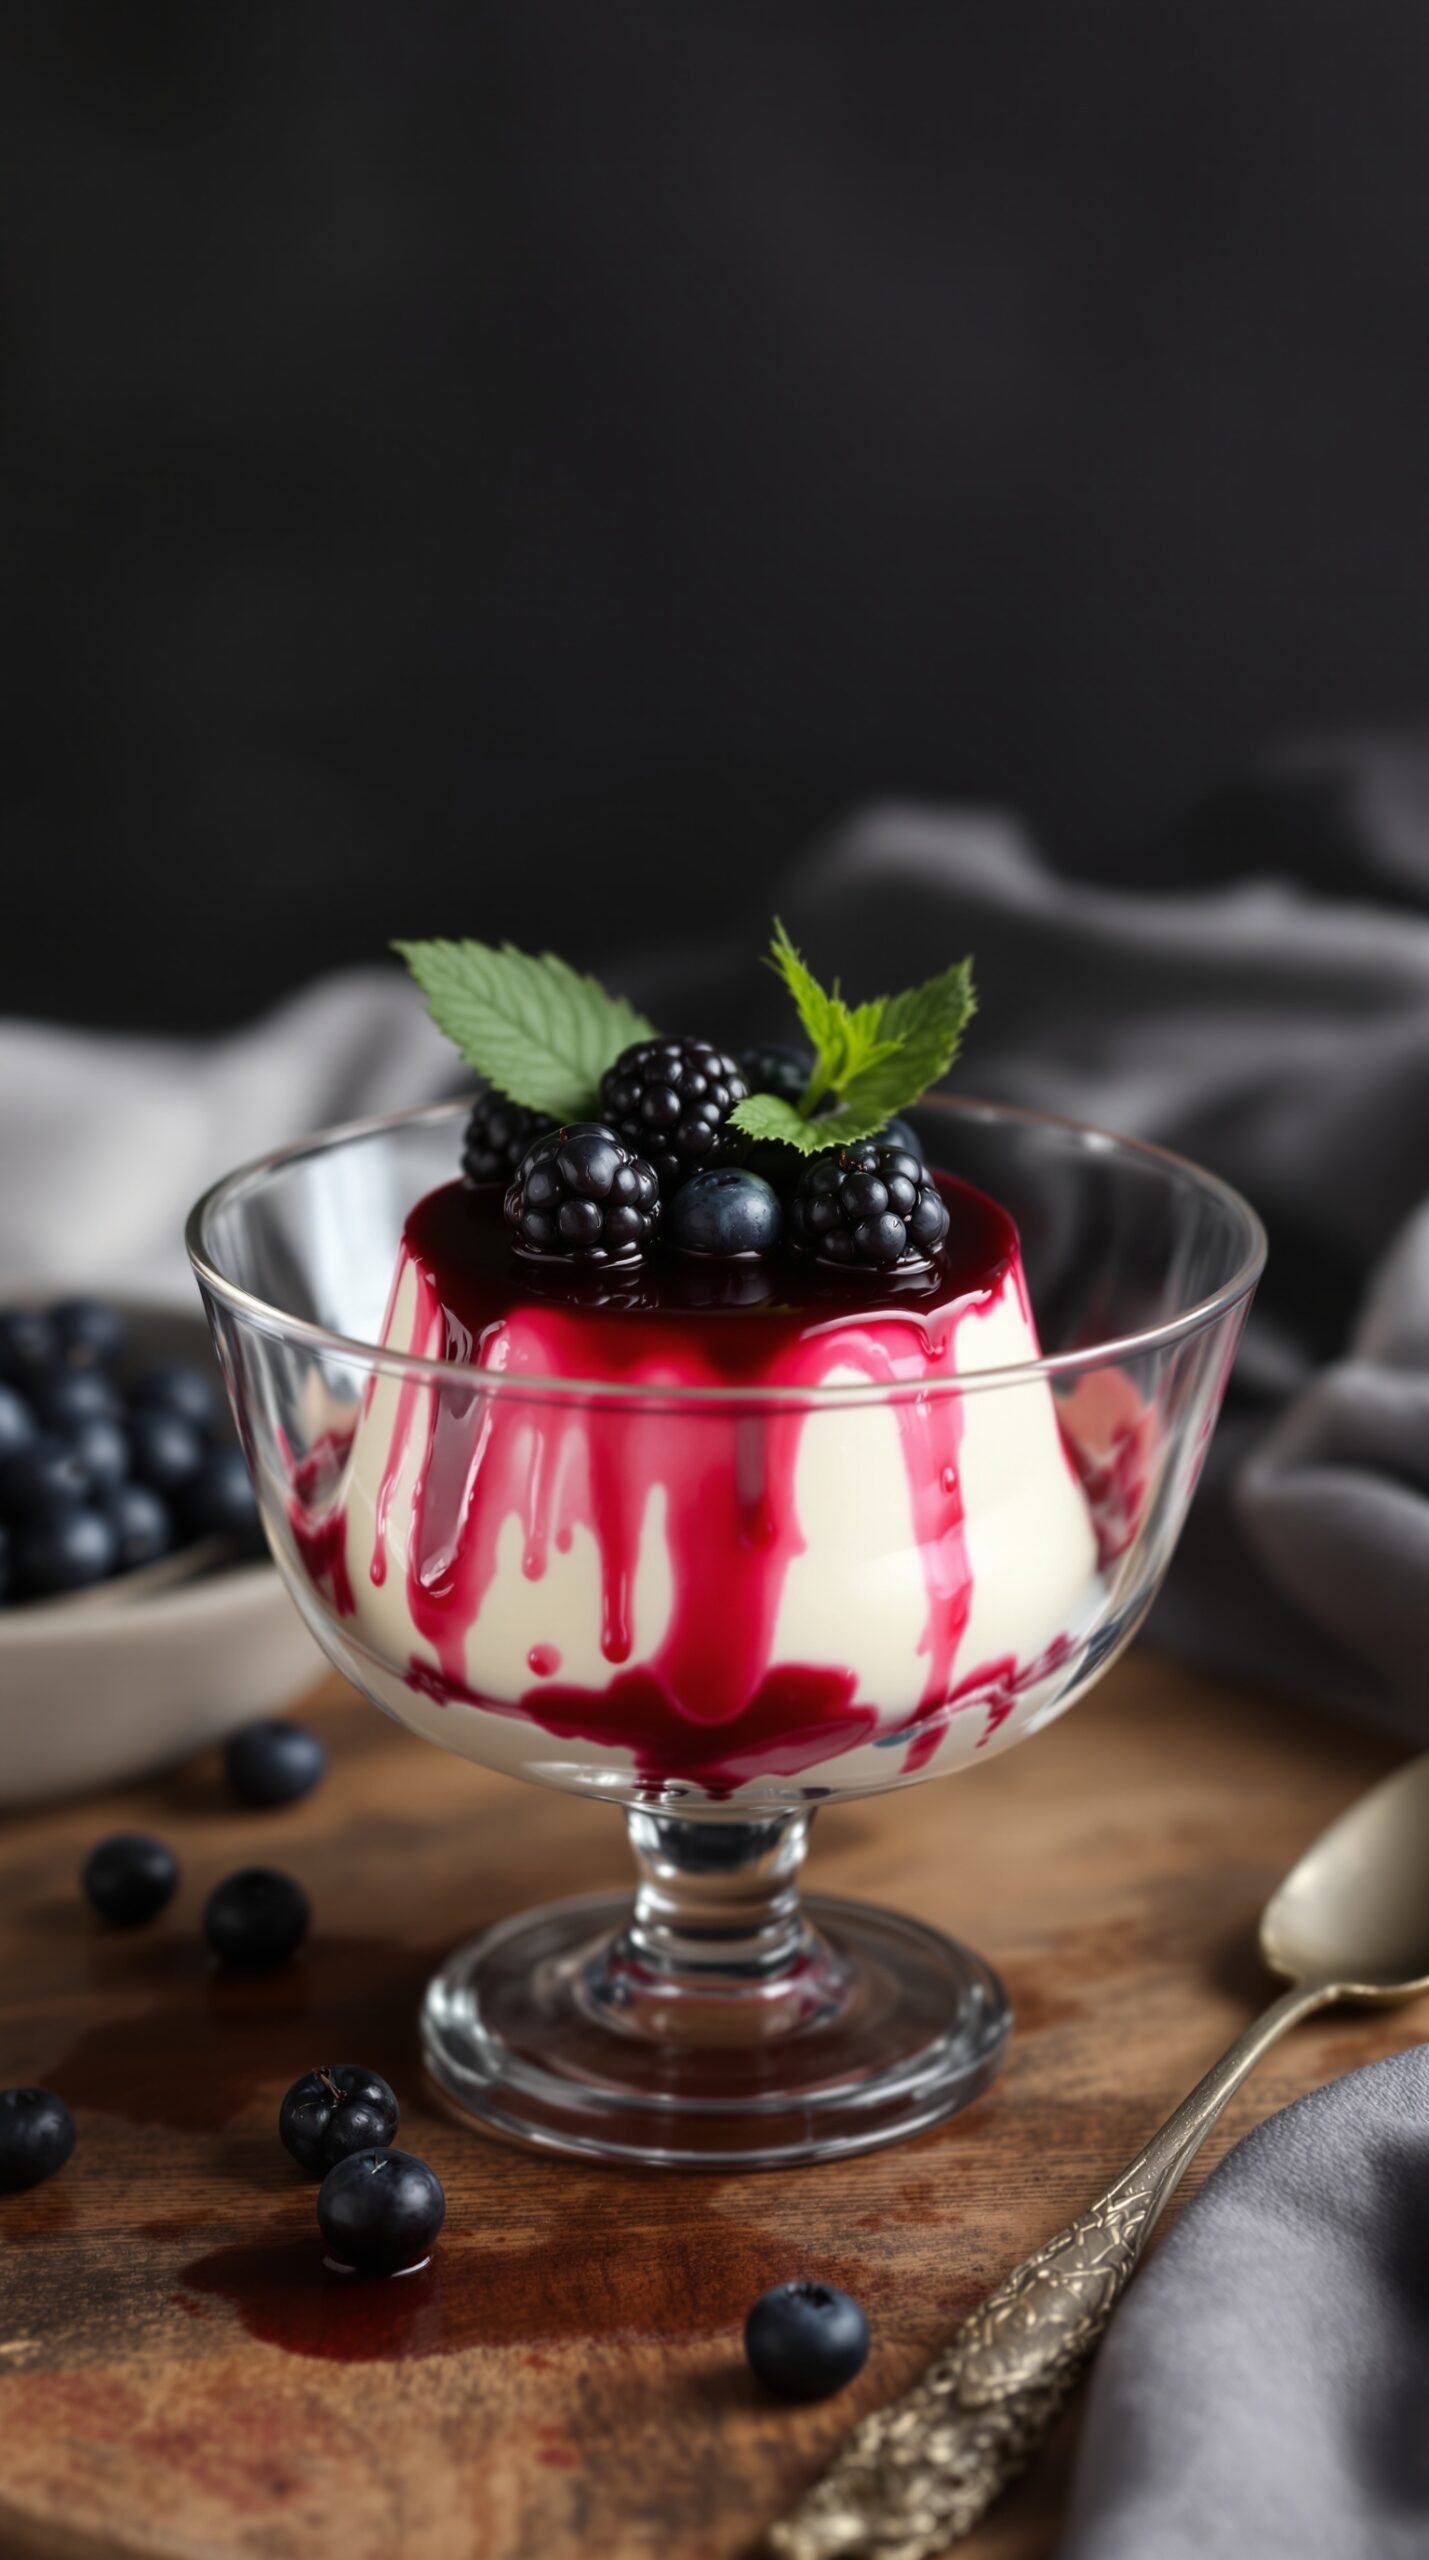
Panna cotta is a classic Italian dessert that is creamy and smooth. The image shows a beautiful panna cotta topped with fresh blackberries and a rich berry sauce. The vibrant colors of the berries contrast nicely with the creamy white dessert, making it visually appealing.
This dessert is not only easy to make but also perfect for any occasion. The vanilla bean adds a lovely flavor that pairs well with the tartness of the berries. You can serve it in individual cups or bowls, making it a great choice for dinner parties or special celebrations.
Let’s get started with the recipe!
Ingredients
- 2 cups heavy cream
- 1/2 cup granulated sugar
- 1 teaspoon vanilla bean paste or 1 vanilla bean, split
- 2 1/2 teaspoons gelatin powder
- 3 tablespoons cold water
- Fresh berries for topping (like blackberries and blueberries)
- Berry sauce (optional)
Instructions
- Prepare the Gelatin: In a small bowl, sprinkle the gelatin over the cold water. Let it sit for about 5 minutes to bloom.
- Heat the Cream: In a saucepan, combine the heavy cream, sugar, and vanilla bean paste. Heat over medium heat until the sugar dissolves and the mixture is hot but not boiling.
- Add Gelatin: Remove the saucepan from heat and stir in the bloomed gelatin until fully dissolved.
- Pour and Chill: Pour the mixture into serving cups or bowls. Cover and refrigerate for at least 4 hours, or until set.
- Serve: Once set, top with fresh berries and berry sauce if desired. Enjoy your delicious panna cotta!
Zesty Lemon Tart with Meringue
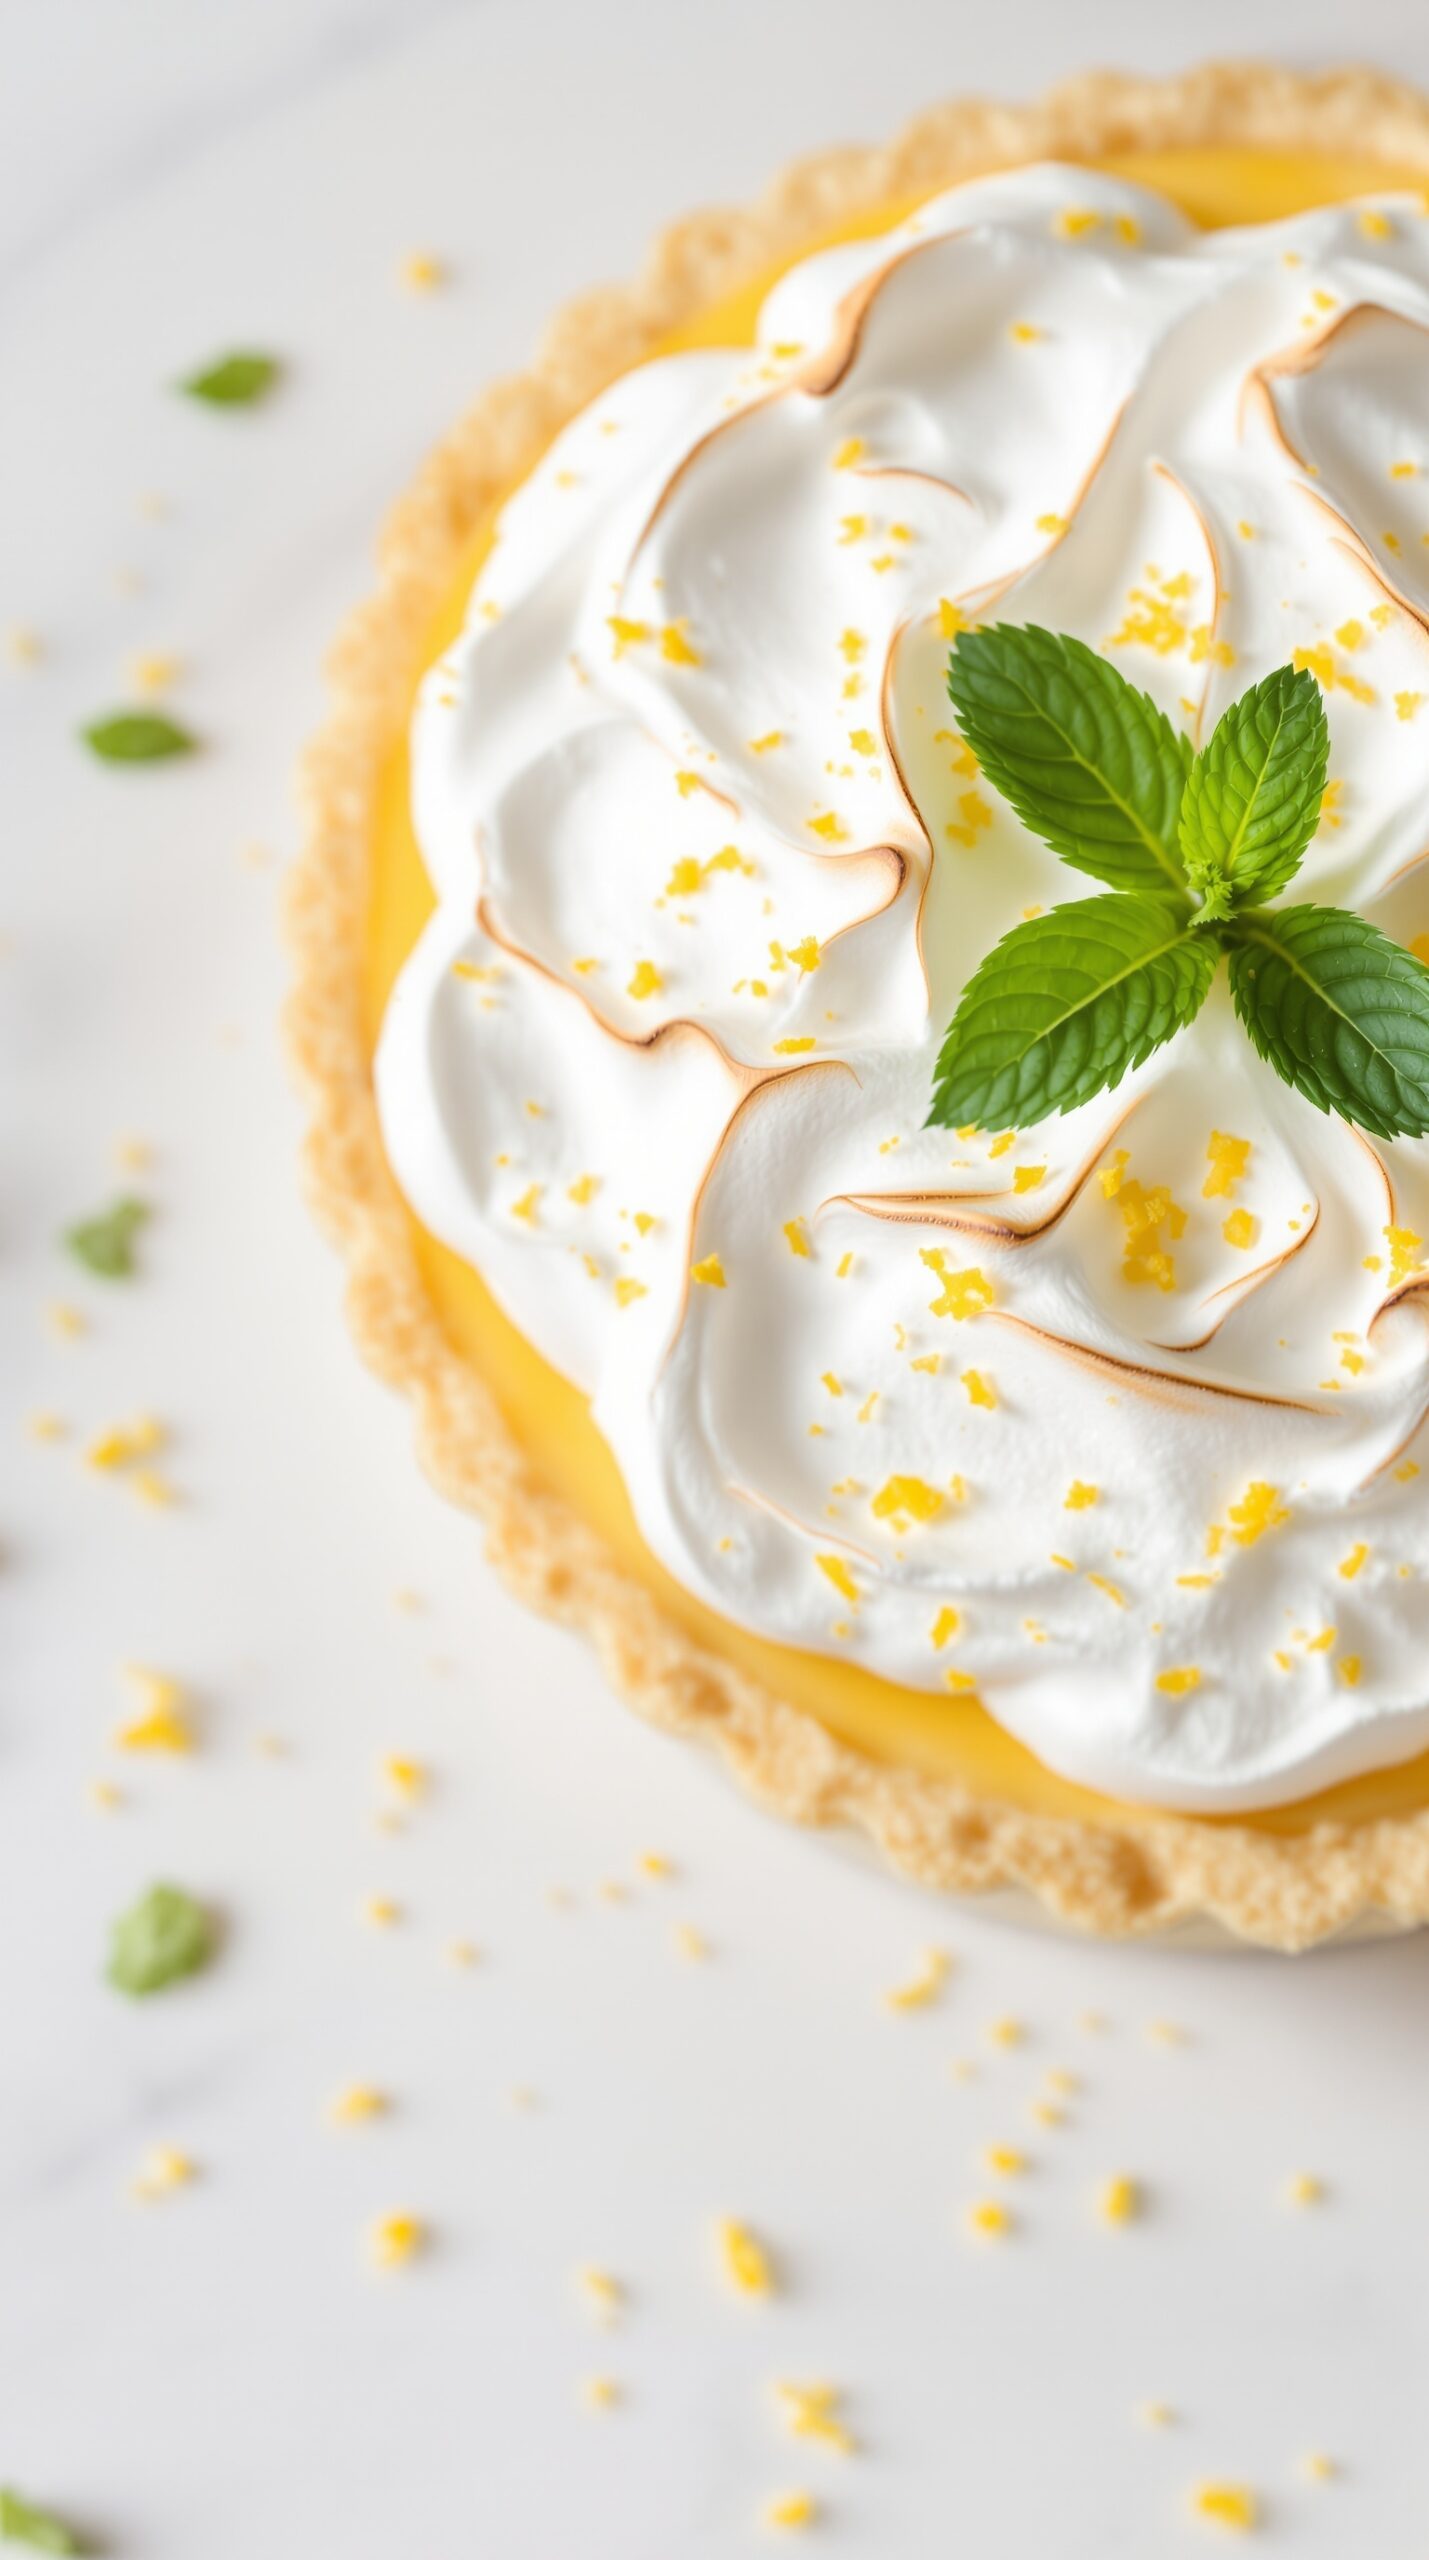
This zesty lemon tart is a delightful treat that combines a buttery crust with a bright lemon filling. Topped with fluffy meringue, it’s perfect for any occasion. The tart’s vibrant yellow color and the light, airy meringue create an inviting dessert that’s hard to resist.
The crust is made from simple ingredients, providing a crunchy base that complements the smooth lemon filling. The filling is tangy yet sweet, striking a perfect balance. The meringue adds a lovely texture, making each bite a delightful experience.
To make this lemon tart, you’ll need fresh lemons for the best flavor. The meringue is whipped to soft peaks, then lightly toasted for a beautiful finish. This dessert is not only visually appealing but also bursting with flavor.
Ingredients
- 1 ½ cups all-purpose flour
- ½ cup unsalted butter, softened
- ¼ cup powdered sugar
- 1 large egg yolk
- 2 tablespoons cold water
- 1 cup granulated sugar
- 3 large eggs
- ½ cup fresh lemon juice
- 1 tablespoon lemon zest
- ¼ teaspoon salt
- 3 large egg whites
- ¼ teaspoon cream of tartar
Instructions
- Make the Crust: Preheat your oven to 350°F (175°C). In a bowl, mix flour, butter, and powdered sugar until crumbly. Add egg yolk and cold water, mixing until a dough forms. Press into a tart pan and bake for 15-20 minutes until golden.
- Prepare the Filling: In a saucepan, whisk together granulated sugar, eggs, lemon juice, lemon zest, and salt. Cook over medium heat, stirring constantly until thickened. Remove from heat and pour into the baked crust.
- Make the Meringue: In a clean bowl, beat egg whites and cream of tartar until soft peaks form. Gradually add sugar, continuing to beat until stiff peaks form.
- Top the Tart: Spread the meringue over the lemon filling, making sure to seal the edges. Use a spatula to create peaks for a decorative touch.
- Bake: Return the tart to the oven and bake for an additional 10-15 minutes until the meringue is lightly browned. Let it cool before serving.
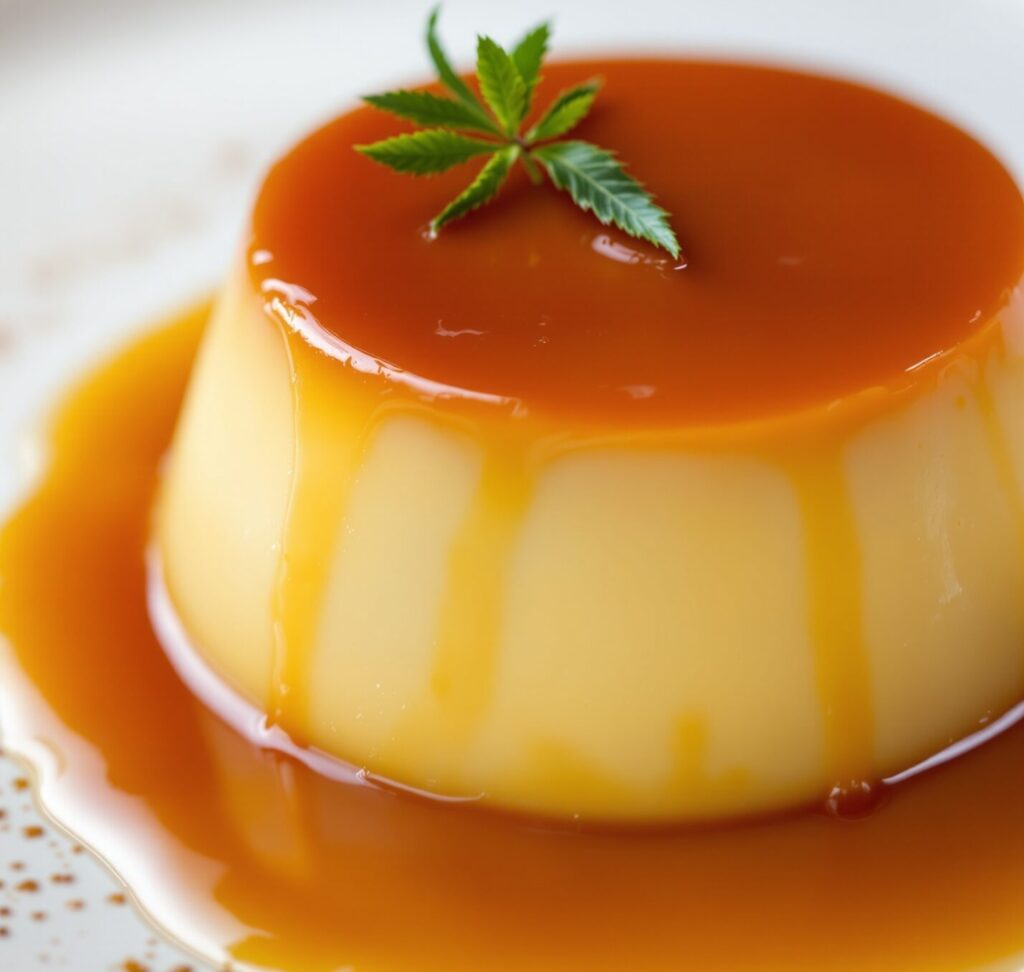
Caramel Flan with a Silky Texture
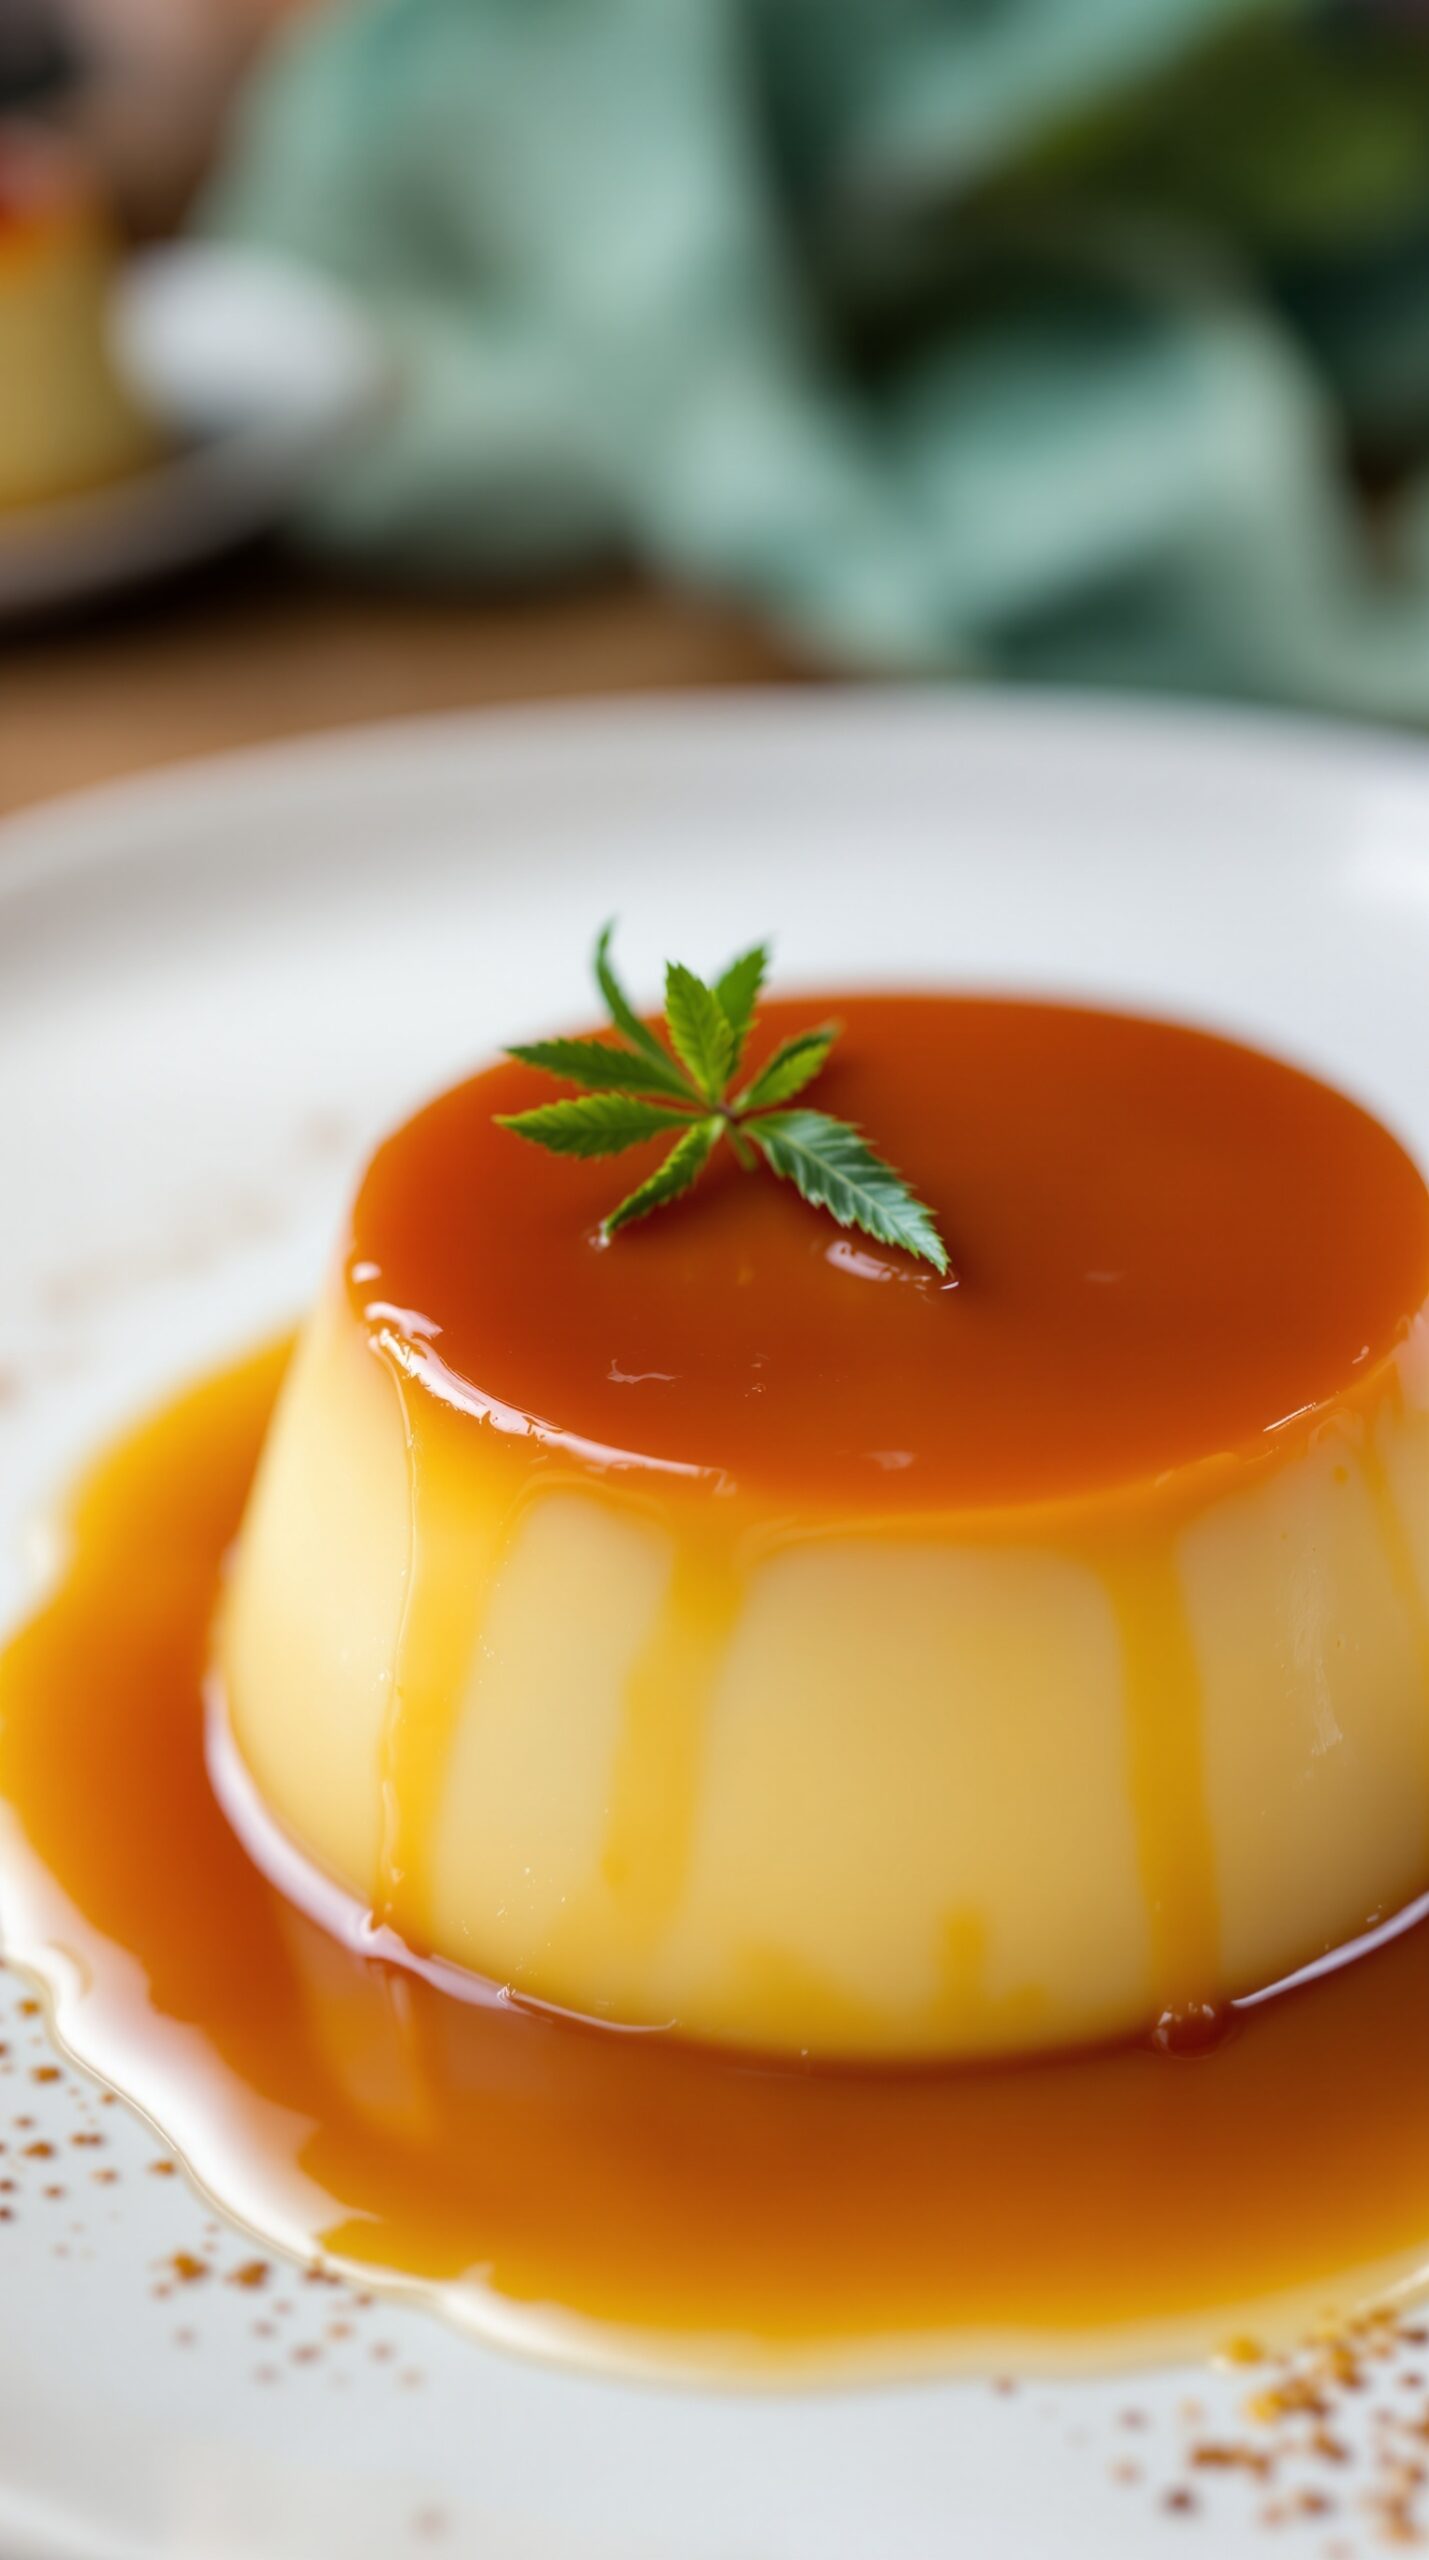
Caramel flan is a classic dessert that brings a touch of elegance to any meal. This dish features a smooth, creamy texture that melts in your mouth. The rich caramel sauce adds a sweet finish that perfectly complements the flan. It’s a delightful treat that is surprisingly easy to make at home.
The flan is made with simple ingredients like eggs, milk, and sugar, which come together to create a silky custard. The caramel sauce is made by melting sugar until it turns golden brown, then pouring it into the flan mold before adding the custard mixture. This creates a beautiful layer of caramel on top that flows over the flan when served.
To make this dessert even more appealing, garnish it with a fresh mint leaf. This adds a pop of color and a hint of freshness that balances the sweetness. Caramel flan is perfect for dinner parties or special occasions, and it’s sure to impress your guests!
Ingredients
- 1 cup granulated sugar (for caramel)
- 4 large eggs
- 1 can (14 oz) sweetened condensed milk
- 1 can (12 oz) evaporated milk
- 1 tablespoon vanilla extract
- 1/4 cup granulated sugar (for custard)
Instructions
- Make the Caramel: In a saucepan, melt 1 cup of sugar over medium heat. Stir constantly until it turns a golden brown color. Quickly pour the caramel into a flan mold, tilting to coat the bottom evenly.
- Prepare the Custard: In a blender, combine eggs, sweetened condensed milk, evaporated milk, vanilla extract, and 1/4 cup sugar. Blend until smooth.
- Pour the Custard: Carefully pour the custard mixture over the caramel in the mold.
- Bake: Preheat the oven to 350°F (175°C). Place the flan mold in a larger baking dish filled with water (water bath). Bake for about 50-60 minutes, or until the custard is set.
- Cool and Serve: Let the flan cool completely before refrigerating for at least 4 hours. To serve, run a knife around the edges, invert onto a plate, and enjoy!
Coconut Macaroons Dipped in Chocolate
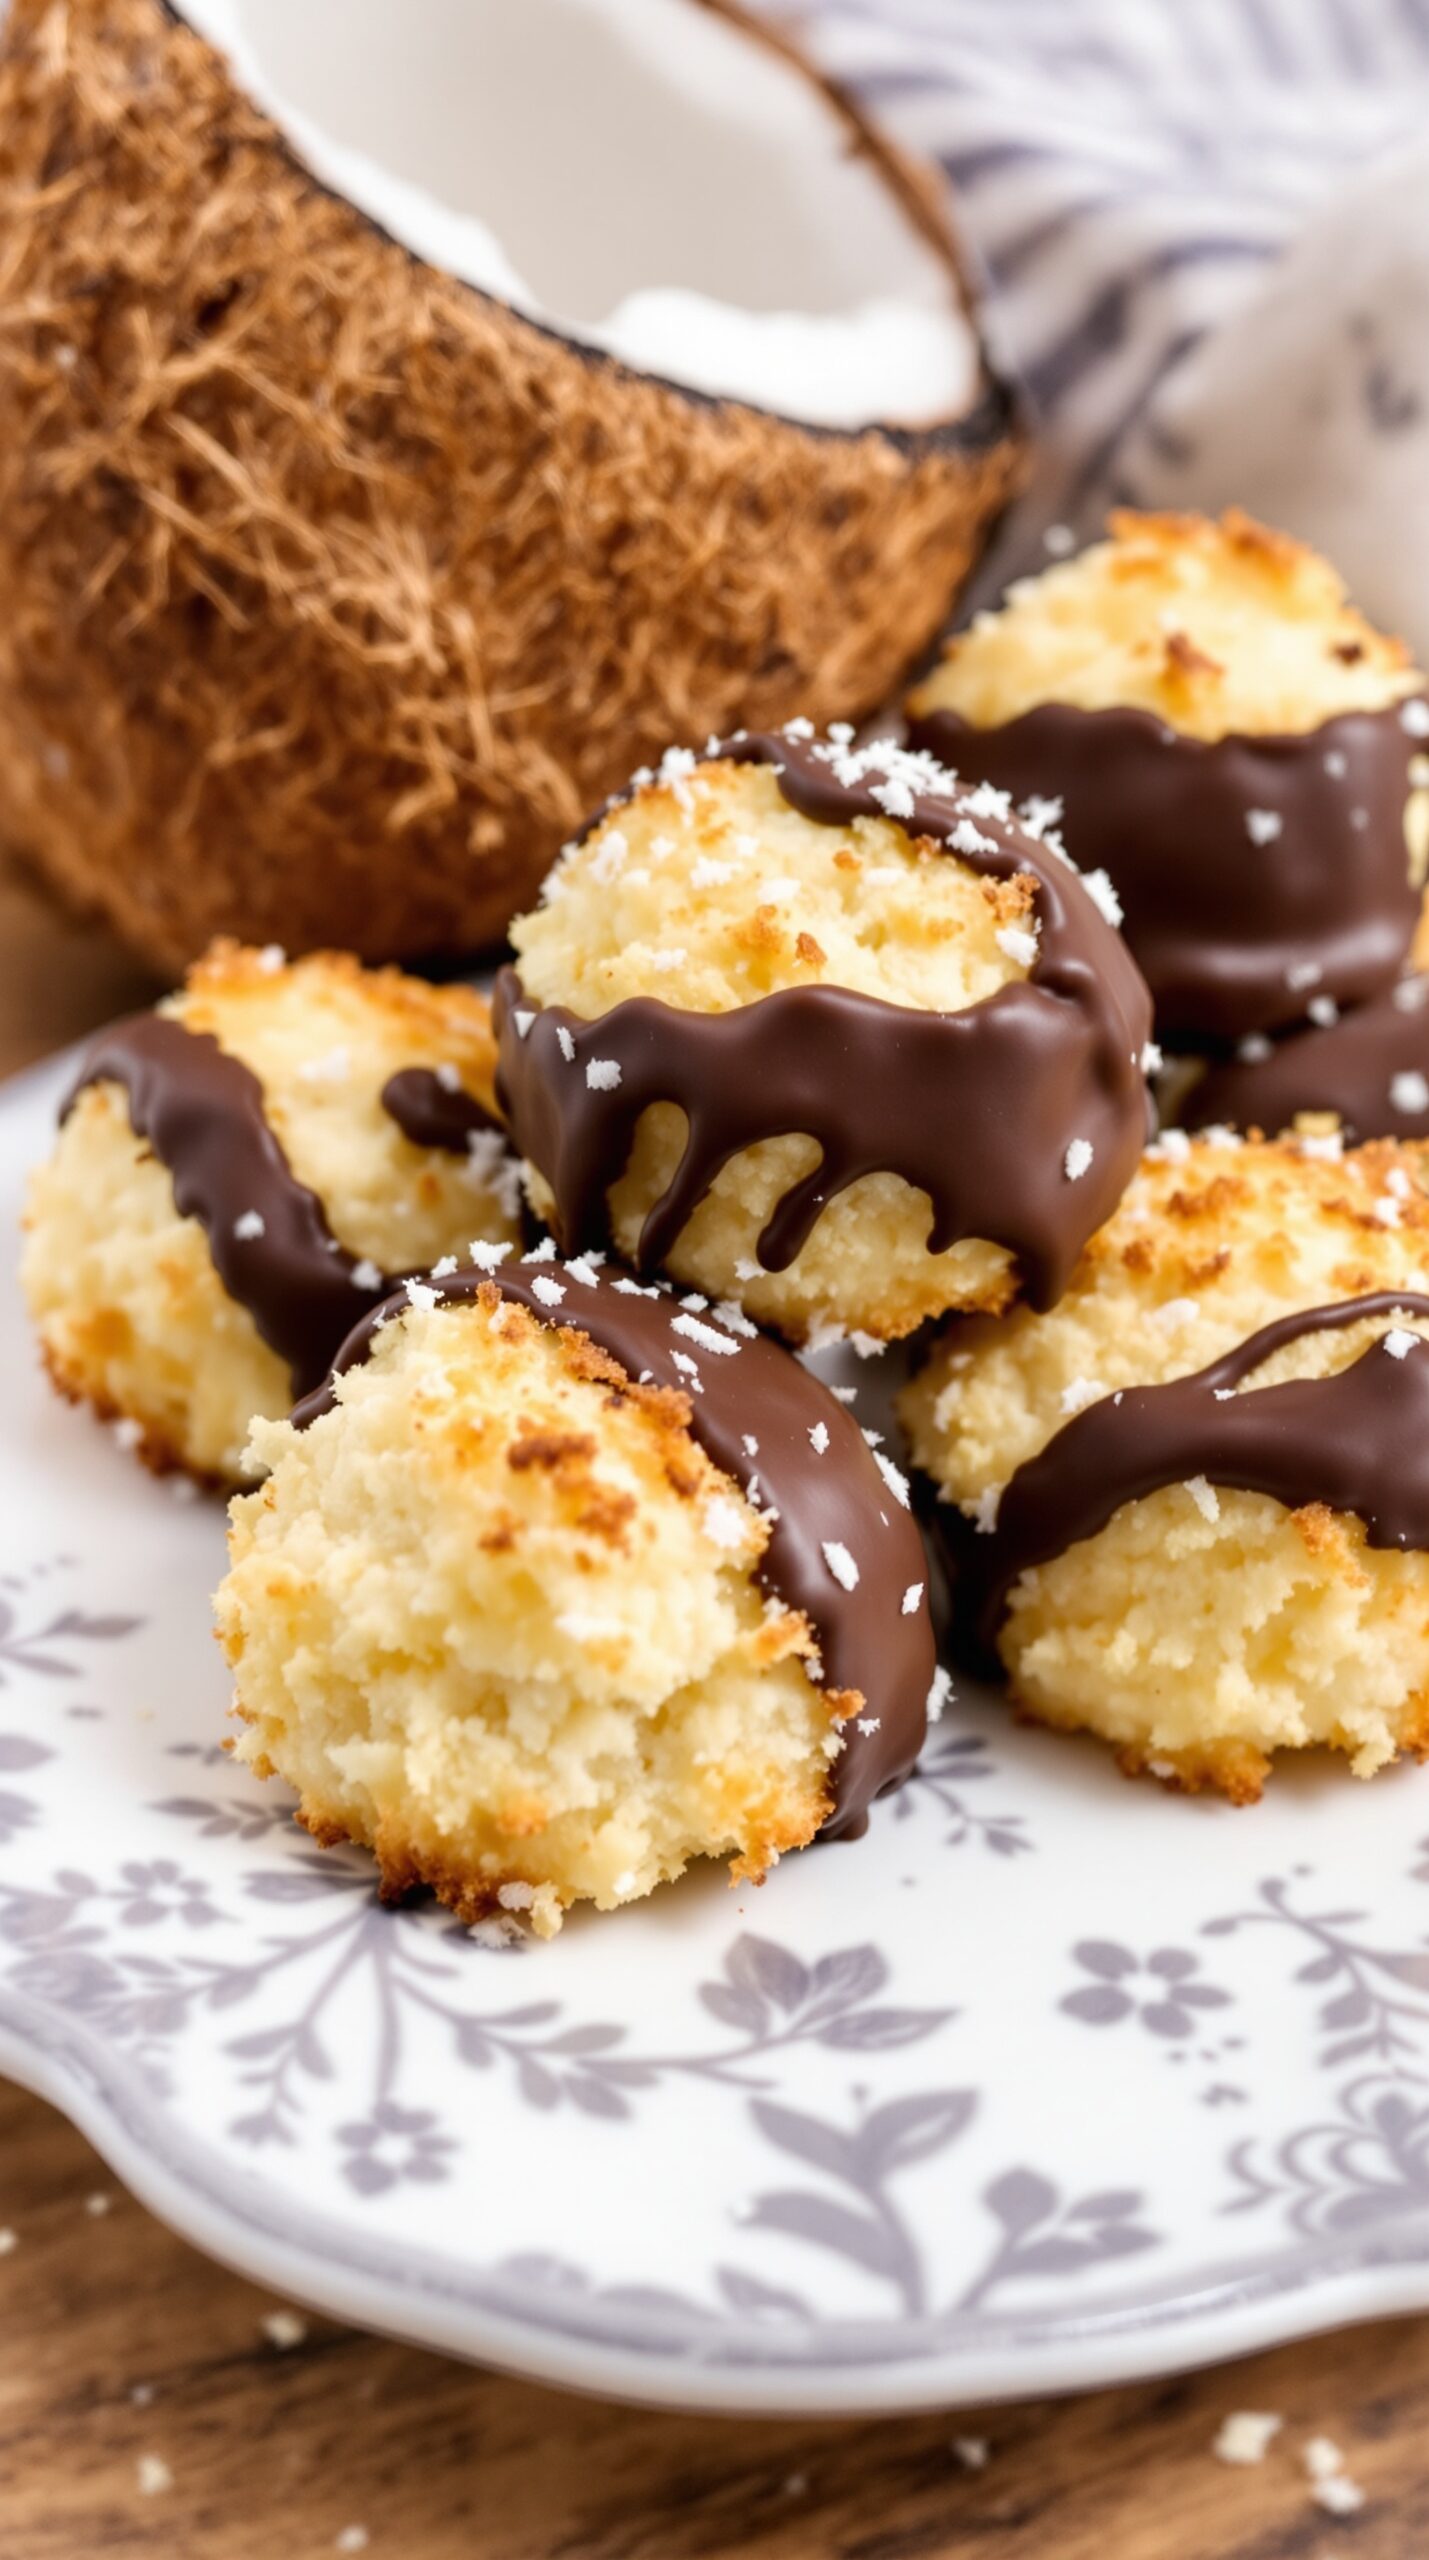
Coconut macaroons are a delightful treat that combines the tropical flavor of coconut with the rich taste of chocolate. These little bites are perfect for satisfying a sweet tooth. The image shows golden-brown macaroons, each dipped in smooth chocolate, making them look irresistible. The sprinkle of shredded coconut on top adds a nice touch, enhancing their appeal.
Making coconut macaroons is simple and fun. You only need a few ingredients, and the steps are easy to follow. These treats are great for parties, holidays, or just a cozy evening at home. Plus, they are gluten-free, which makes them a hit for various dietary preferences.
Let’s get into the recipe so you can whip up a batch of these delicious coconut macaroons!
Ingredients
- 2 2/3 cups sweetened shredded coconut
- 2/3 cup sweetened condensed milk
- 1 teaspoon vanilla extract
- 1/4 teaspoon salt
- 8 ounces semi-sweet chocolate, chopped
- 1 tablespoon coconut oil (optional)
Instructions
- Preheat the Oven: Start by preheating your oven to 325°F (163°C). Line a baking sheet with parchment paper.
- Mix Ingredients: In a large bowl, combine the shredded coconut, sweetened condensed milk, vanilla extract, and salt. Stir until everything is well mixed.
- Scoop the Mixture: Using a cookie scoop or your hands, form small mounds of the coconut mixture and place them on the prepared baking sheet, leaving space between each one.
- Bake: Bake the macaroons in the preheated oven for 20-25 minutes, or until they are golden brown. Remove them from the oven and let them cool completely on the baking sheet.
- Melt the Chocolate: While the macaroons are cooling, melt the chopped chocolate and coconut oil (if using) in a microwave-safe bowl. Heat in 30-second intervals, stirring in between until smooth.
- Dip the Macaroons: Once the macaroons are cool, dip the bottoms into the melted chocolate, allowing any excess to drip off. Place them back on the parchment paper.
- Let Set: Allow the chocolate to harden at room temperature or refrigerate for about 15 minutes to speed up the process.
Enjoy your homemade coconut macaroons dipped in chocolate! They are sure to be a crowd-pleaser.
Nutty Baklava with Honey Drizzle
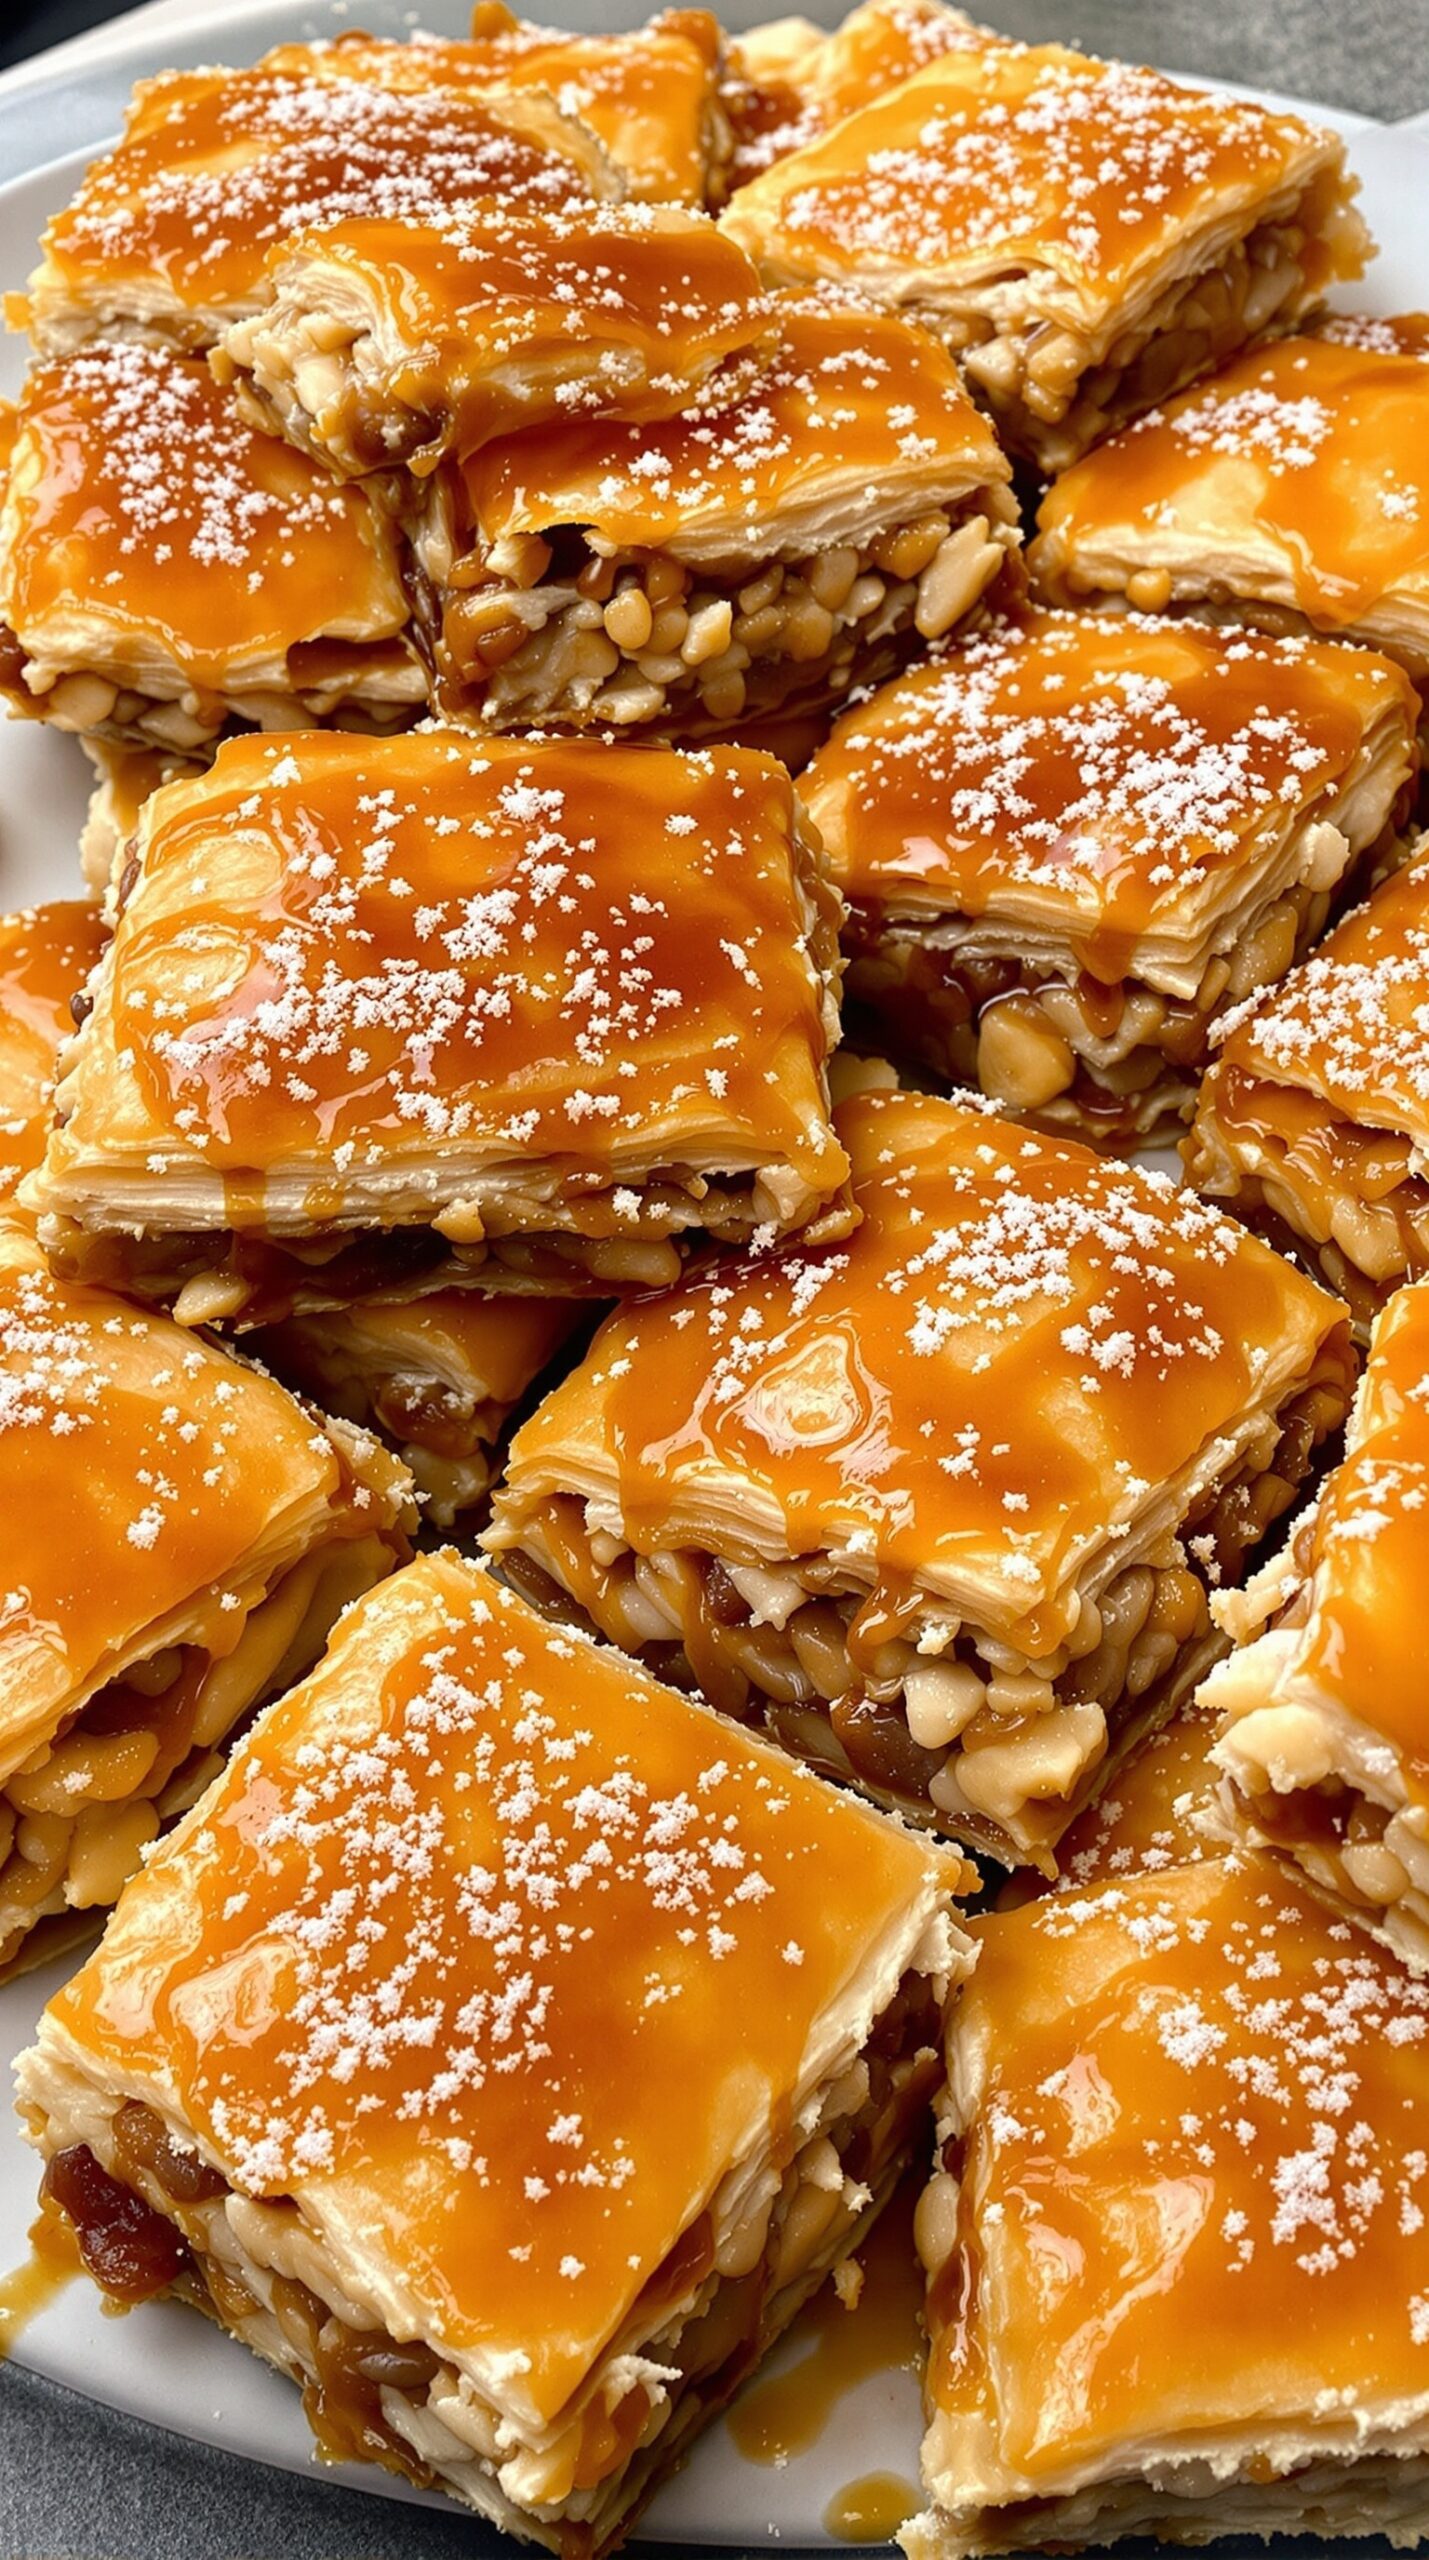
Baklava is a classic dessert that combines layers of flaky pastry, nuts, and sweet syrup. This nutty baklava is a delightful treat, perfect for any occasion. The golden layers are filled with a mix of nuts, giving it a satisfying crunch. Topped with a honey drizzle, it adds a sweet finish that everyone loves.
In the image, you can see beautifully cut pieces of baklava, each glistening with a rich honey syrup. The nuts peek through the layers, showcasing the delicious filling. A sprinkle of powdered sugar adds a touch of elegance, making it visually appealing.
This dessert is not just tasty; it’s also fun to make. You can customize the nut mixture to your liking. Whether you prefer walnuts, pistachios, or almonds, each option brings its own unique flavor.
Ready to impress your friends and family? Let’s get started with the recipe!
Ingredients
- 1 package of phyllo dough (16 oz)
- 2 cups mixed nuts (walnuts, pistachios, almonds)
- 1 cup unsalted butter, melted
- 1 teaspoon ground cinnamon
- 1 cup sugar
- 1 cup water
- 1/2 cup honey
- 1 teaspoon vanilla extract
- Powdered sugar for garnish
Instructions
- Preheat the oven to 350°F (175°C).
- Chop the mixed nuts and combine them with cinnamon in a bowl.
- Unroll the phyllo dough and cover it with a damp cloth to prevent drying out.
- Brush a baking dish with melted butter. Layer 8 sheets of phyllo dough, brushing each layer with butter.
- Spread a layer of the nut mixture over the phyllo. Repeat the layering process, adding nuts and phyllo until all ingredients are used, finishing with 8 layers of phyllo on top.
- Cut the baklava into diamond or square shapes before baking.
- Bake for about 45 minutes, or until golden brown.
- While the baklava is baking, prepare the syrup. In a saucepan, combine sugar, water, honey, and vanilla. Bring to a boil, then reduce heat and simmer for 10 minutes.
- Once the baklava is done, pour the hot syrup over it immediately.
- Let it cool completely before serving. Garnish with powdered sugar.
Chocolate Chip Cookie Dough Brownies
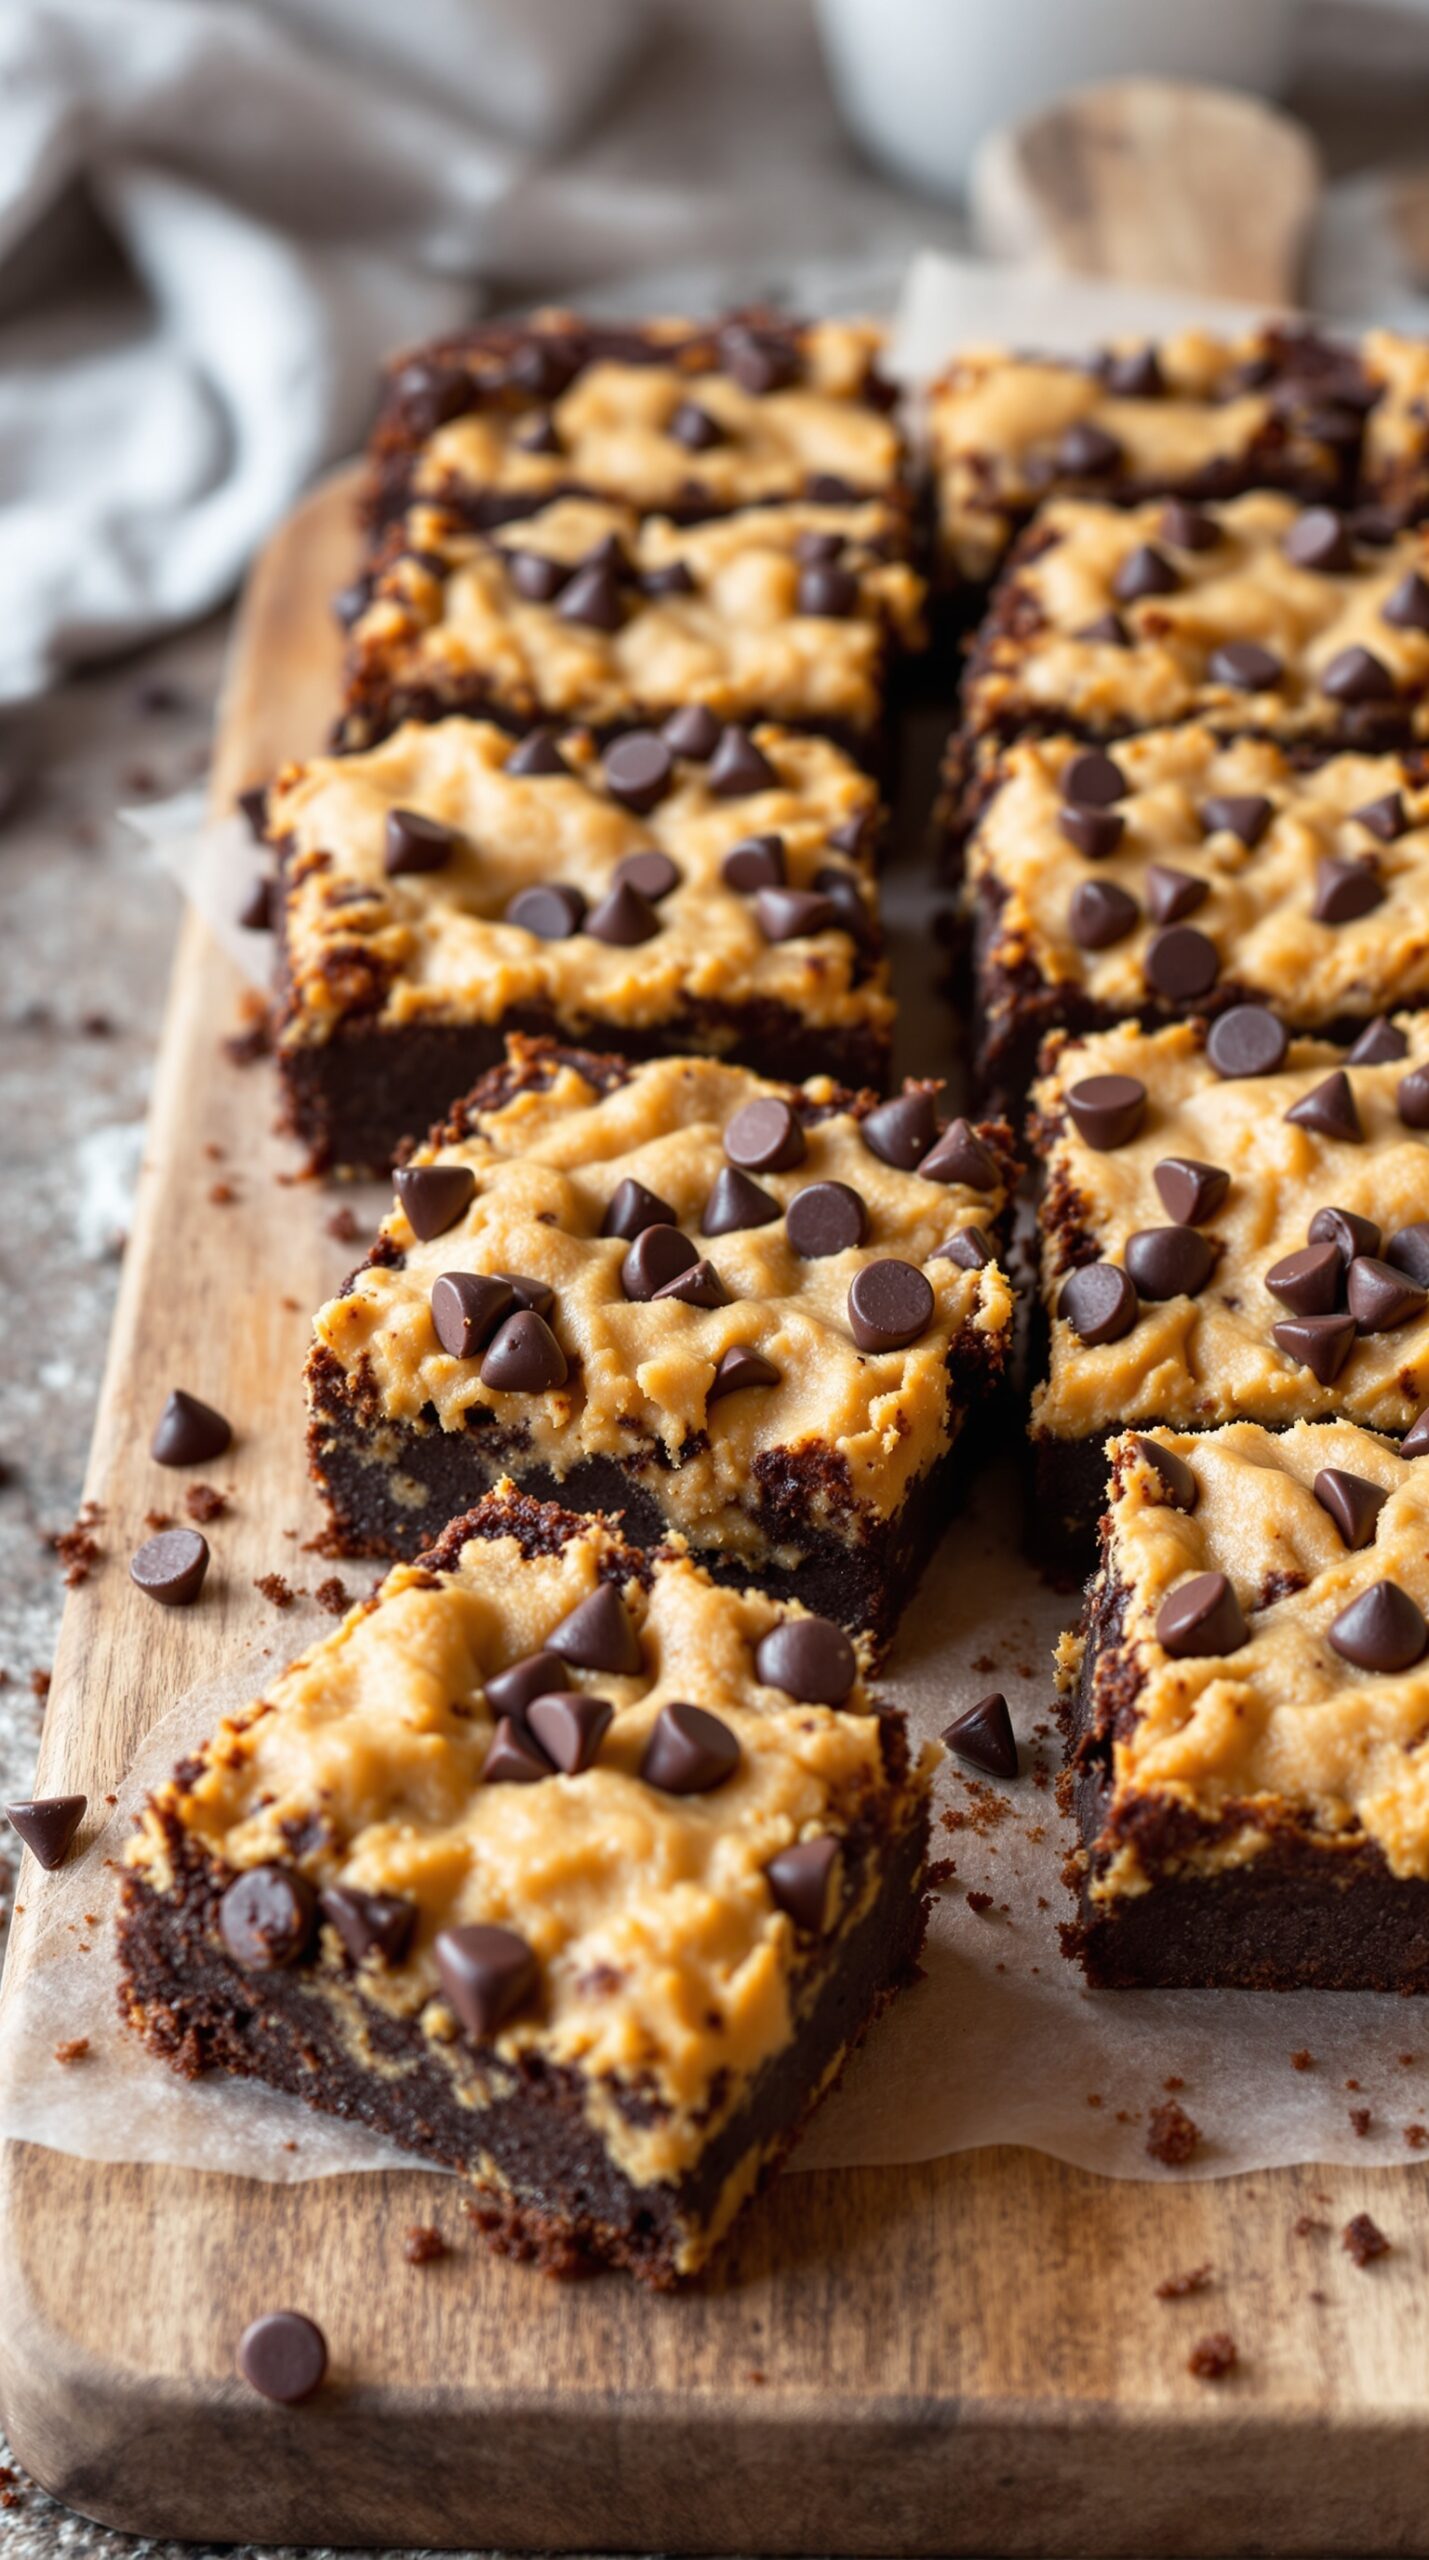
Chocolate Chip Cookie Dough Brownies are a delightful treat that combines two favorites into one delicious dessert. Imagine a rich, fudgy brownie base topped with a layer of cookie dough, sprinkled with chocolate chips. This dessert is perfect for any occasion, whether it’s a family gathering or a cozy night in.
The brownies are soft and chewy, while the cookie dough adds a sweet, creamy texture that makes each bite irresistible. The combination of flavors and textures creates a dessert that everyone will love.
Making these brownies is simple and fun. You start with a basic brownie mix, then prepare a quick cookie dough to spread on top. Bake it all together, and you have a dessert that looks as good as it tastes!
Ingredients
- 1 cup unsalted butter, melted
- 2 cups granulated sugar
- 4 large eggs
- 1 teaspoon vanilla extract
- 1 cup all-purpose flour
- 1 cup unsweetened cocoa powder
- 1/2 teaspoon salt
- 1 cup chocolate chips
- 1/2 cup brown sugar
- 1/4 cup all-purpose flour
- 1/2 cup chocolate chips (for topping)
Instructions
- Preheat the oven to 350°F (175°C) and grease a 9×13 inch baking dish.
- In a large bowl, mix melted butter and granulated sugar until smooth. Add eggs and vanilla, mixing well.
- In another bowl, combine flour, cocoa powder, and salt. Gradually add this dry mixture to the wet ingredients, stirring until just combined. Fold in 1 cup of chocolate chips.
- Pour the brownie batter into the prepared baking dish, spreading it evenly.
- In a separate bowl, mix brown sugar, 1/4 cup flour, and remaining chocolate chips to create the cookie dough. Drop spoonfuls of the cookie dough over the brownie batter.
- Bake for 25-30 minutes, or until the brownies are set but still soft in the center. Let cool before slicing into squares.