Searching for tasty dinner ideas? Look no further! This collection of dinner recipes is packed with simple, mouthwatering dishes that are perfect for busy weeknights or relaxing weekends.
Whether you’re in the mood for something hearty or light, you’ll find plenty of options to satisfy your cravings and impress your loved ones.
Slow Cooker BBQ Pulled Pork
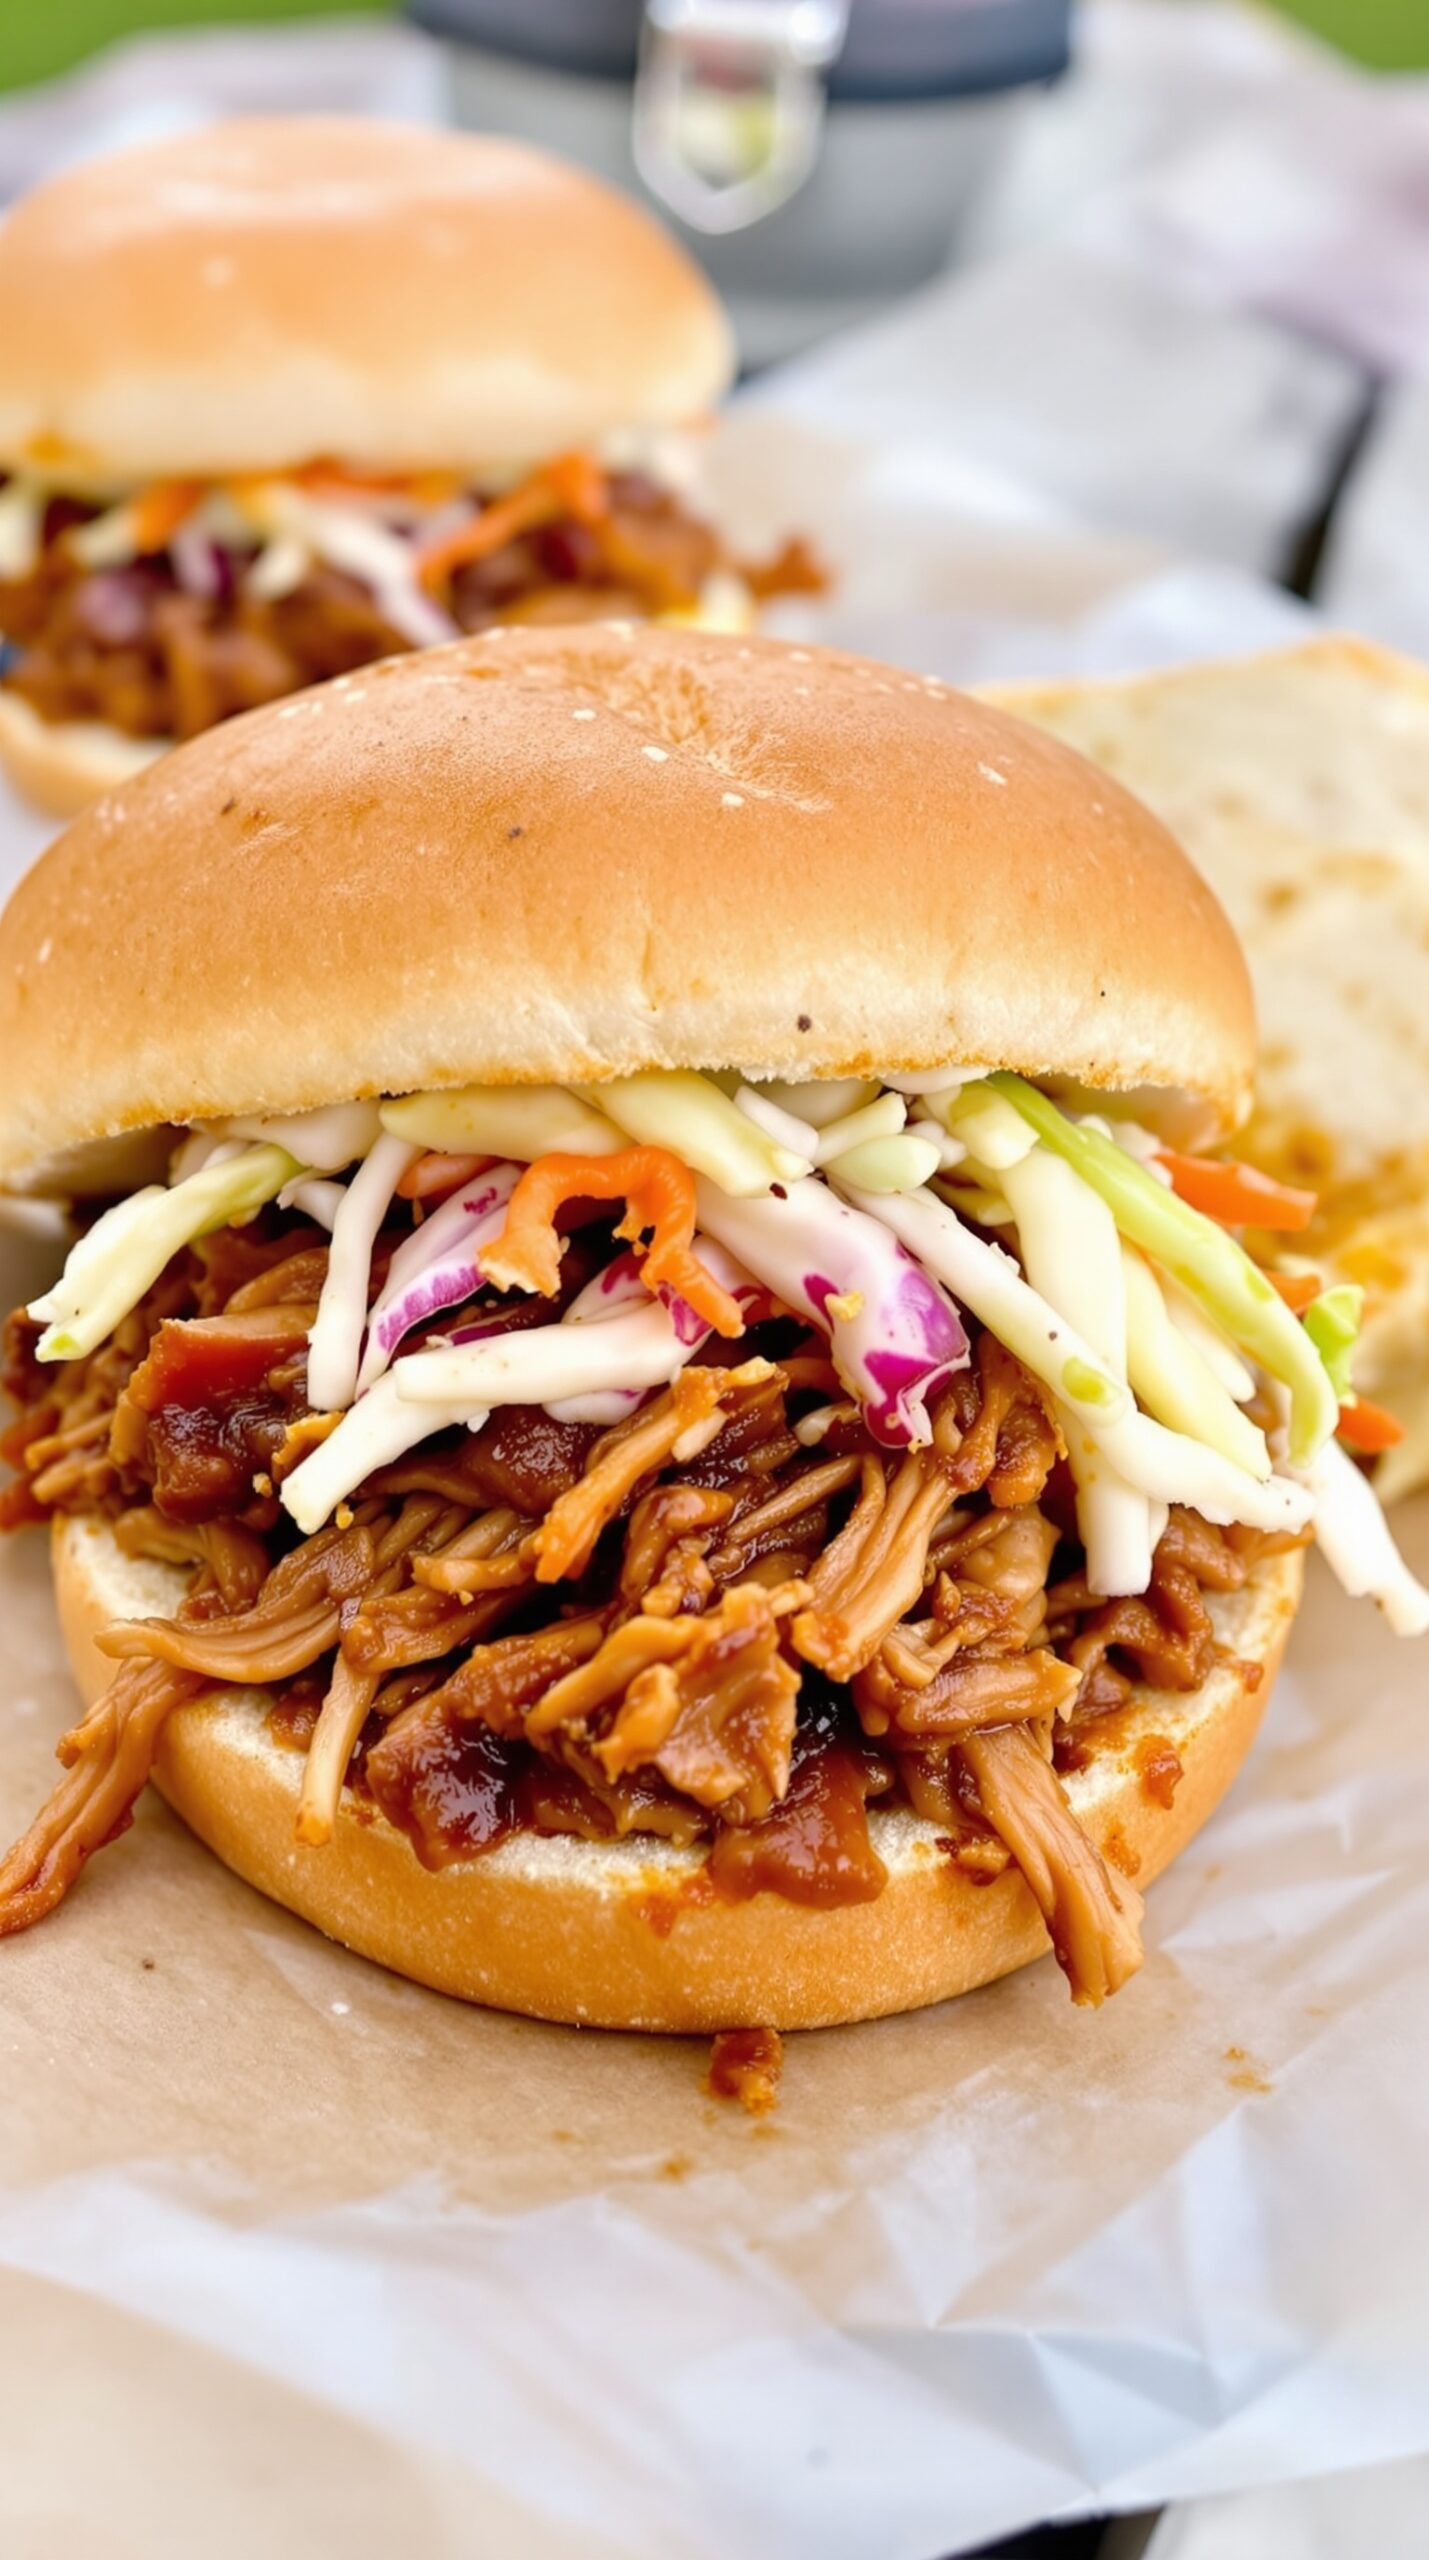
Slow Cooker BBQ Pulled Pork is a fantastic dish that brings comfort and flavor to any dinner table. This recipe is perfect for busy days when you want a hearty meal without spending hours in the kitchen. The image shows a delicious pulled pork sandwich, piled high with tender meat and topped with crunchy coleslaw, all nestled in a soft bun.
The beauty of this dish lies in its simplicity. You can throw everything into the slow cooker and let it do the work. The pork becomes incredibly tender as it cooks low and slow, soaking up all the BBQ sauce flavors. It’s a crowd-pleaser, making it great for family dinners or gatherings with friends.
Pair it with some sides like baked beans or corn on the cob for a complete meal. Whether you’re hosting a barbecue or just enjoying a cozy night in, this pulled pork will surely satisfy.
Ingredients
- 3-4 pounds pork shoulder
- 1 cup BBQ sauce (your favorite brand)
- 1 onion, sliced
- 4 cloves garlic, minced
- 1 tablespoon smoked paprika
- 1 teaspoon salt
- 1 teaspoon black pepper
- 1 teaspoon cayenne pepper (optional for heat)
- Hamburger buns
- Coleslaw (for topping)
Instructions
- Prepare the Pork: Trim excess fat from the pork shoulder and place it in the slow cooker.
- Add Ingredients: Pour the BBQ sauce over the pork, then add the sliced onion, minced garlic, smoked paprika, salt, black pepper, and cayenne pepper if using.
- Cook: Cover and cook on low for 8-10 hours or until the pork is tender and easily shreds with a fork.
- Shred the Pork: Once cooked, remove the pork from the slow cooker and shred it using two forks. Return the shredded pork to the slow cooker and mix it with the sauce.
- Serve: Spoon the pulled pork onto hamburger buns and top with coleslaw. Enjoy your delicious meal!
Classic Chicken Alfredo Pasta
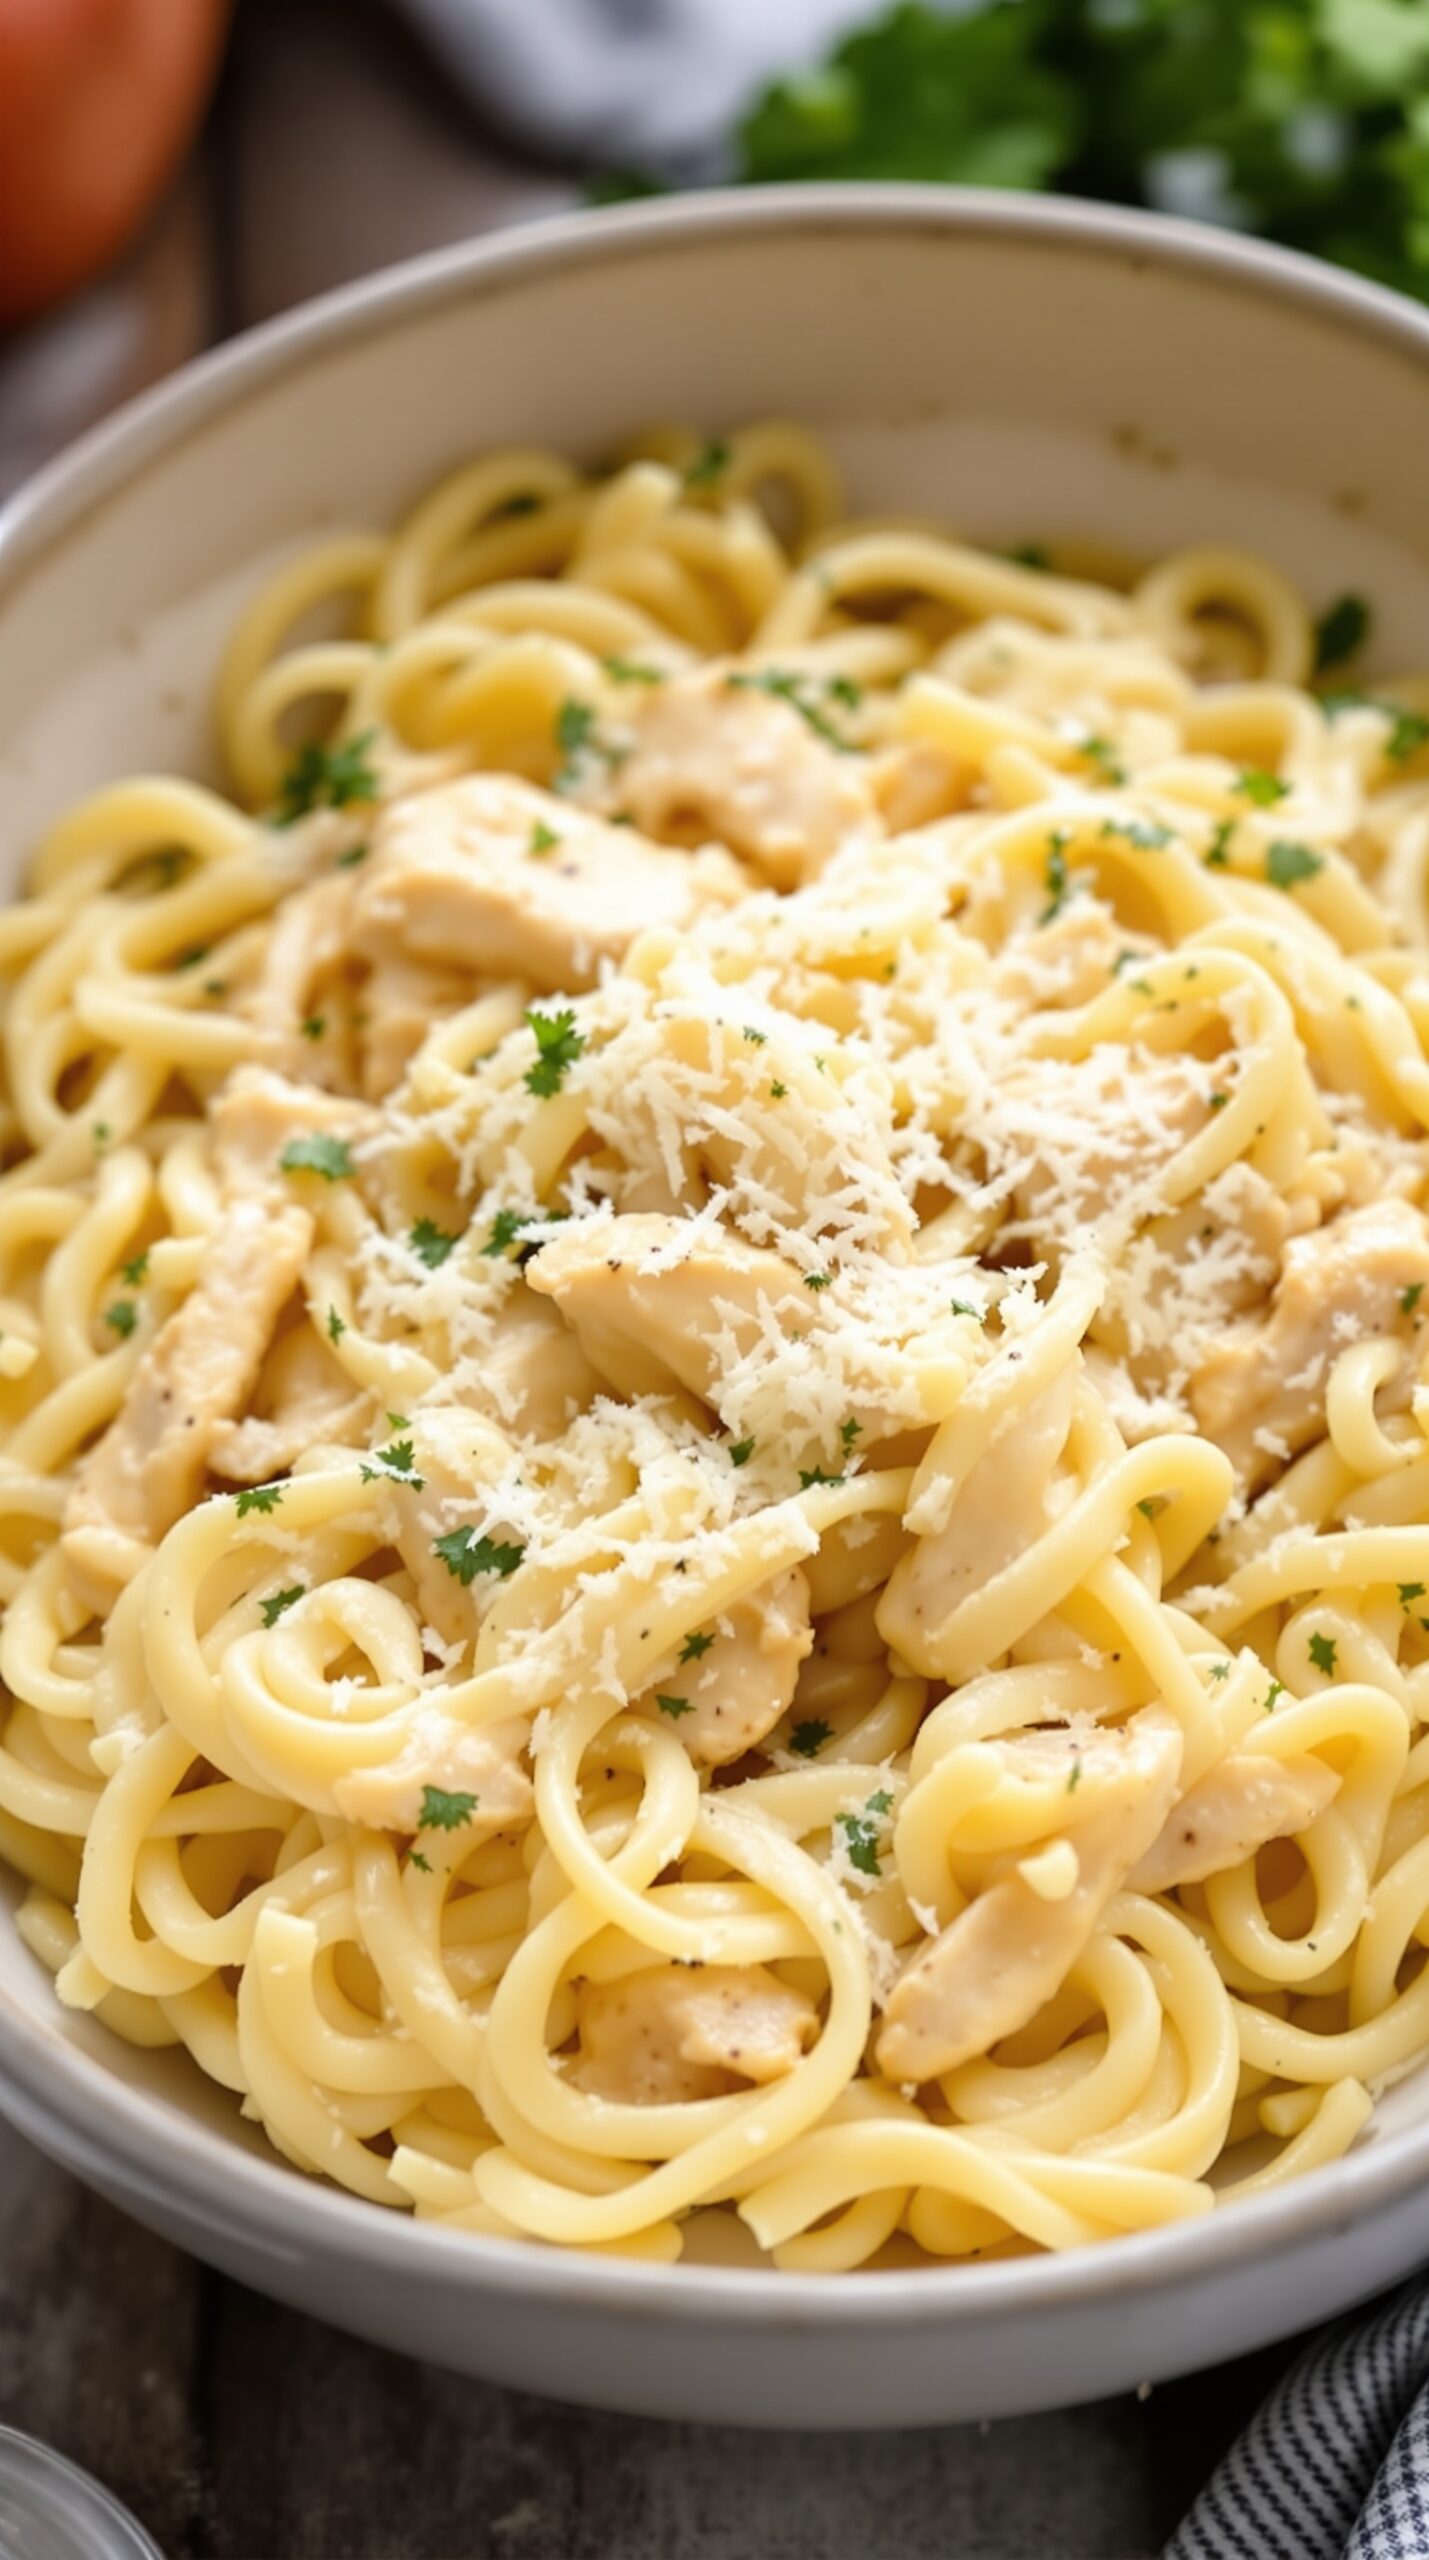
Chicken Alfredo Pasta is a timeless dish that brings comfort and satisfaction to any dinner table. The creamy sauce, tender chicken, and perfectly cooked pasta create a delightful combination that everyone loves. In the image, you can see a generous serving of fettuccine pasta coated in a rich Alfredo sauce, topped with pieces of chicken and a sprinkle of fresh parsley. It looks inviting and delicious!
This dish is not only tasty but also easy to make. You can whip it up in under 30 minutes, making it perfect for busy weeknights or a cozy weekend dinner. The creamy texture of the sauce pairs beautifully with the pasta, while the chicken adds protein and flavor.
Let’s get into the ingredients and steps to make this classic Chicken Alfredo Pasta!
Ingredients
- 8 ounces fettuccine pasta
- 1 tablespoon olive oil
- 2 boneless, skinless chicken breasts, sliced
- 2 cloves garlic, minced
- 1 cup heavy cream
- 1 cup grated Parmesan cheese
- Salt and pepper to taste
- Fresh parsley, chopped (for garnish)
Instructions
- Cook the Pasta: In a large pot, bring salted water to a boil. Add the fettuccine and cook according to package instructions until al dente. Drain and set aside.
- Cook the Chicken: In a large skillet, heat olive oil over medium heat. Add the sliced chicken and season with salt and pepper. Cook for about 5-7 minutes, or until the chicken is cooked through. Remove from the skillet and set aside.
- Make the Sauce: In the same skillet, add minced garlic and sauté for about 30 seconds until fragrant. Pour in the heavy cream and bring to a simmer. Stir in the Parmesan cheese until melted and smooth.
- Combine: Add the cooked fettuccine and chicken back into the skillet. Toss everything together until the pasta is well coated in the sauce.
- Serve: Plate the Chicken Alfredo Pasta and garnish with chopped parsley. Enjoy your delicious meal!
Beef Stroganoff with Egg Noodles
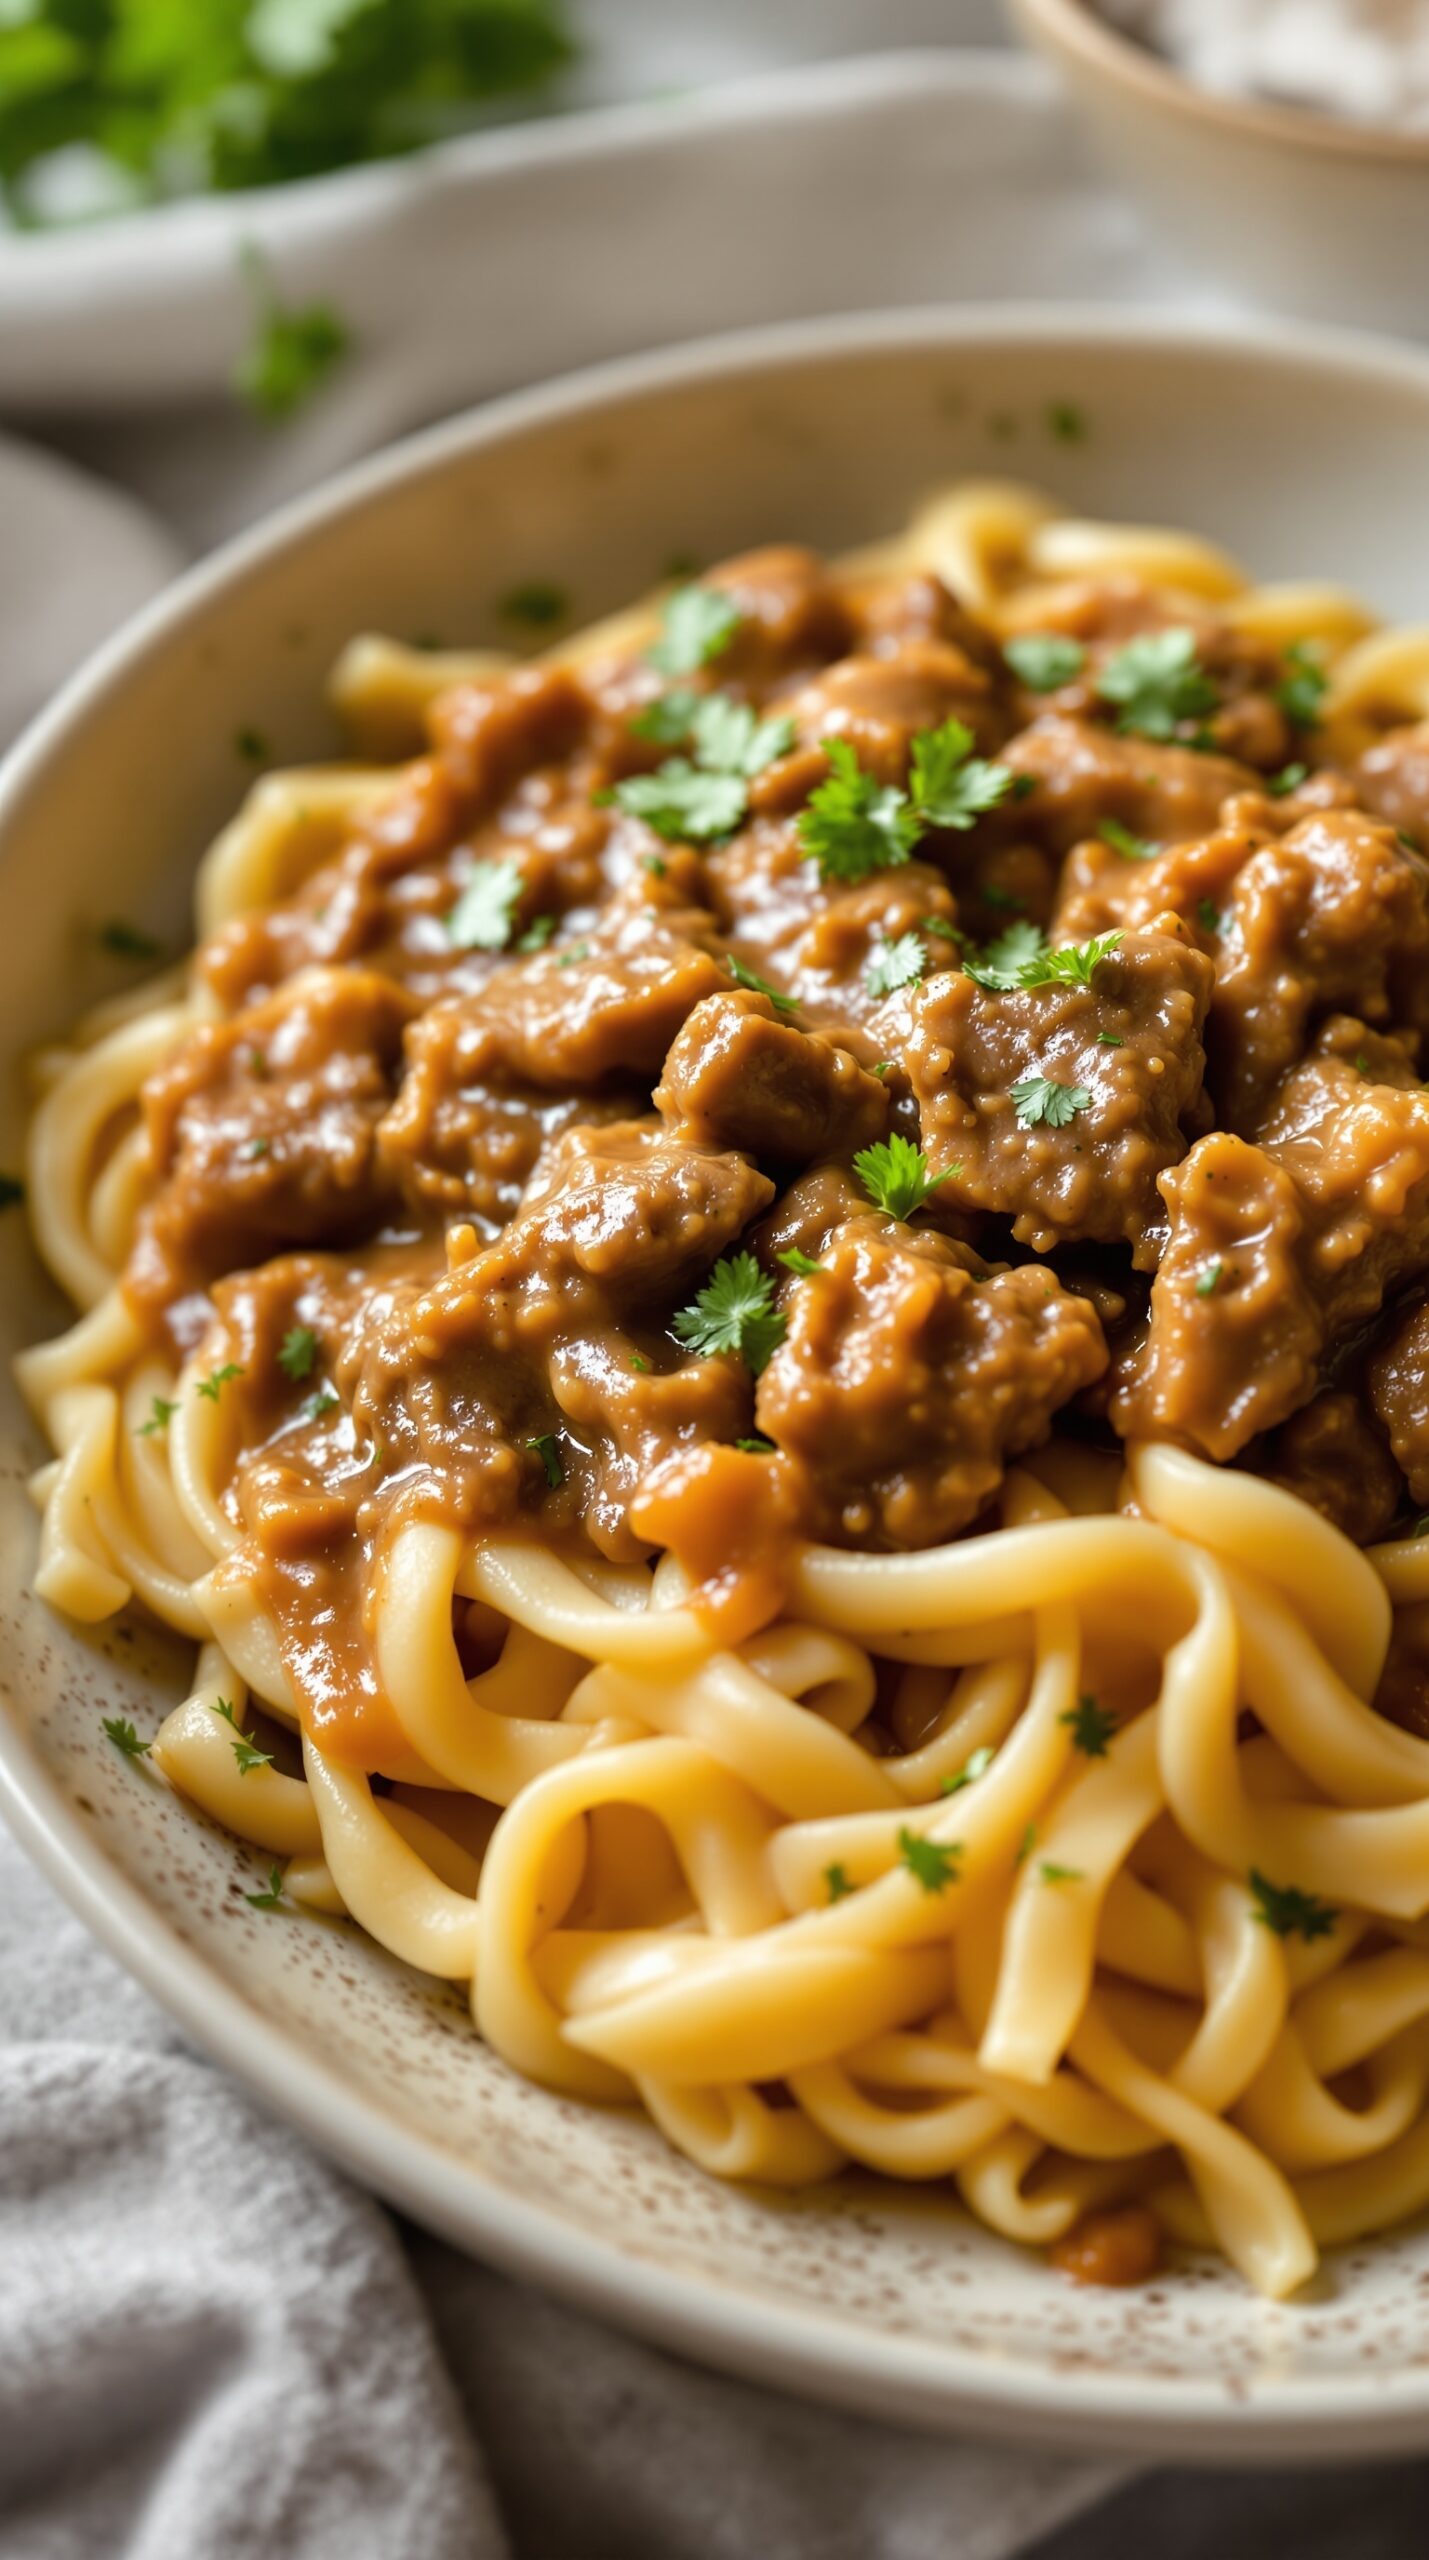
Beef Stroganoff is a classic dish that brings comfort and warmth to any dinner table. The tender beef, rich sauce, and creamy texture make it a favorite for many. When served over egg noodles, it creates a delightful combination that is both satisfying and delicious.
This dish is perfect for a cozy family dinner or a gathering with friends. The egg noodles soak up the savory sauce, enhancing every bite. Plus, it’s easy to make, making it a go-to recipe for busy weeknights.
Let’s get into the ingredients and steps to whip up this delightful meal!
Ingredients
- 1 pound beef sirloin, cut into thin strips
- 2 tablespoons olive oil
- 1 medium onion, chopped
- 2 cloves garlic, minced
- 8 ounces mushrooms, sliced
- 1 cup beef broth
- 1 tablespoon Worcestershire sauce
- 1 cup sour cream
- Salt and pepper to taste
- 8 ounces egg noodles
- Fresh parsley, chopped (for garnish)
Instructions
- Cook the Noodles: In a large pot, bring salted water to a boil. Add egg noodles and cook according to package instructions. Drain and set aside.
- Sauté the Beef: In a large skillet, heat olive oil over medium-high heat. Add the beef strips and cook until browned. Remove from the skillet and set aside.
- Cook the Vegetables: In the same skillet, add onions and garlic. Sauté until onions are translucent. Add mushrooms and cook until tender.
- Add the Sauce: Pour in beef broth and Worcestershire sauce. Bring to a simmer, then return the beef to the skillet. Stir in sour cream and season with salt and pepper.
- Combine: Add the cooked egg noodles to the skillet, mixing everything together until well combined and heated through.
- Serve: Garnish with fresh parsley and enjoy your delicious Beef Stroganoff!
Vegetable Stir-Fry with Tofu
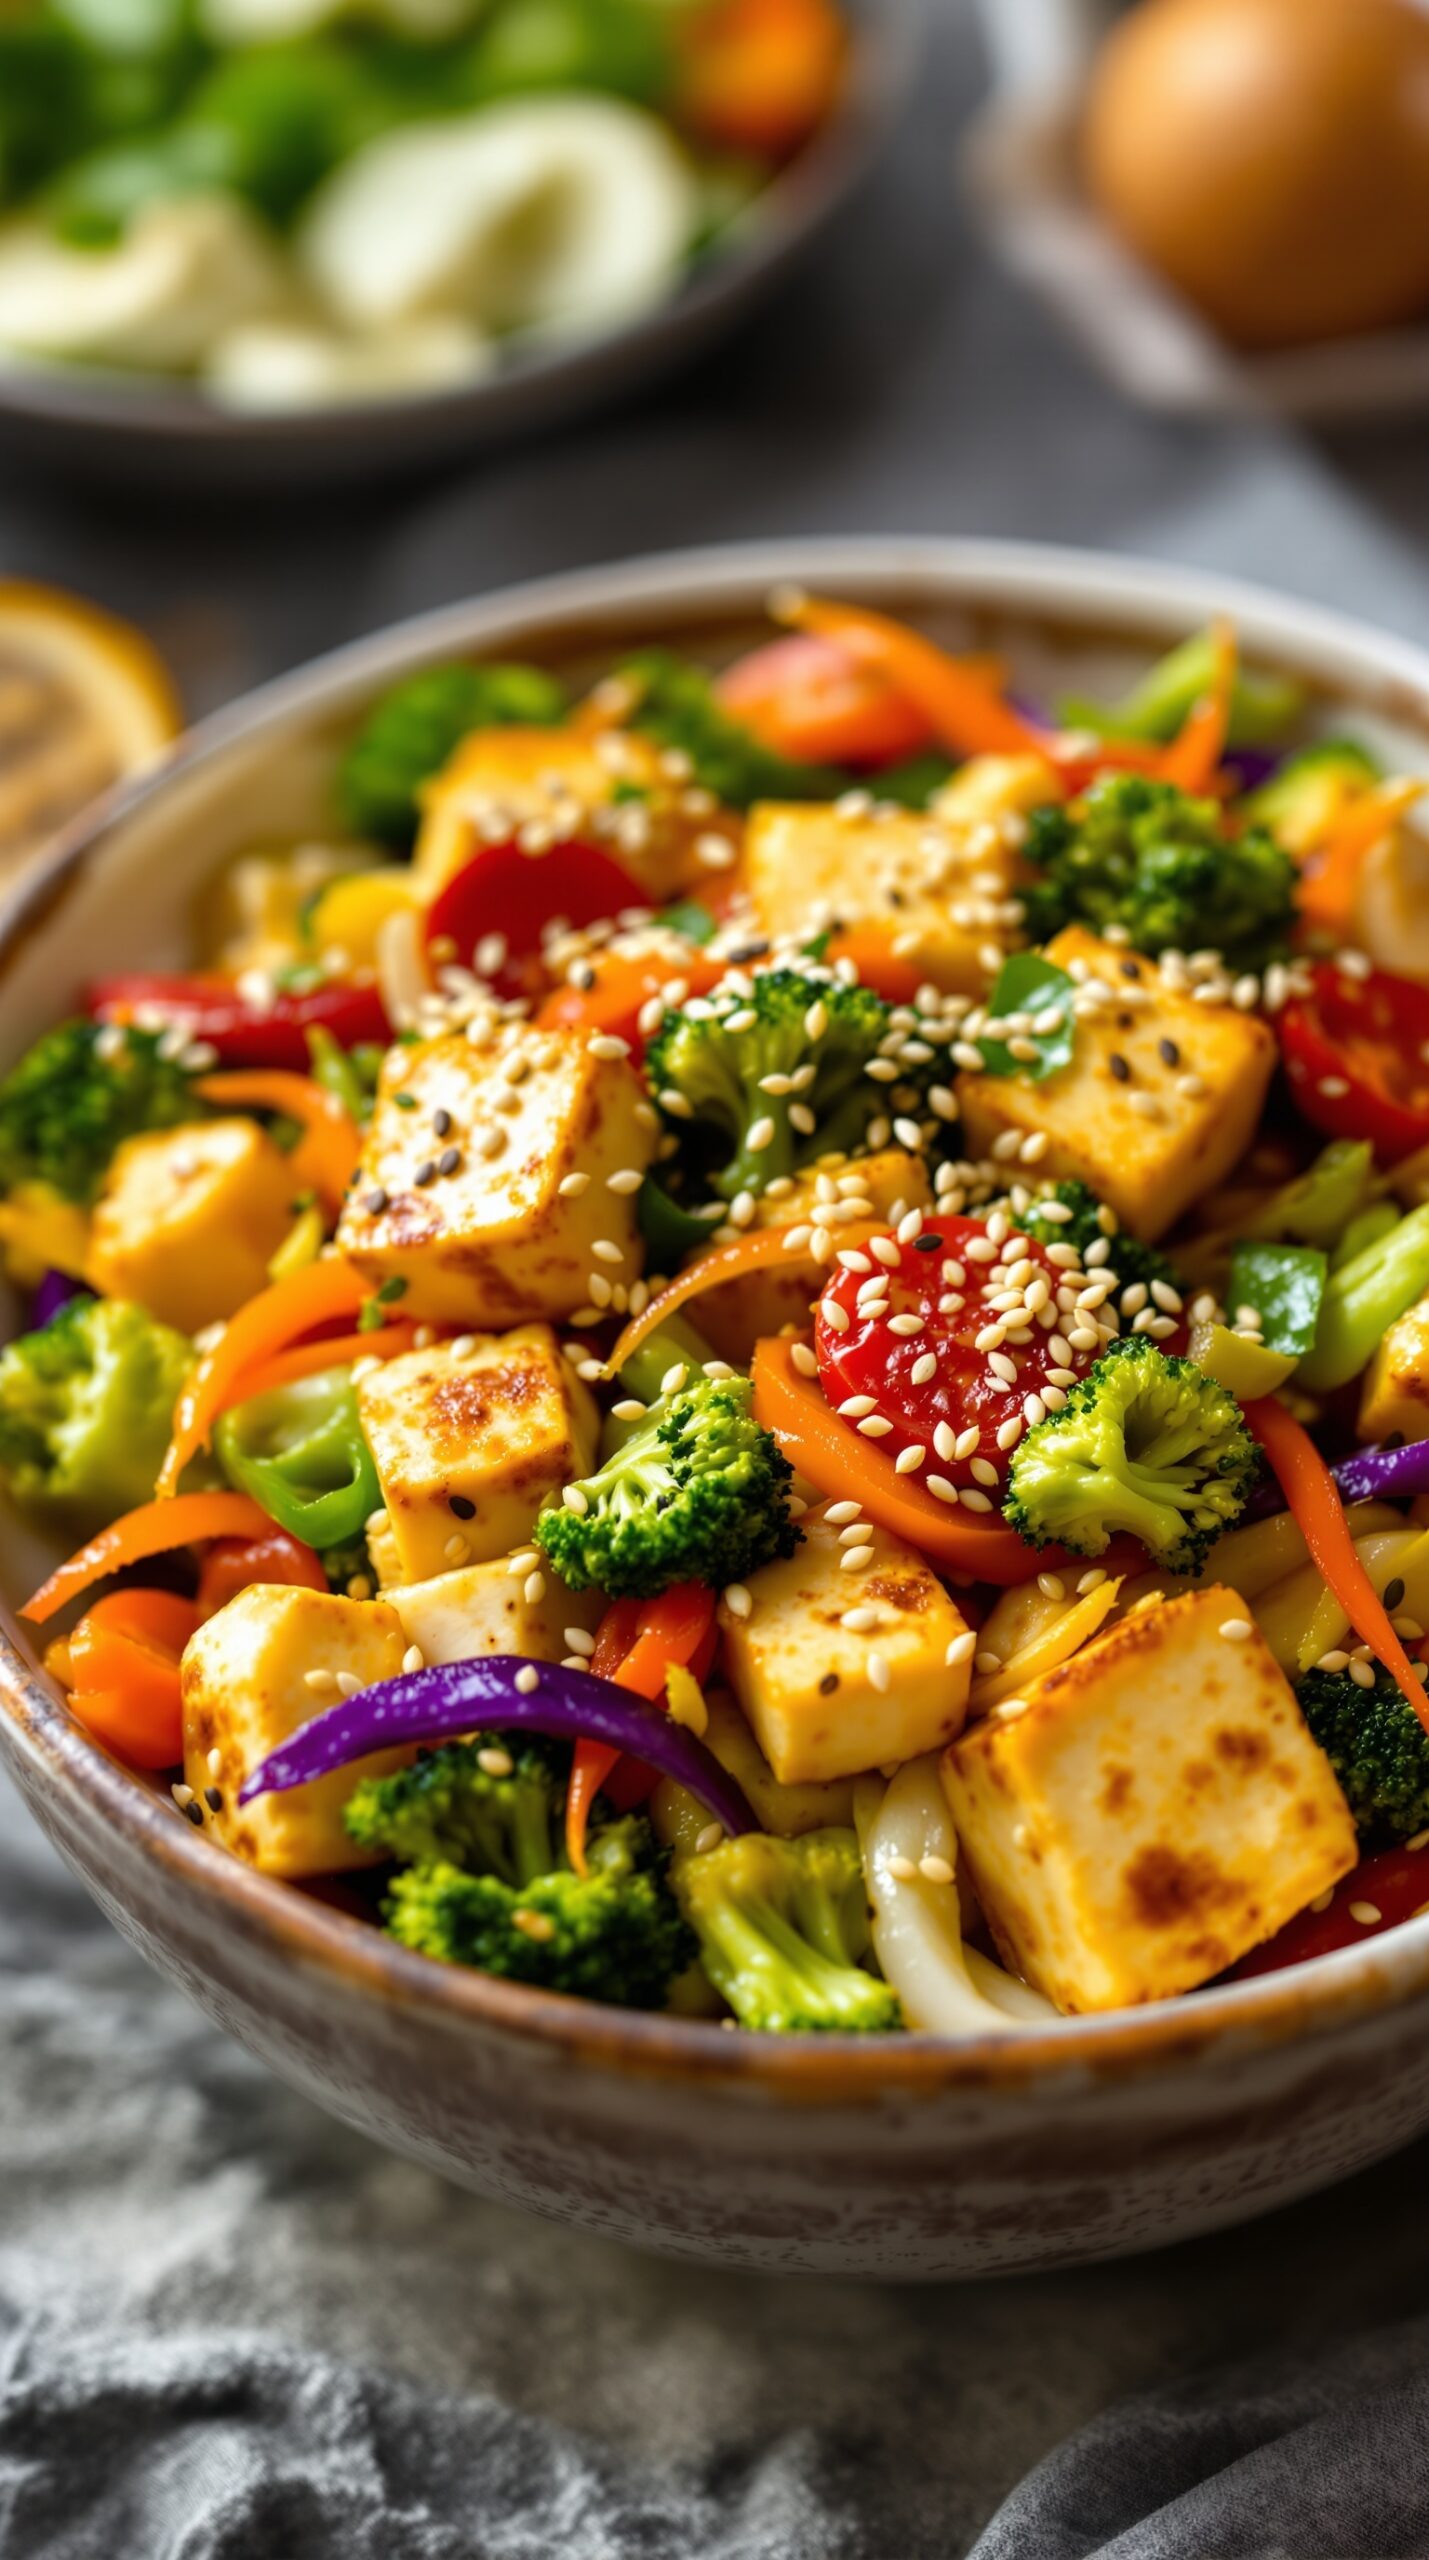
Vegetable stir-fry with tofu is a colorful and healthy dish that brings together a variety of fresh vegetables and protein-rich tofu. The vibrant mix of bell peppers, broccoli, and carrots creates an eye-catching plate that’s hard to resist. This dish is not only appealing but also packed with nutrients, making it a perfect choice for dinner.
Cooking this stir-fry is quick and easy, perfect for busy weeknights. The tofu adds a satisfying texture, while the vegetables provide crunch and flavor. Tossing everything in a savory sauce elevates the dish, making it a delightful meal.
Let’s get into the details of how to make this delicious vegetable stir-fry with tofu.
Ingredients
- 1 block firm tofu, drained and cubed
- 2 cups broccoli florets
- 1 bell pepper, sliced (any color)
- 1 carrot, julienned
- 1 cup snap peas
- 3 tablespoons soy sauce
- 2 tablespoons sesame oil
- 1 tablespoon ginger, minced
- 2 cloves garlic, minced
- 1 tablespoon sesame seeds (for garnish)
- Salt and pepper to taste
Instructions
- Prepare the Tofu: Start by pressing the tofu to remove excess moisture. Cut it into cubes and set aside.
- Cook the Tofu: In a large skillet, heat 1 tablespoon of sesame oil over medium heat. Add the tofu cubes and cook until golden brown on all sides. Remove from the skillet and set aside.
- Sauté the Vegetables: In the same skillet, add the remaining sesame oil. Add garlic and ginger, sautéing for about 30 seconds. Then, add broccoli, bell pepper, carrot, and snap peas. Cook for 5-7 minutes until the vegetables are tender but still crisp.
- Combine: Return the tofu to the skillet. Pour in the soy sauce and stir everything together. Cook for another 2-3 minutes to heat through.
- Serve: Transfer the stir-fry to a serving bowl. Sprinkle with sesame seeds and season with salt and pepper to taste. Enjoy your healthy and tasty meal!
Lemon Herb Grilled Salmon
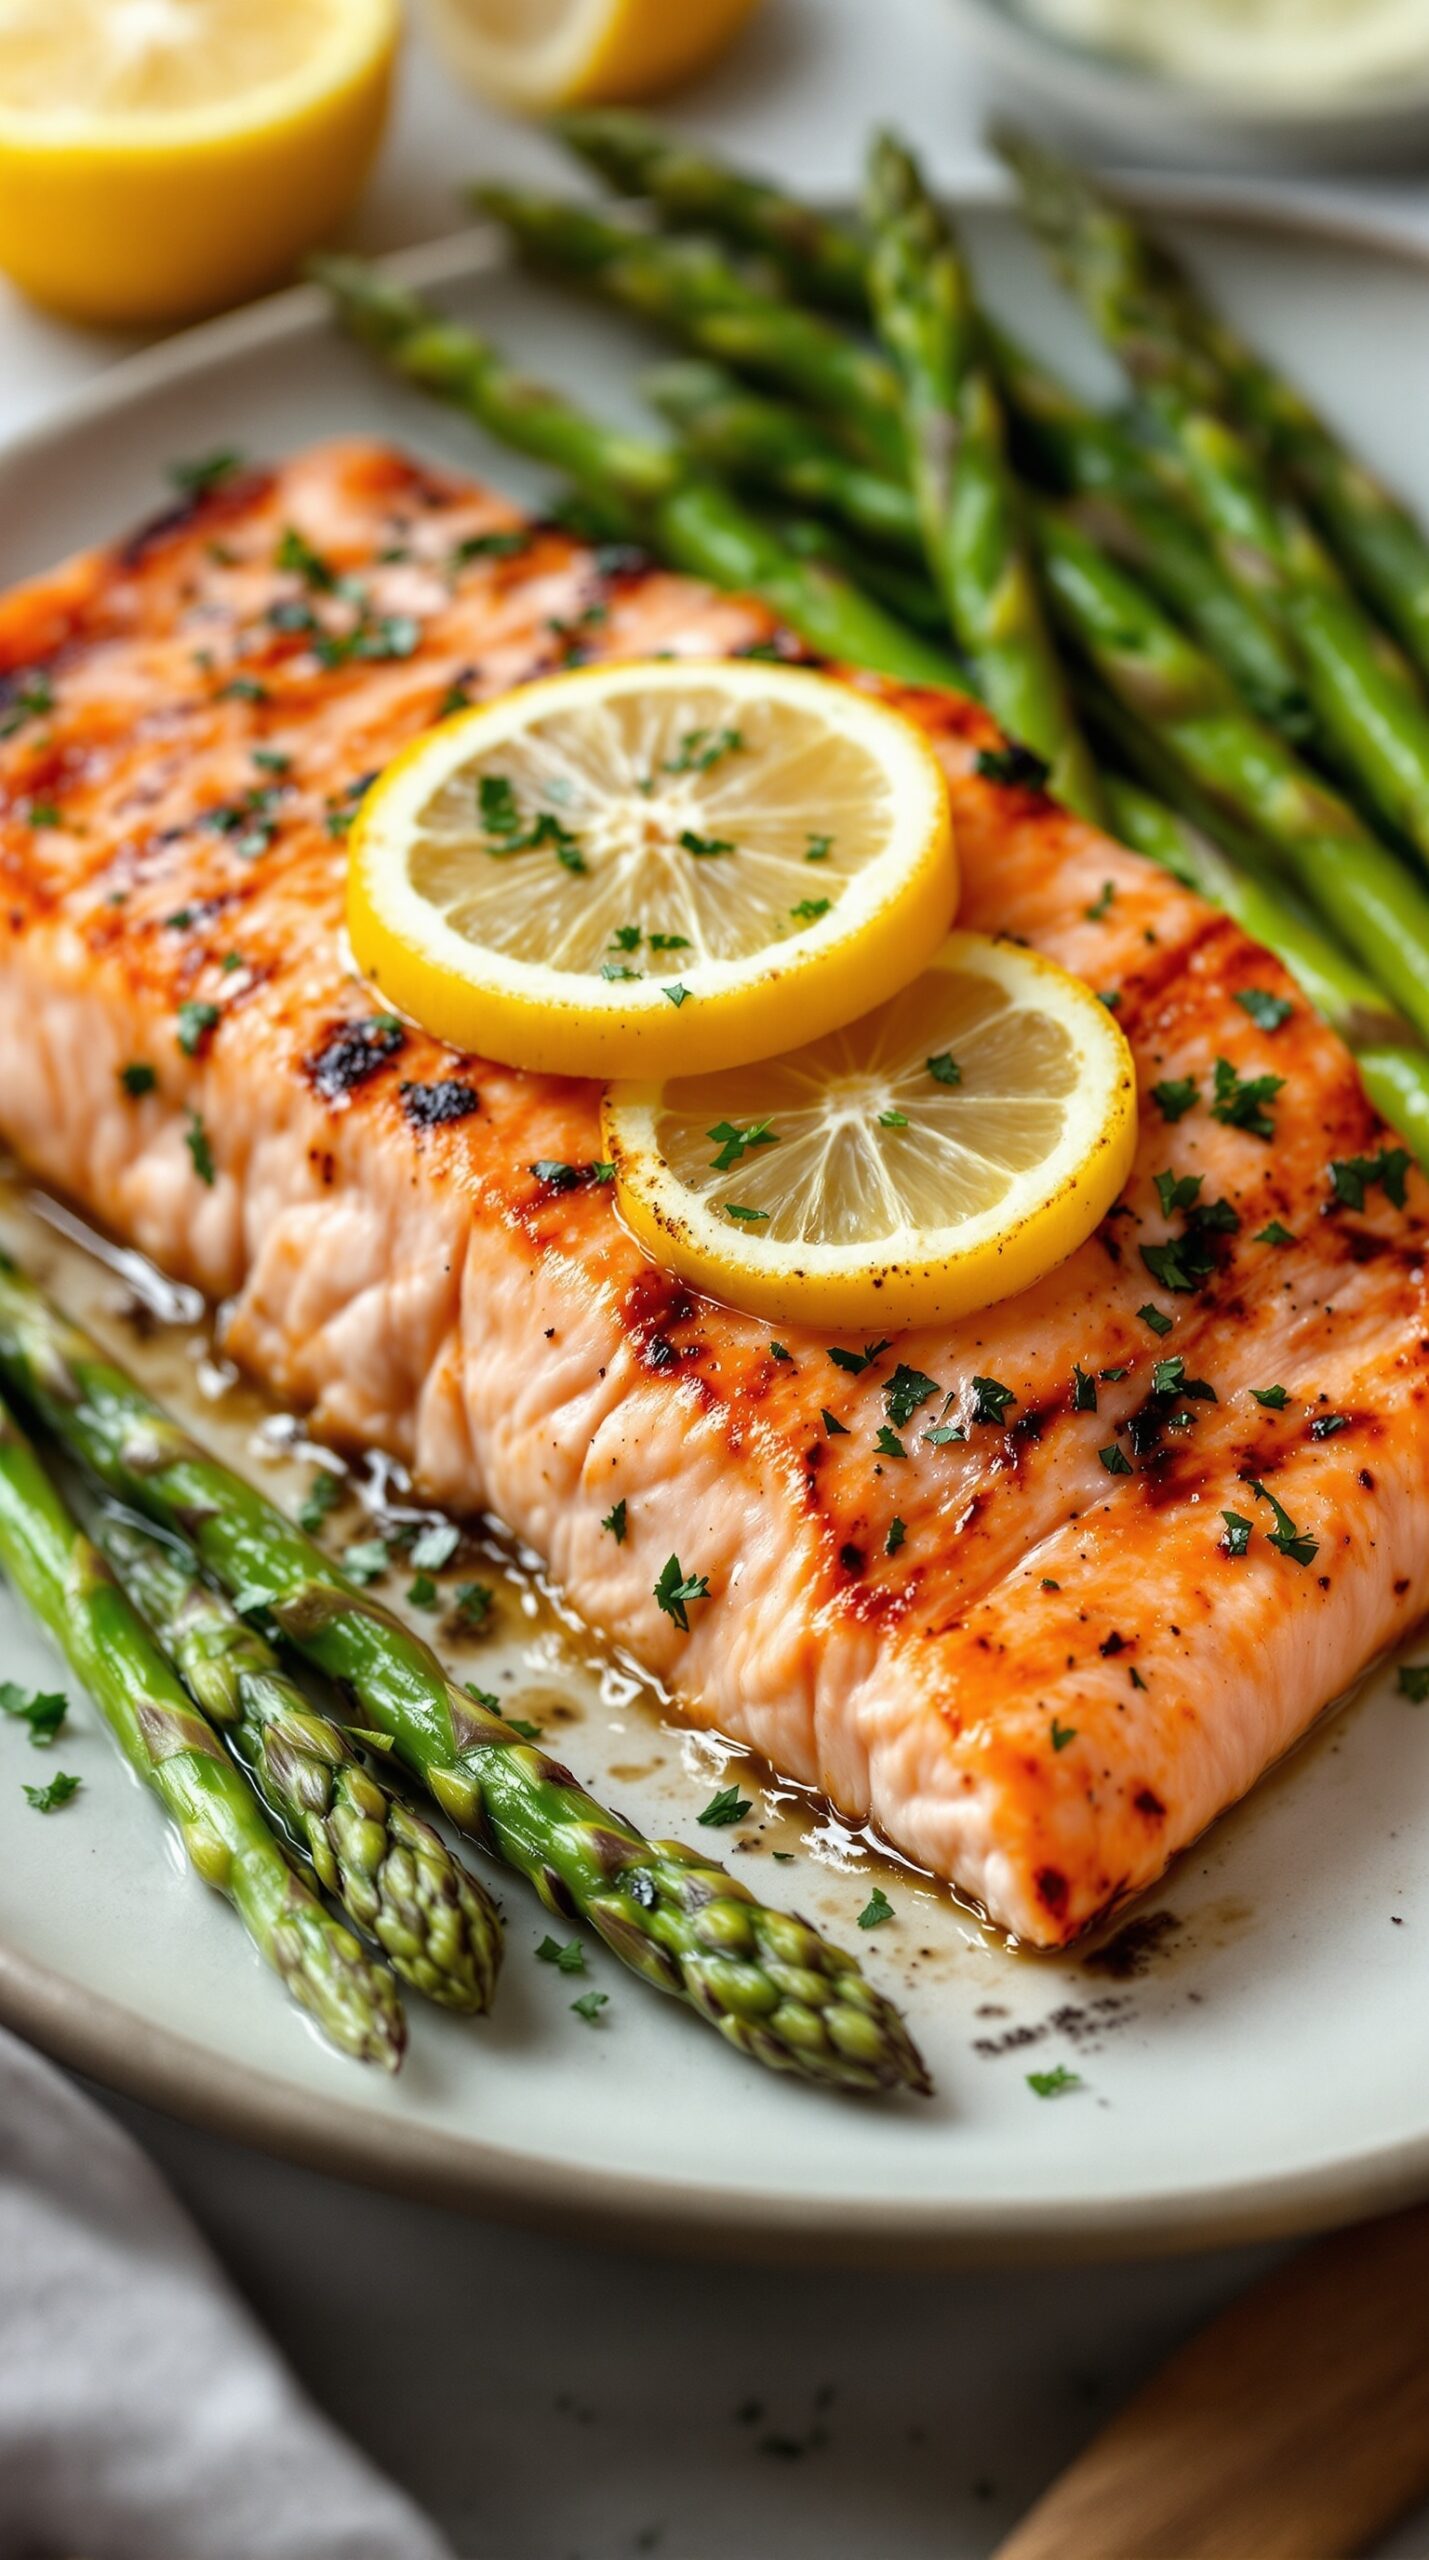
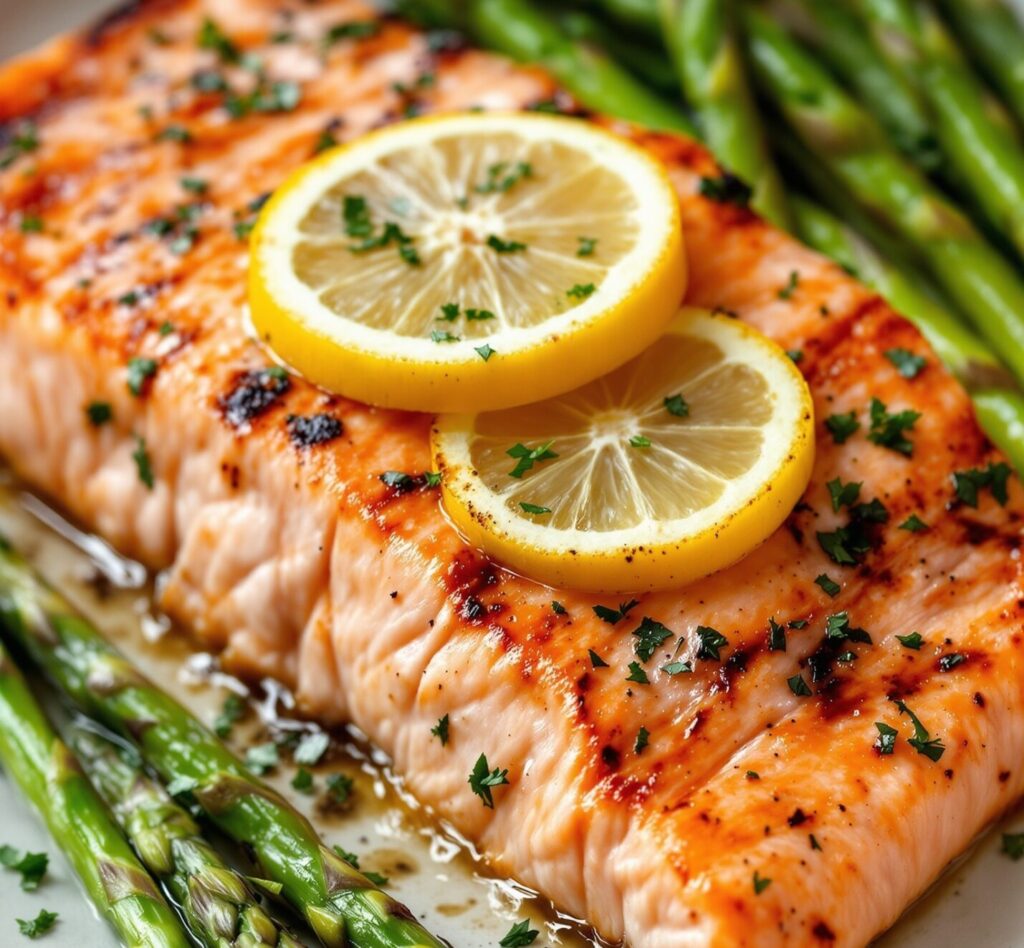
Lemon Herb Grilled Salmon is a delightful dish that brings together the freshness of lemon and the richness of salmon. The vibrant colors in the image showcase a perfectly grilled salmon fillet, topped with bright lemon slices and garnished with fresh herbs. Next to the salmon, you can see tender asparagus, adding a pop of green that complements the meal beautifully.
This dish is not only visually appealing but also packed with flavor. The lemon adds a zesty kick, while the herbs enhance the natural taste of the fish. It’s a great option for a weeknight dinner or a special occasion.
Grilling the salmon gives it a smoky flavor, making it even more delicious. Pair it with a side of asparagus for a complete meal that’s healthy and satisfying.
Ingredients
- 4 salmon fillets
- 2 tablespoons olive oil
- 2 lemons (one for juice, one for slices)
- 2 cloves garlic, minced
- 1 teaspoon dried oregano
- 1 teaspoon dried thyme
- Salt and pepper to taste
- Fresh parsley for garnish
- 1 bunch asparagus
Instructions
- Prepare the Marinade: In a bowl, mix olive oil, juice of one lemon, minced garlic, oregano, thyme, salt, and pepper.
- Marinate the Salmon: Place salmon fillets in a shallow dish and pour the marinade over them. Let it sit for at least 30 minutes.
- Preheat the Grill: Heat the grill to medium-high. While it’s heating, prepare the asparagus by trimming the ends and drizzling with olive oil, salt, and pepper.
- Grill the Salmon: Place the salmon fillets on the grill, skin-side down. Cook for about 6-8 minutes per side, or until the fish flakes easily with a fork. Add the lemon slices on top while grilling.
- Grill the Asparagus: In the last few minutes of cooking, place the asparagus on the grill. Cook until tender and slightly charred, about 4-5 minutes.
- Serve: Remove the salmon and asparagus from the grill. Garnish the salmon with fresh parsley and serve with extra lemon slices on the side.
Spicy Shrimp Tacos with Mango Salsa
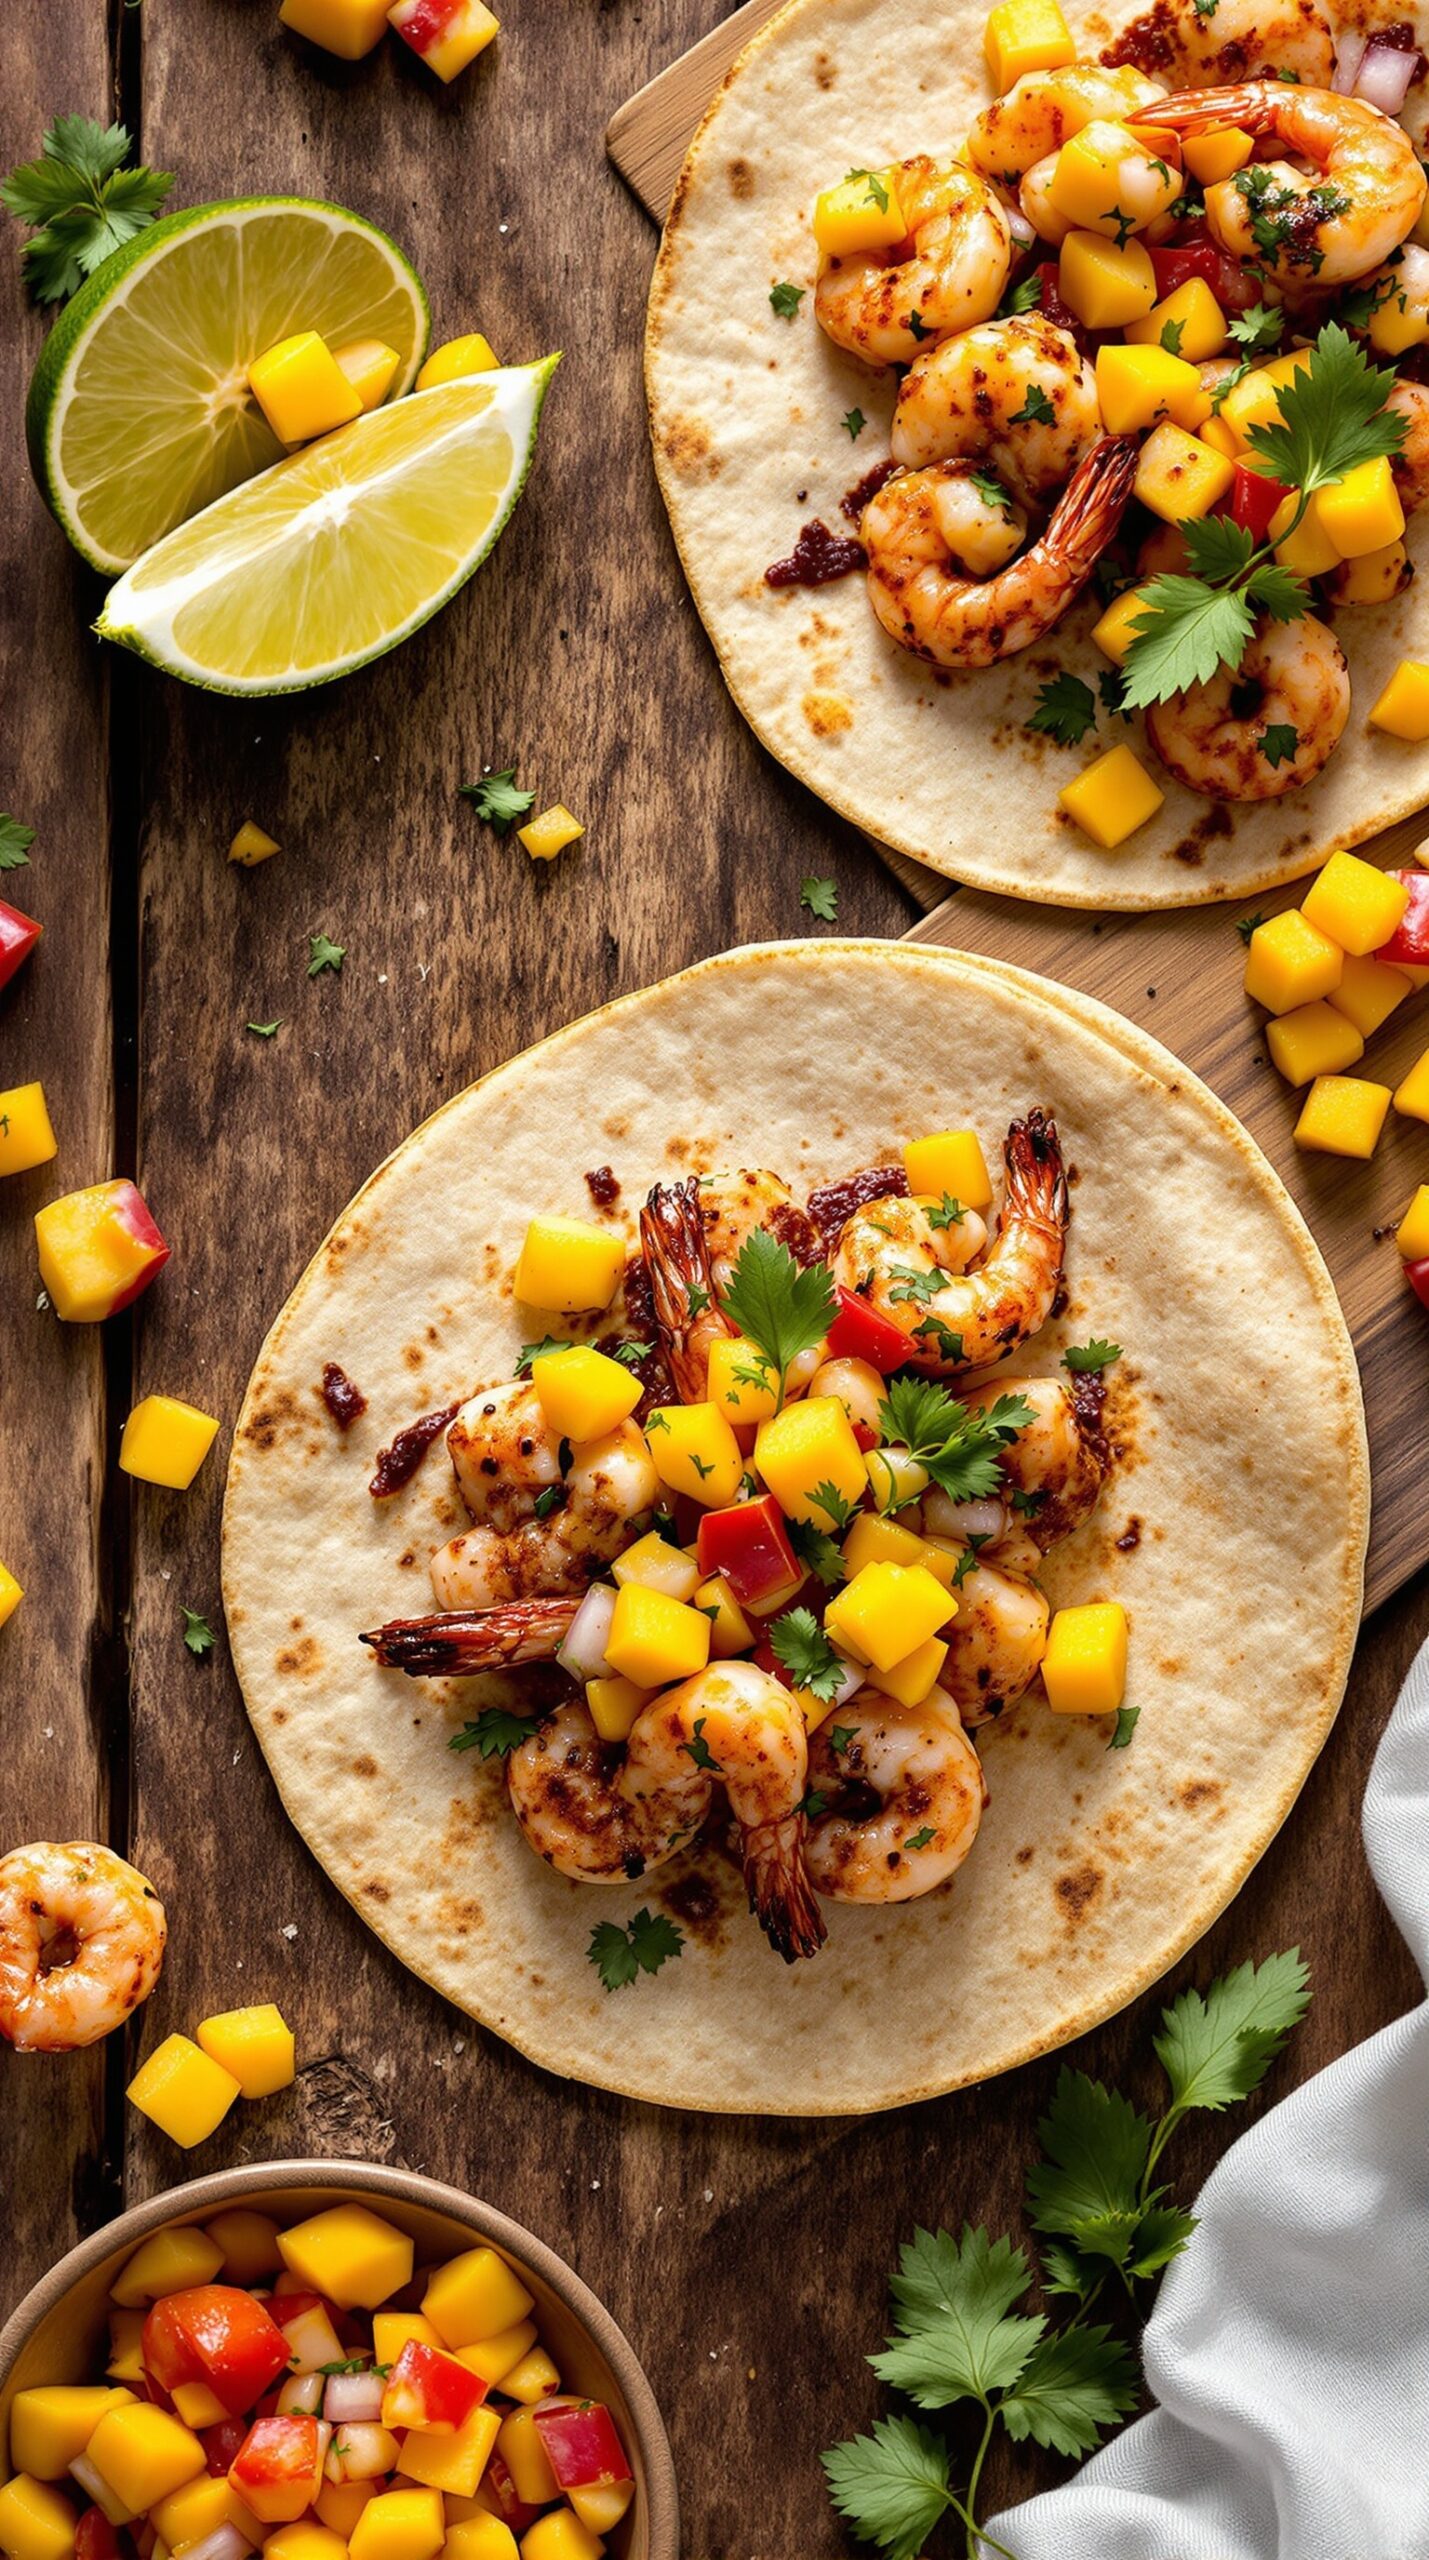
These spicy shrimp tacos are a delightful treat for any night of the week. The shrimp are perfectly seasoned and cooked to give a nice kick, while the mango salsa adds a refreshing sweetness. Together, they create a perfect balance of flavors that will leave everyone wanting more.
The tacos are served on warm tortillas, topped with juicy shrimp and vibrant mango salsa. The colors pop beautifully, making them as pleasing to the eyes as they are to the palate. Fresh lime wedges add a zesty touch, enhancing the overall experience.
To make these tacos, you’ll need some simple ingredients that pack a lot of flavor. The combination of spices on the shrimp and the fresh ingredients in the salsa is what makes this dish stand out.
Ingredients
- 1 pound large shrimp, peeled and deveined
- 2 tablespoons olive oil
- 1 teaspoon chili powder
- 1/2 teaspoon cumin
- 1/2 teaspoon paprika
- Salt and pepper to taste
- 8 small tortillas
- 1 ripe mango, diced
- 1/2 red bell pepper, diced
- 1/4 red onion, finely chopped
- 1/4 cup fresh cilantro, chopped
- Juice of 1 lime
Instructions
- Prepare the Shrimp: In a bowl, mix olive oil, chili powder, cumin, paprika, salt, and pepper. Add the shrimp and toss to coat evenly.
- Cook the Shrimp: Heat a skillet over medium-high heat. Add the shrimp and cook for 2-3 minutes on each side until they are pink and cooked through.
- Make the Salsa: In another bowl, combine diced mango, red bell pepper, red onion, cilantro, and lime juice. Mix well and season with salt to taste.
- Warm the Tortillas: Heat the tortillas in a dry skillet for about 30 seconds on each side until warm.
- Assemble the Tacos: Place a few shrimp on each tortilla, top with mango salsa, and serve with lime wedges on the side.
Zucchini Noodles with Pesto
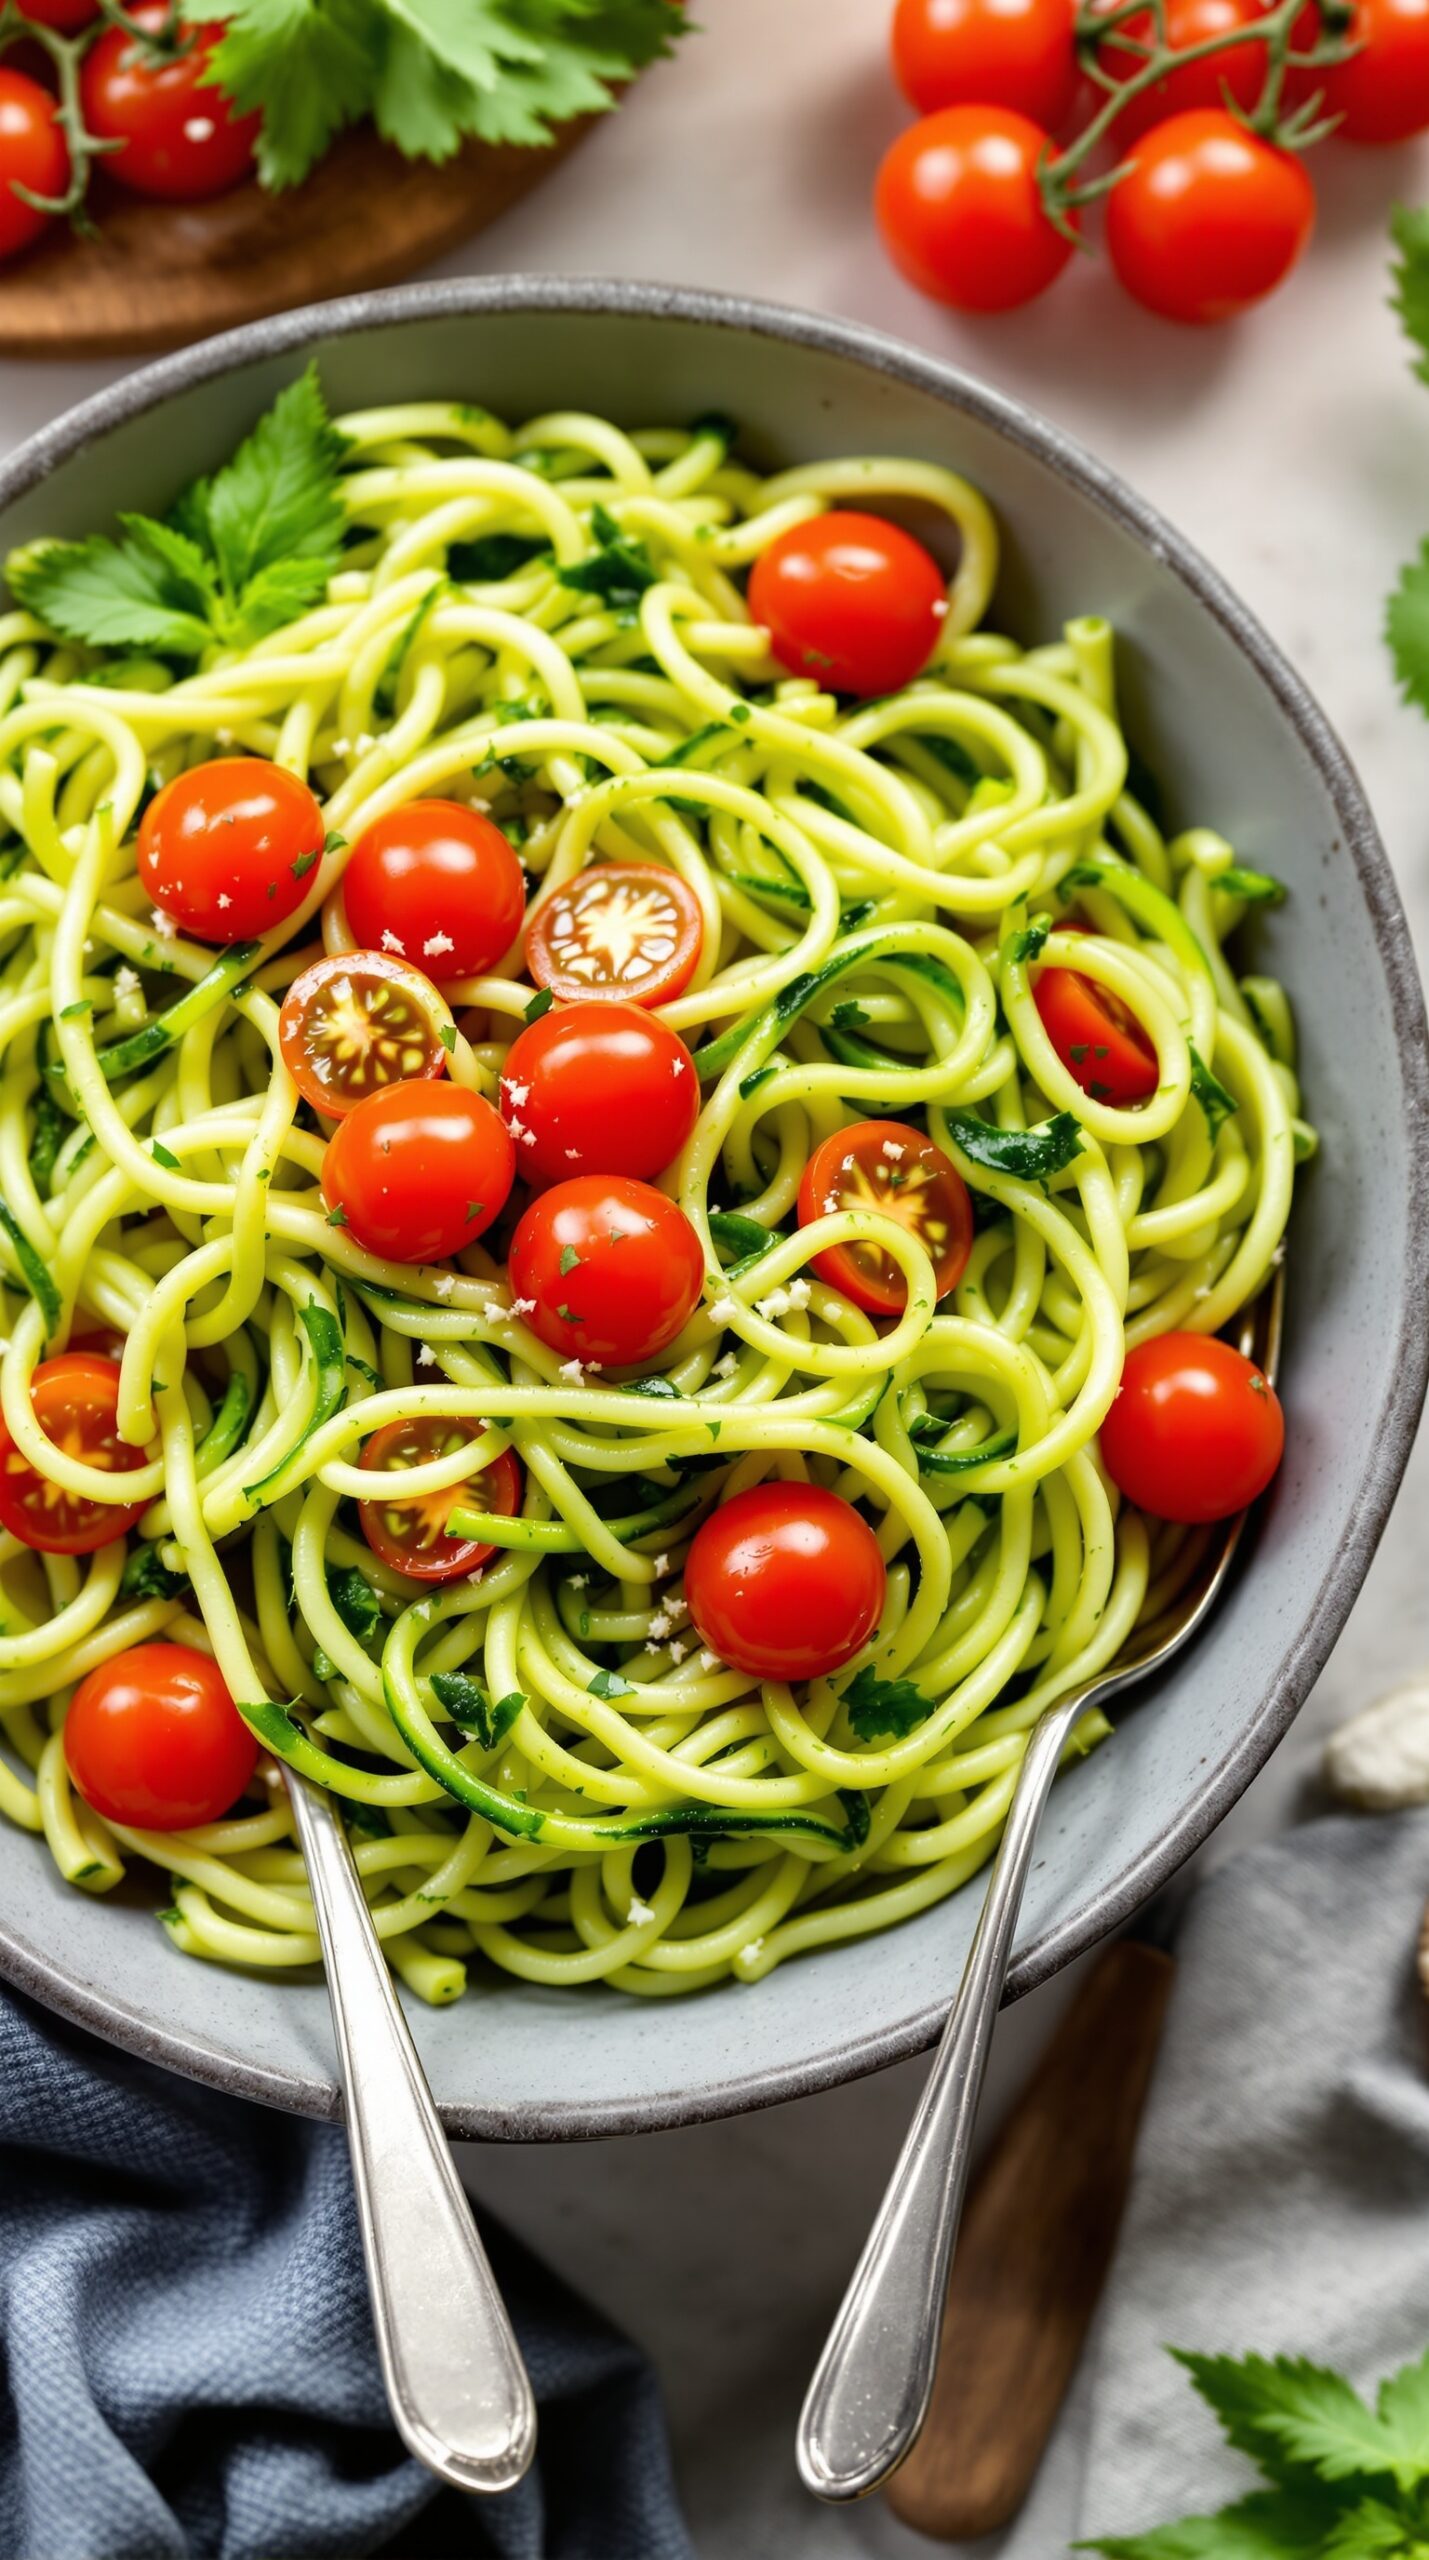
Zucchini noodles, or zoodles, are a fantastic alternative to traditional pasta. They’re light, fresh, and perfect for a quick dinner. In the image, you can see a vibrant bowl of zoodles topped with juicy cherry tomatoes and a sprinkle of herbs. The bright colors make it not just appetizing but also visually appealing.
This dish is not only healthy but also incredibly easy to prepare. You can whip it up in no time, making it ideal for busy weeknights. The pesto adds a burst of flavor, perfectly complementing the mild taste of zucchini. Plus, it’s a great way to sneak in some veggies!
Let’s get to the recipe so you can enjoy this delightful meal!
Ingredients
- 4 medium zucchinis
- 1 cup cherry tomatoes, halved
- 1/2 cup basil pesto
- 1 tablespoon olive oil
- Salt and pepper to taste
- Grated Parmesan cheese (optional)
Instructions
- Spiralize the Zucchini: Use a spiralizer to create noodles from the zucchinis. If you don’t have one, a vegetable peeler can also work.
- Sauté the Zoodles: In a large skillet, heat olive oil over medium heat. Add the zucchini noodles and sauté for about 2-3 minutes until just tender.
- Add the Pesto: Remove the skillet from heat and stir in the basil pesto until the zoodles are well coated.
- Mix in Tomatoes: Gently fold in the cherry tomatoes. Season with salt and pepper to taste.
- Serve: Plate the zoodles and sprinkle with grated Parmesan cheese if desired. Enjoy your fresh and healthy dinner!
Mediterranean Chickpea Salad
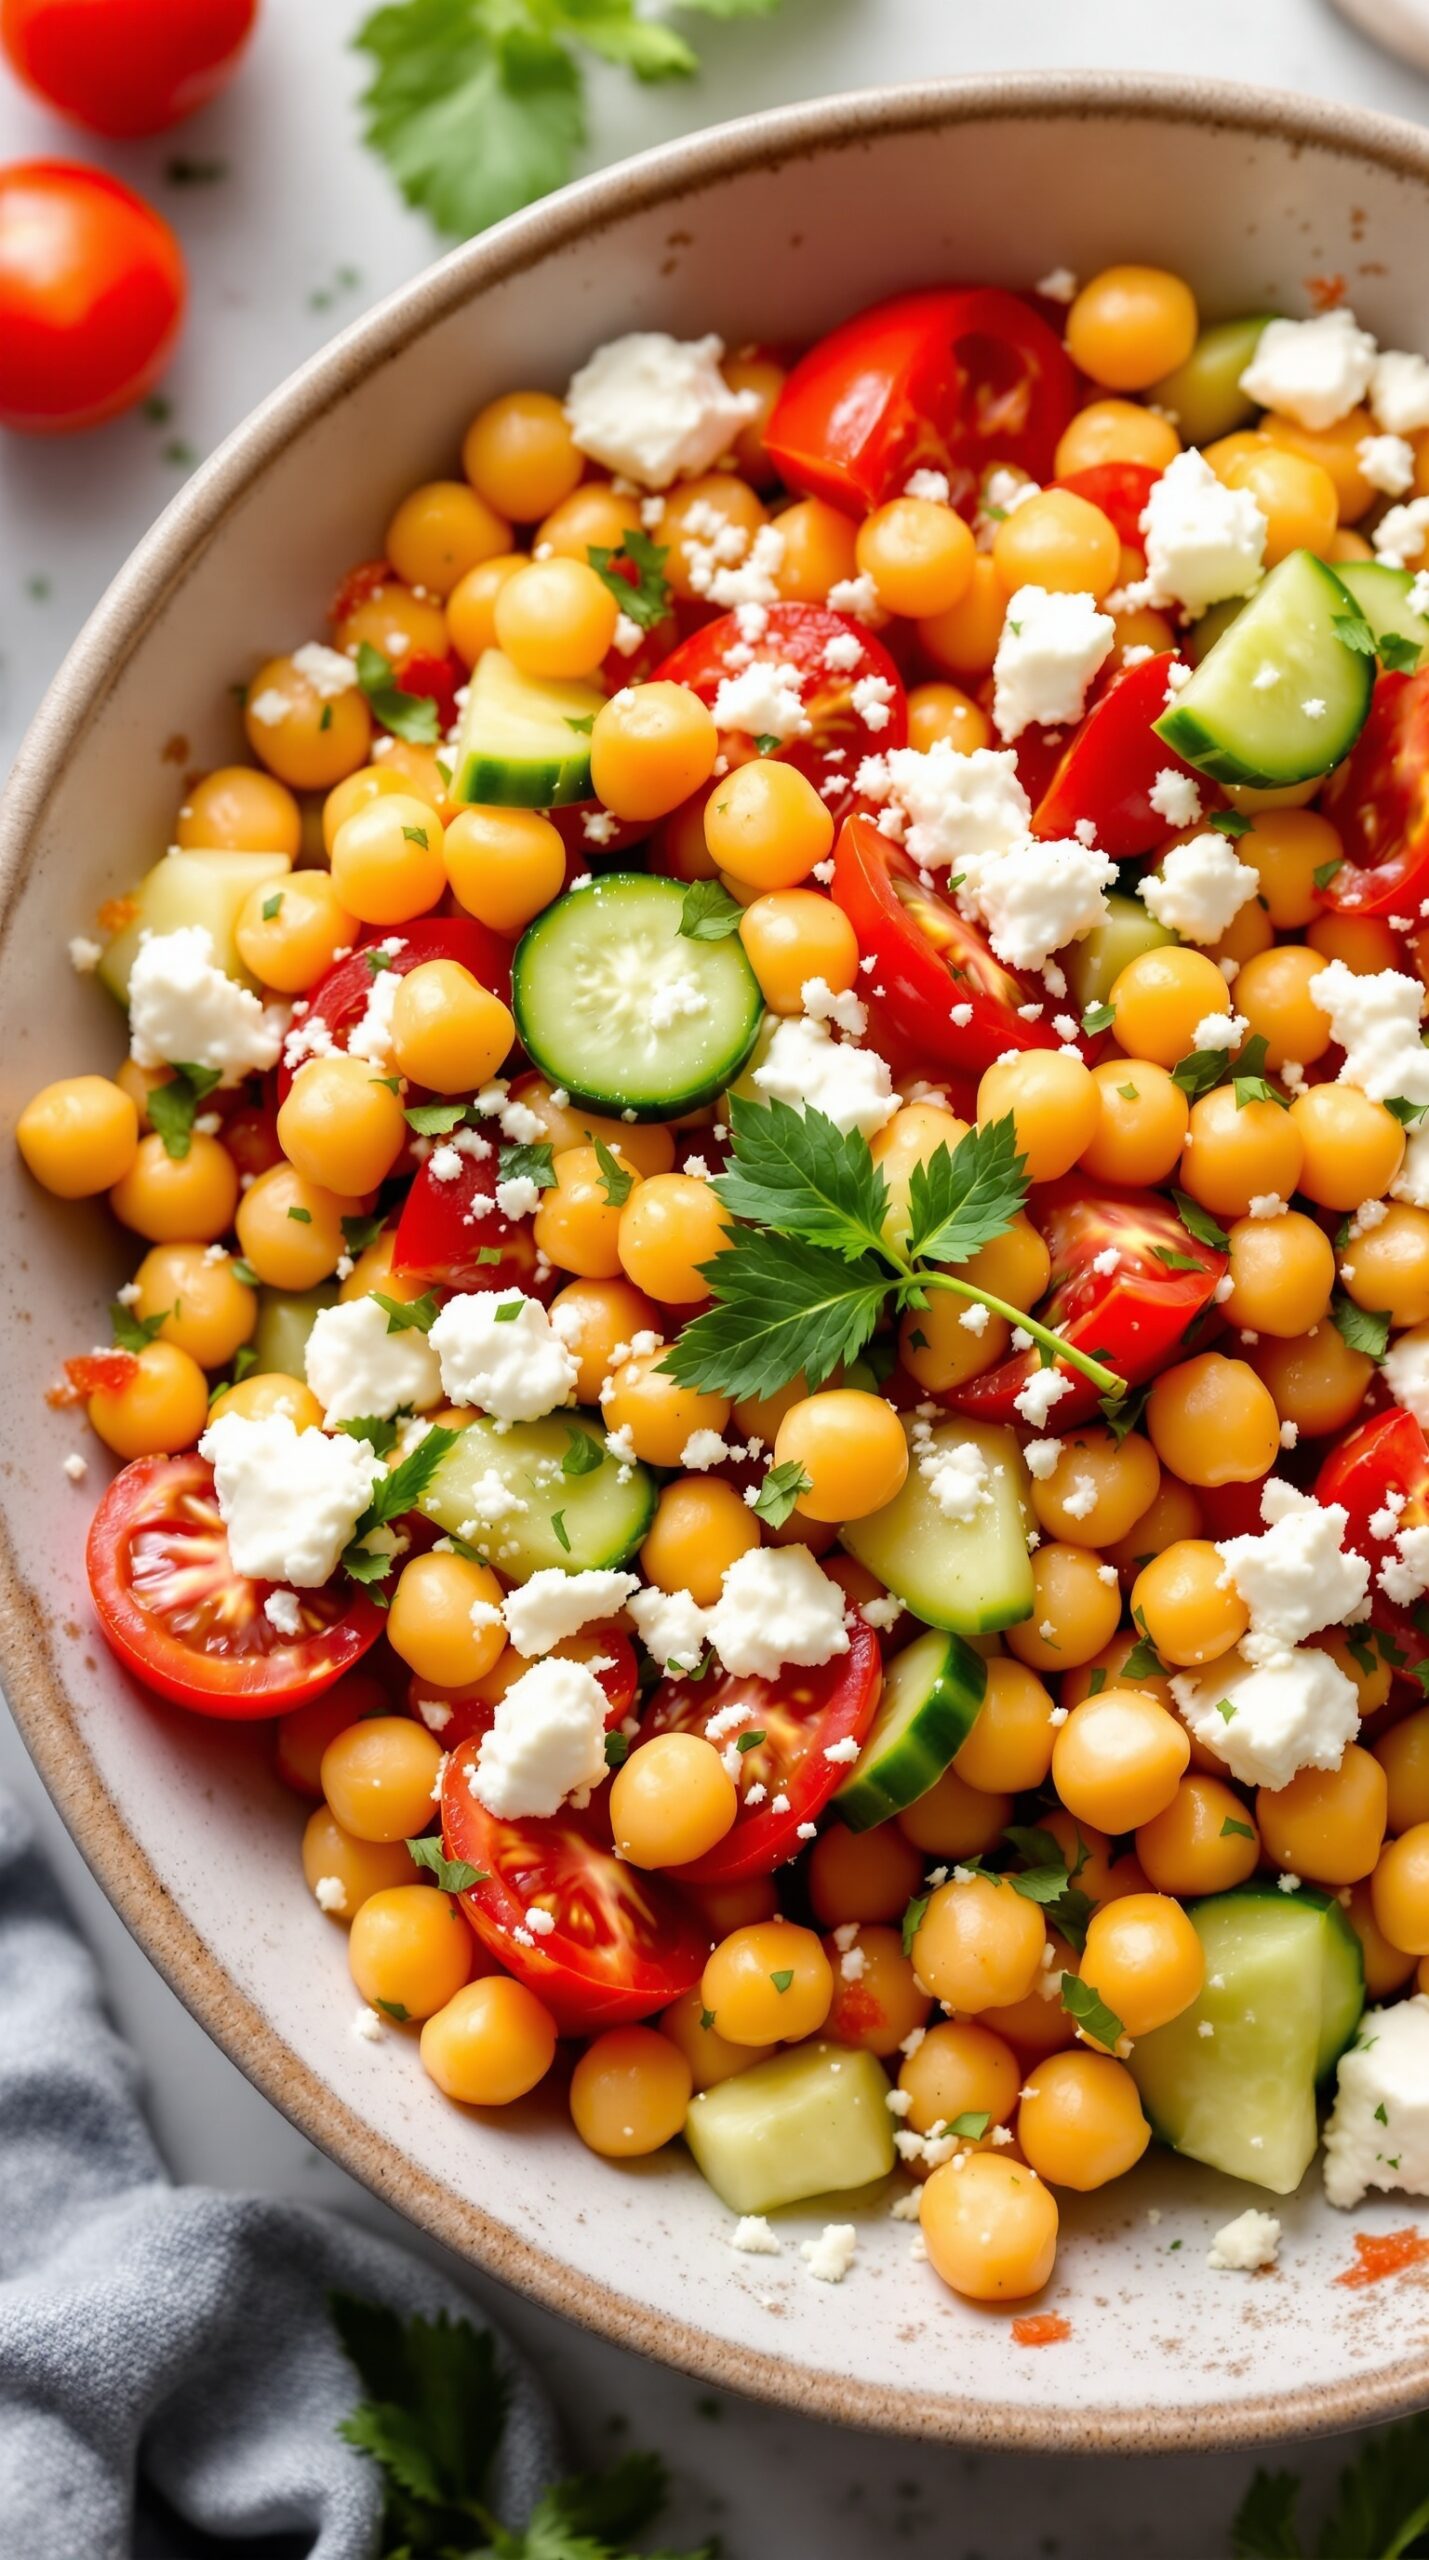
This Mediterranean Chickpea Salad is a colorful and refreshing dish that brings a burst of flavors to your dinner table. The vibrant mix of chickpeas, fresh vegetables, and creamy feta cheese makes it a delightful choice for any meal.
Chickpeas are packed with protein and fiber, making this salad not just tasty but also nutritious. The combination of cucumbers, tomatoes, and bell peppers adds crunch and freshness, while the herbs bring a lovely aromatic touch.
Perfect as a side dish or a light main course, this salad is easy to prepare and can be made ahead of time. Just toss everything together, and you’re ready to enjoy a healthy meal!
Ingredients
- 1 can (15 oz) chickpeas, drained and rinsed
- 1 cup cherry tomatoes, halved
- 1 cucumber, diced
- 1 bell pepper, diced
- 1/4 cup red onion, finely chopped
- 1/2 cup feta cheese, crumbled
- 1/4 cup fresh parsley, chopped
- 3 tablespoons olive oil
- 2 tablespoons lemon juice
- Salt and pepper to taste
Instructions
- In a large bowl, combine the chickpeas, cherry tomatoes, cucumber, bell pepper, and red onion.
- Add the crumbled feta cheese and chopped parsley to the bowl.
- In a small bowl, whisk together the olive oil, lemon juice, salt, and pepper.
- Pour the dressing over the salad and toss gently to combine.
- Let the salad sit for about 10 minutes before serving to allow the flavors to meld.
Herb-Crusted Rack of Lamb
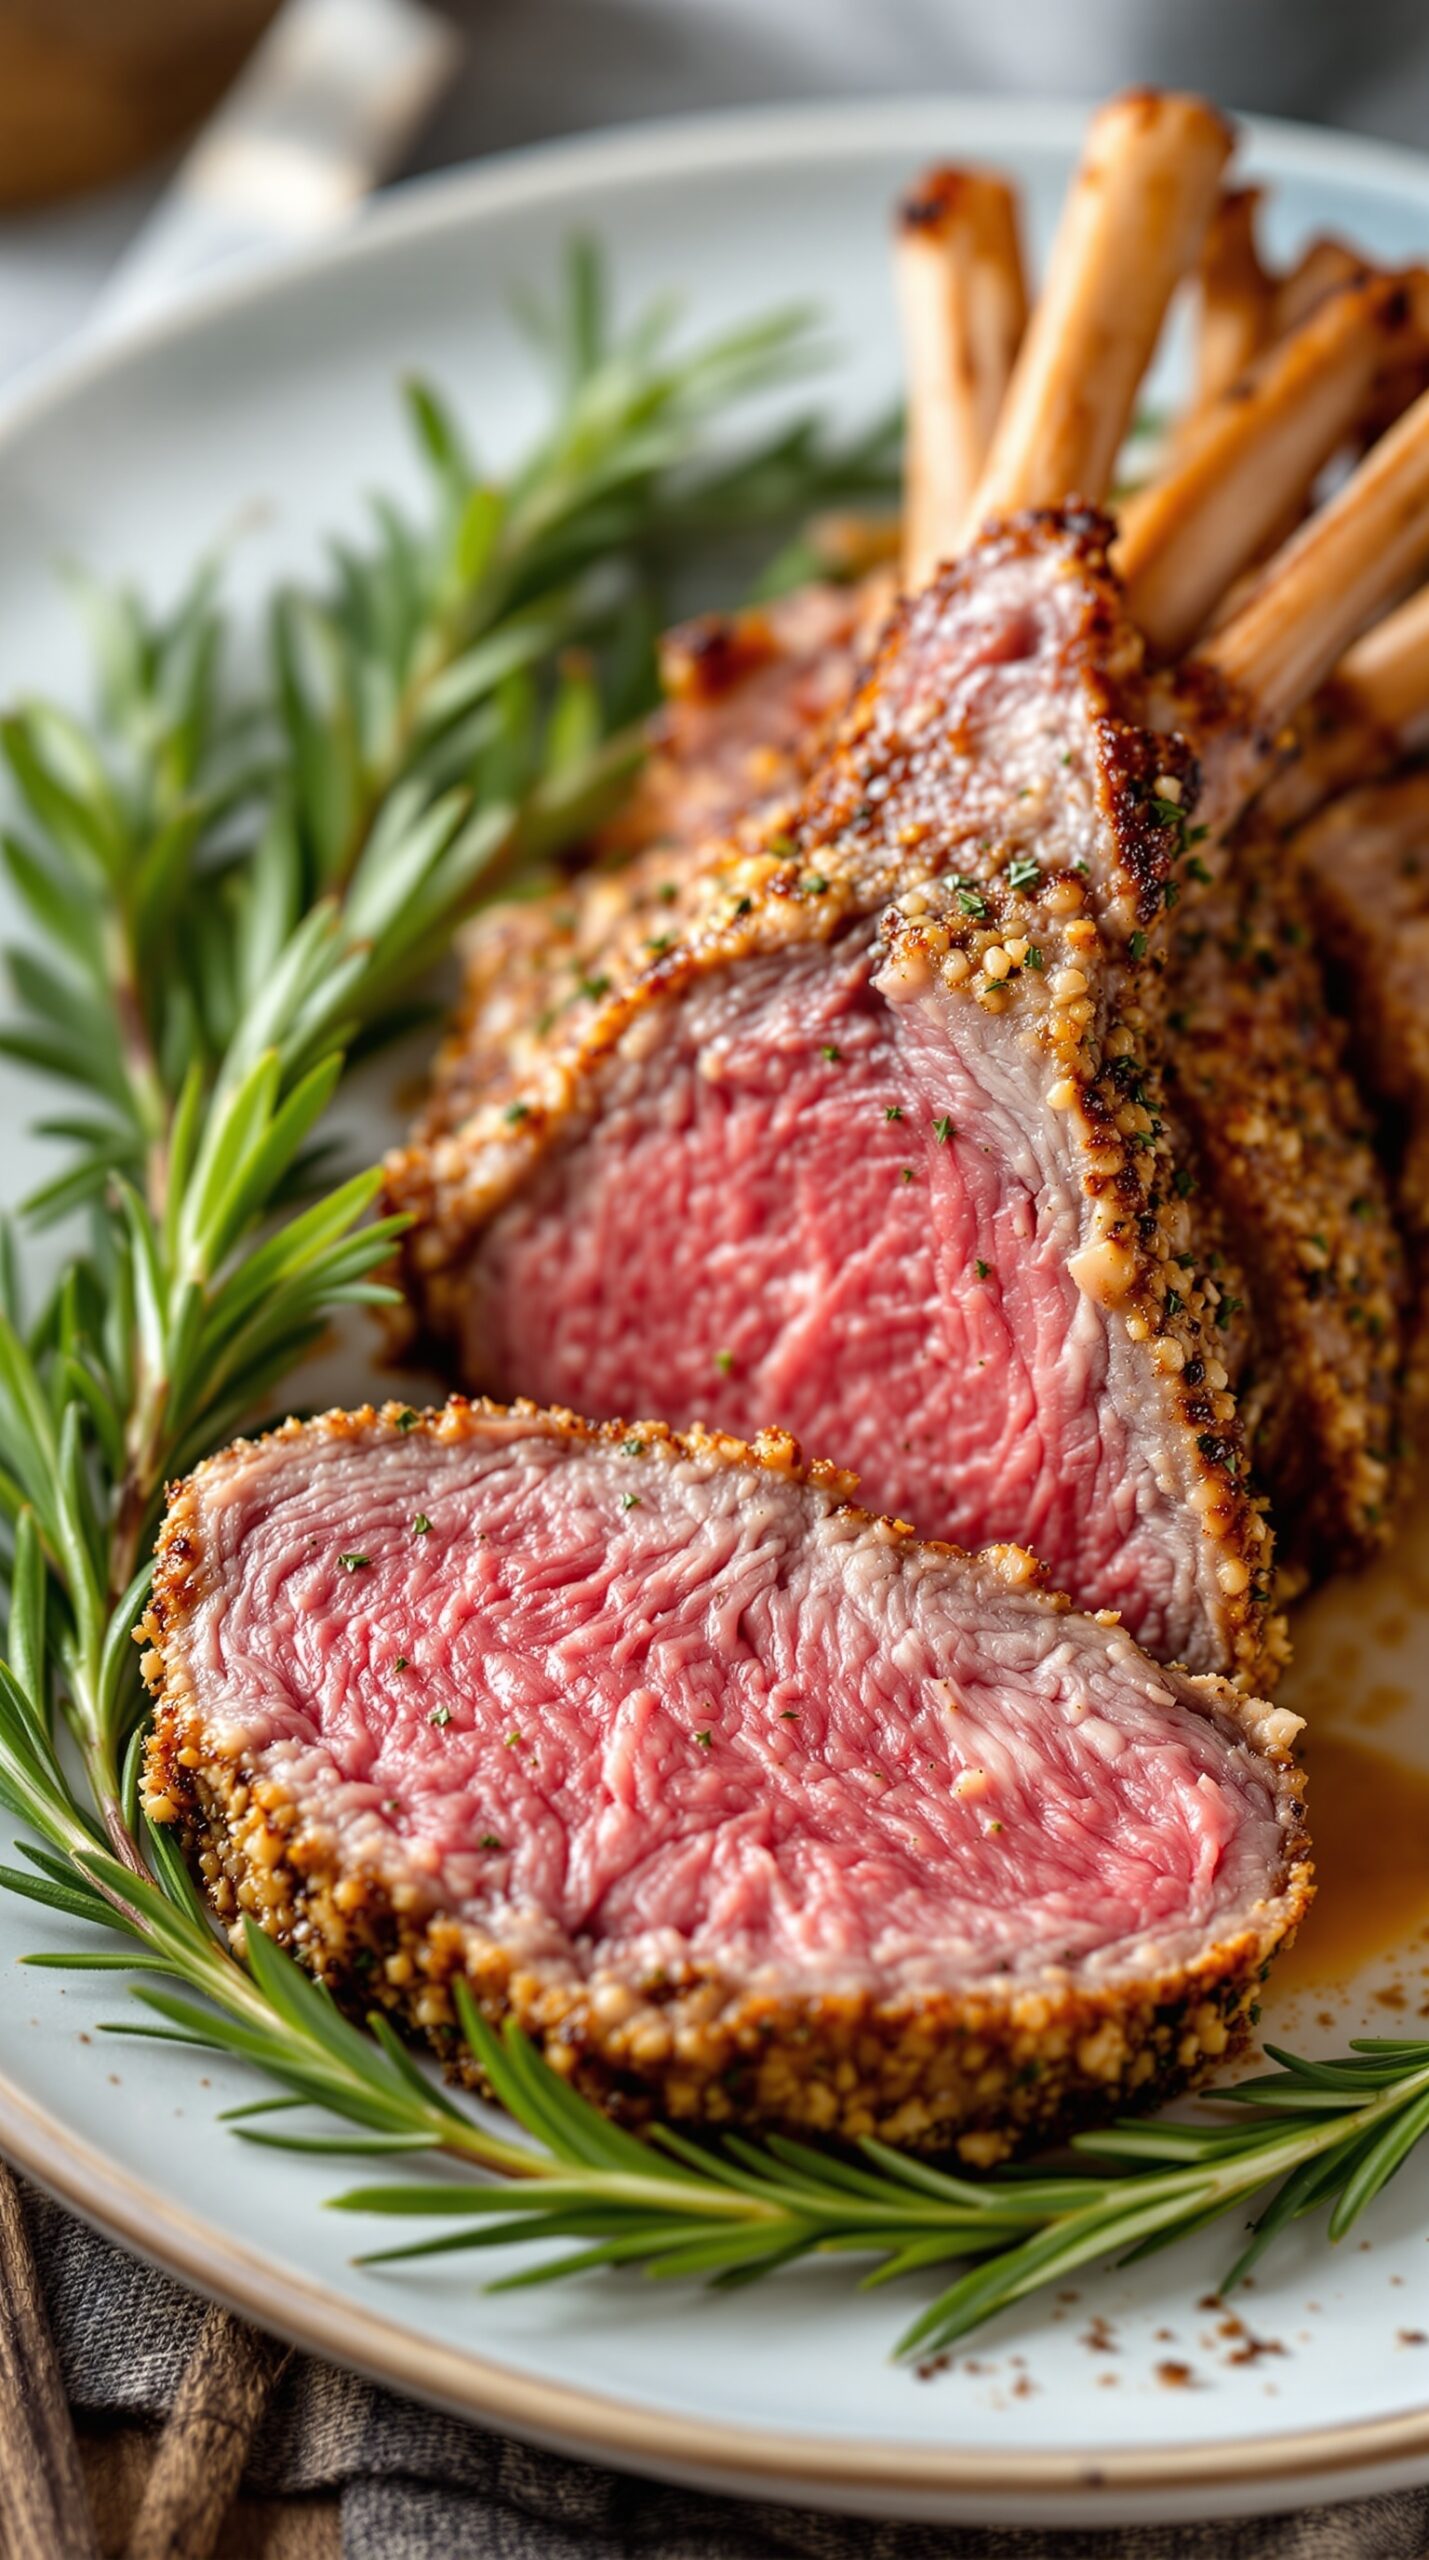
Herb-Crusted Rack of Lamb is a showstopper for any dinner table. The juicy lamb, coated in a fragrant herb crust, brings a burst of flavor that’s hard to resist. It’s perfect for special occasions or a cozy family dinner.
The image showcases a beautifully cooked rack of lamb, with a golden-brown crust and tender pink meat inside. The fresh herbs around it add a lovely touch, enhancing both the look and aroma of the dish. This meal is not just about taste; it’s a feast for the eyes too!
When preparing this dish, you’ll want to focus on quality ingredients. Fresh herbs like rosemary and thyme are key to achieving that aromatic crust. Pair it with your favorite sides, and you’ve got a meal that will impress everyone.
Ingredients
- 1 rack of lamb (about 8 ribs)
- 2 tablespoons Dijon mustard
- 1 cup breadcrumbs
- 1/2 cup fresh parsley, chopped
- 2 tablespoons fresh rosemary, chopped
- 2 tablespoons fresh thyme, chopped
- 3 cloves garlic, minced
- Salt and pepper to taste
- 2 tablespoons olive oil
Instructions
- Preheat your oven to 400°F (200°C).
- Season the rack of lamb with salt and pepper. Heat olive oil in a skillet over medium-high heat. Sear the lamb for about 2-3 minutes on each side until browned.
- In a bowl, mix breadcrumbs, parsley, rosemary, thyme, and garlic. Brush the Dijon mustard over the lamb, then press the breadcrumb mixture onto the meat.
- Place the lamb on a baking sheet and roast in the oven for about 20-25 minutes for medium-rare. Use a meat thermometer to check for doneness (135°F or 57°C).
- Let the lamb rest for 5-10 minutes before slicing. Serve with your favorite sides and enjoy!
Savory Mushroom Risotto
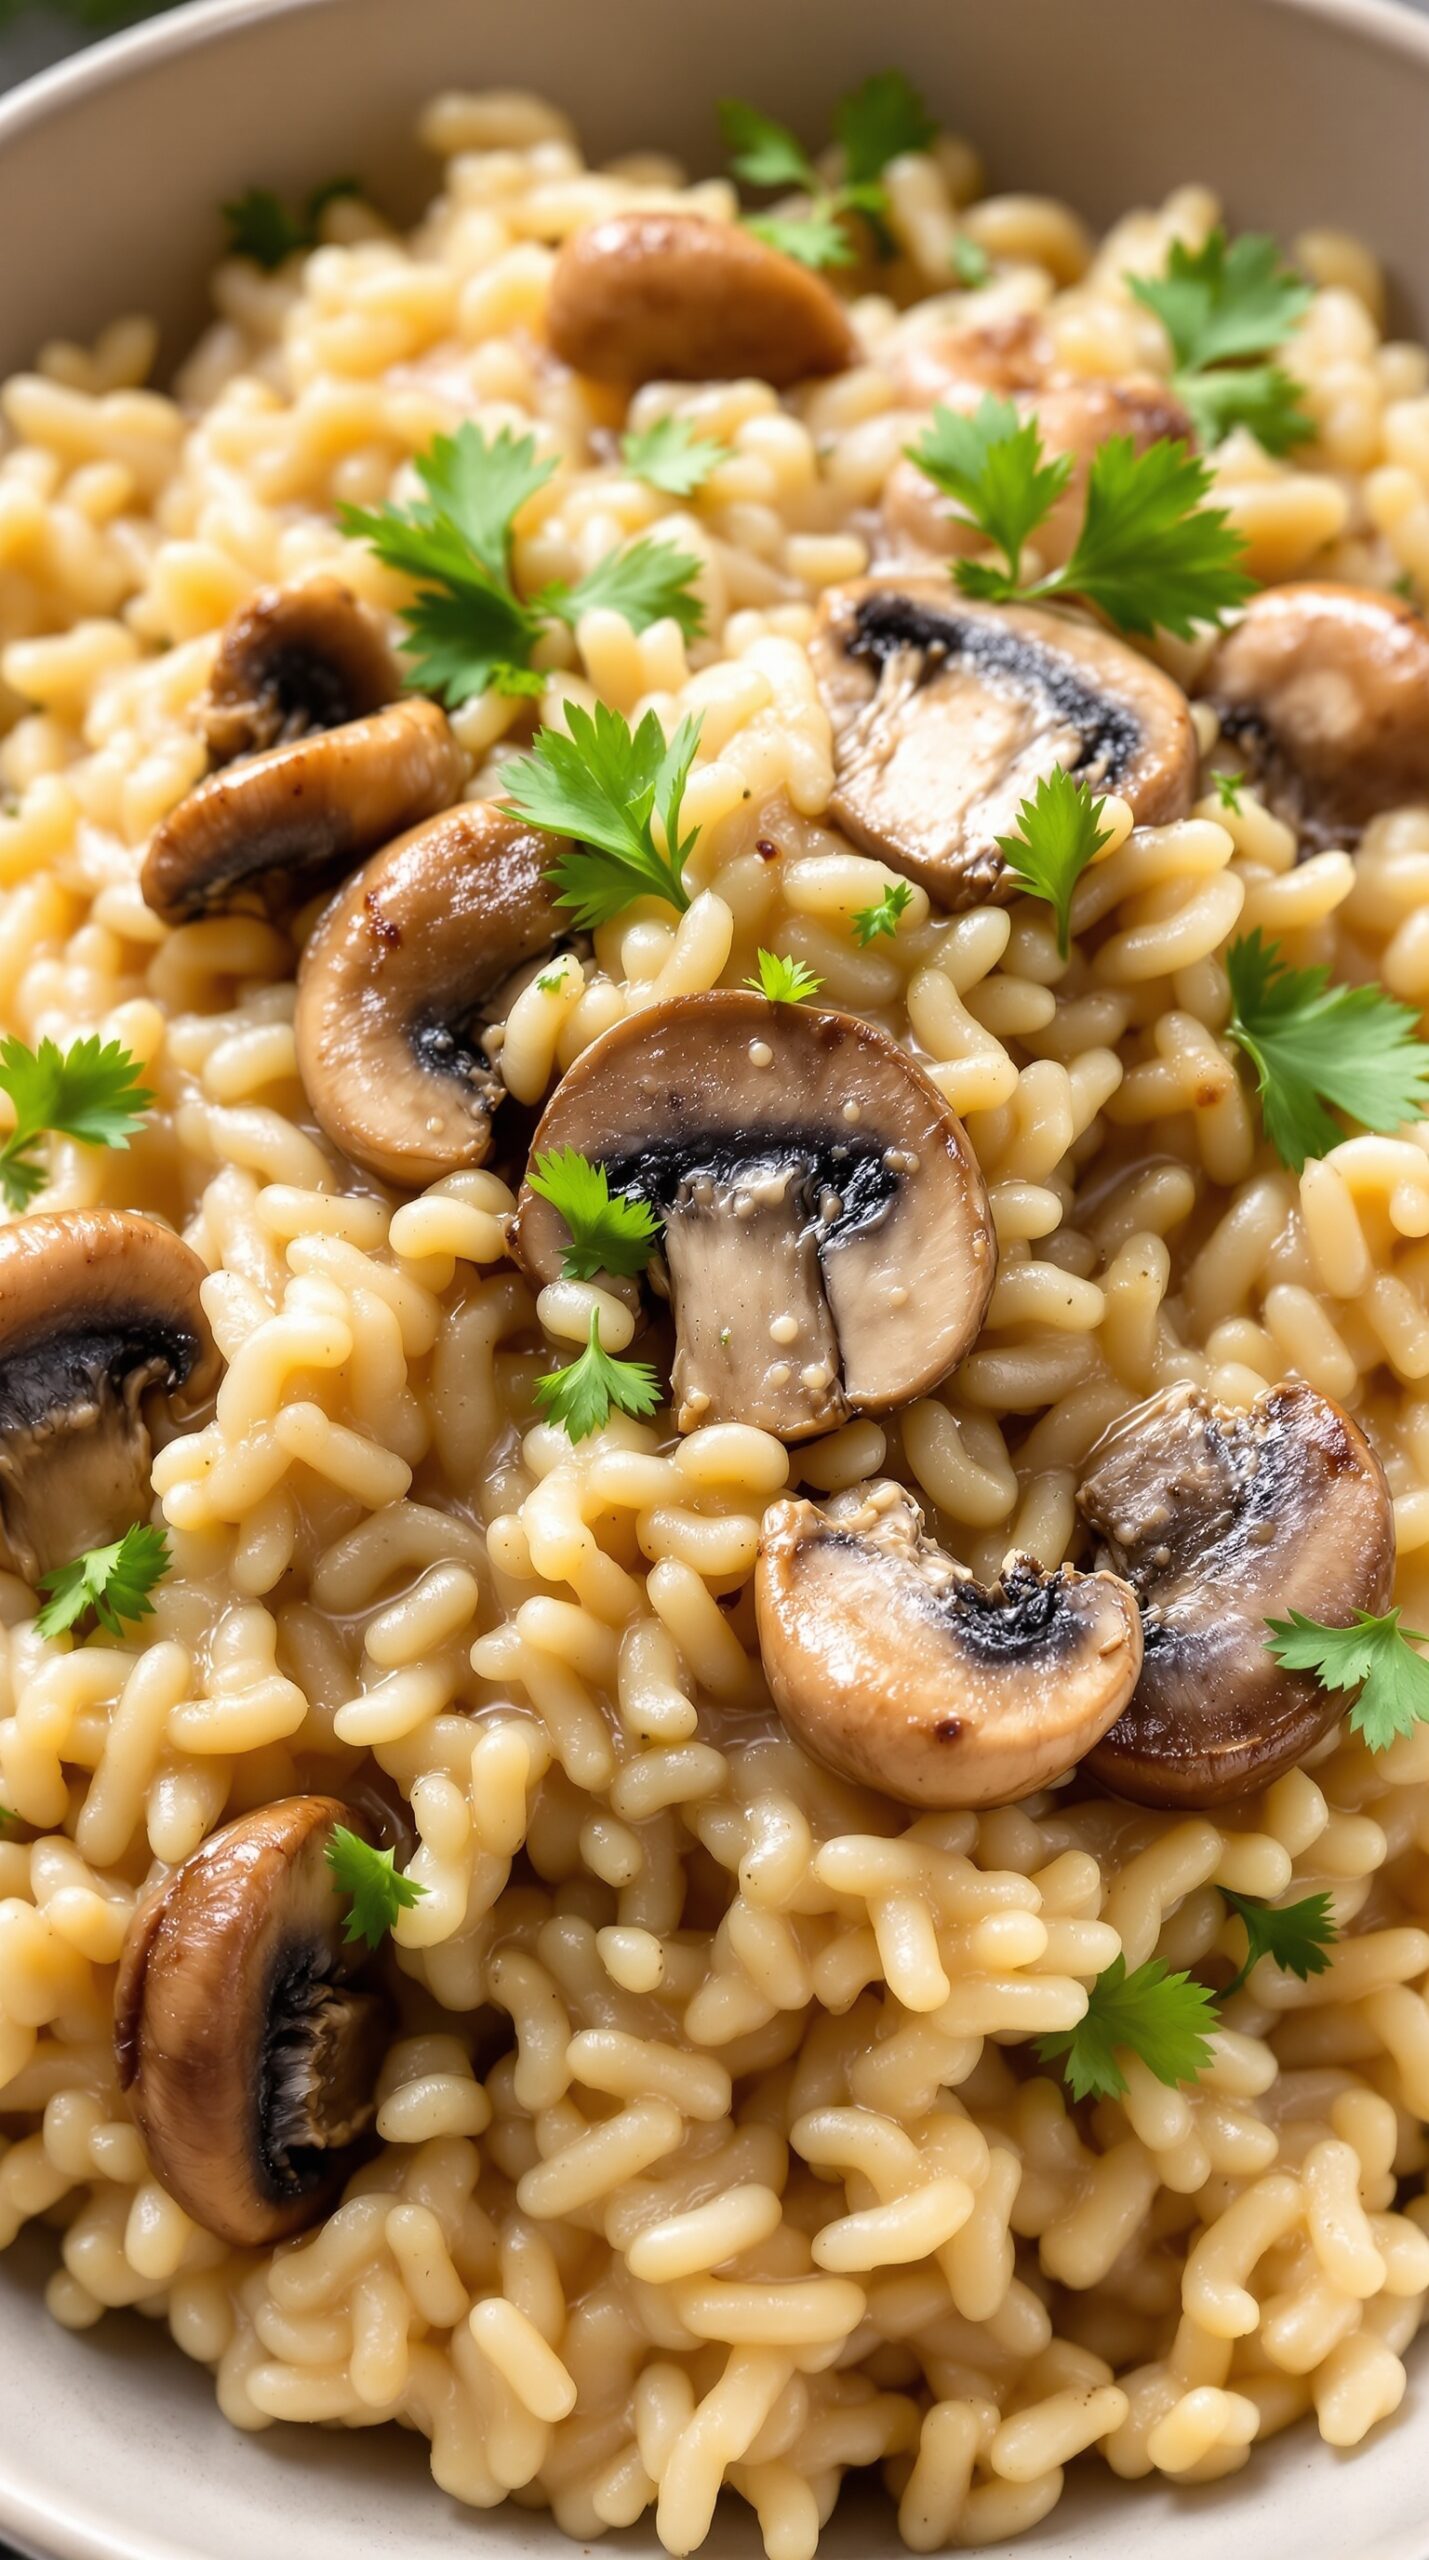
Mushroom risotto is a comforting dish that brings warmth to any dinner table. The creamy texture and rich flavors make it a favorite for many. In the image, you can see a bowl filled with perfectly cooked risotto, adorned with sautéed mushrooms and fresh herbs. The mushrooms add an earthy flavor, while the herbs provide a pop of color and freshness.
This dish is not only delicious but also simple to prepare. It’s a great option for a cozy night in or when entertaining guests. The key to a great risotto is patience; stirring and adding broth gradually ensures that the rice absorbs all the flavors.
Ingredients
- 1 cup Arborio rice
- 4 cups vegetable broth
- 1 cup mushrooms, sliced
- 1 small onion, finely chopped
- 2 cloves garlic, minced
- 1/2 cup white wine (optional)
- 1/2 cup grated Parmesan cheese
- 2 tablespoons olive oil
- Salt and pepper to taste
- Fresh parsley for garnish
Instructions
- Heat the vegetable broth in a saucepan and keep it warm on low heat.
- In a large skillet, heat olive oil over medium heat. Add the chopped onion and garlic, sauté until translucent.
- Add the sliced mushrooms and cook until they are tender and browned.
- Stir in the Arborio rice and cook for about 2 minutes, allowing it to absorb the flavors.
- If using, pour in the white wine and stir until it’s mostly absorbed.
- Begin adding the warm broth, one ladle at a time, stirring frequently. Wait until the liquid is mostly absorbed before adding the next ladle.
- Continue this process for about 18-20 minutes, or until the rice is creamy and al dente.
- Stir in the Parmesan cheese, and season with salt and pepper to taste.
- Serve hot, garnished with fresh parsley.